Desertcart purchases this item on your behalf and handles shipping, customs, and support to Tunisia.
🔪 Cut like a pro, every time — don’t get left behind!
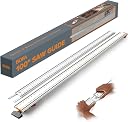
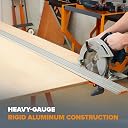
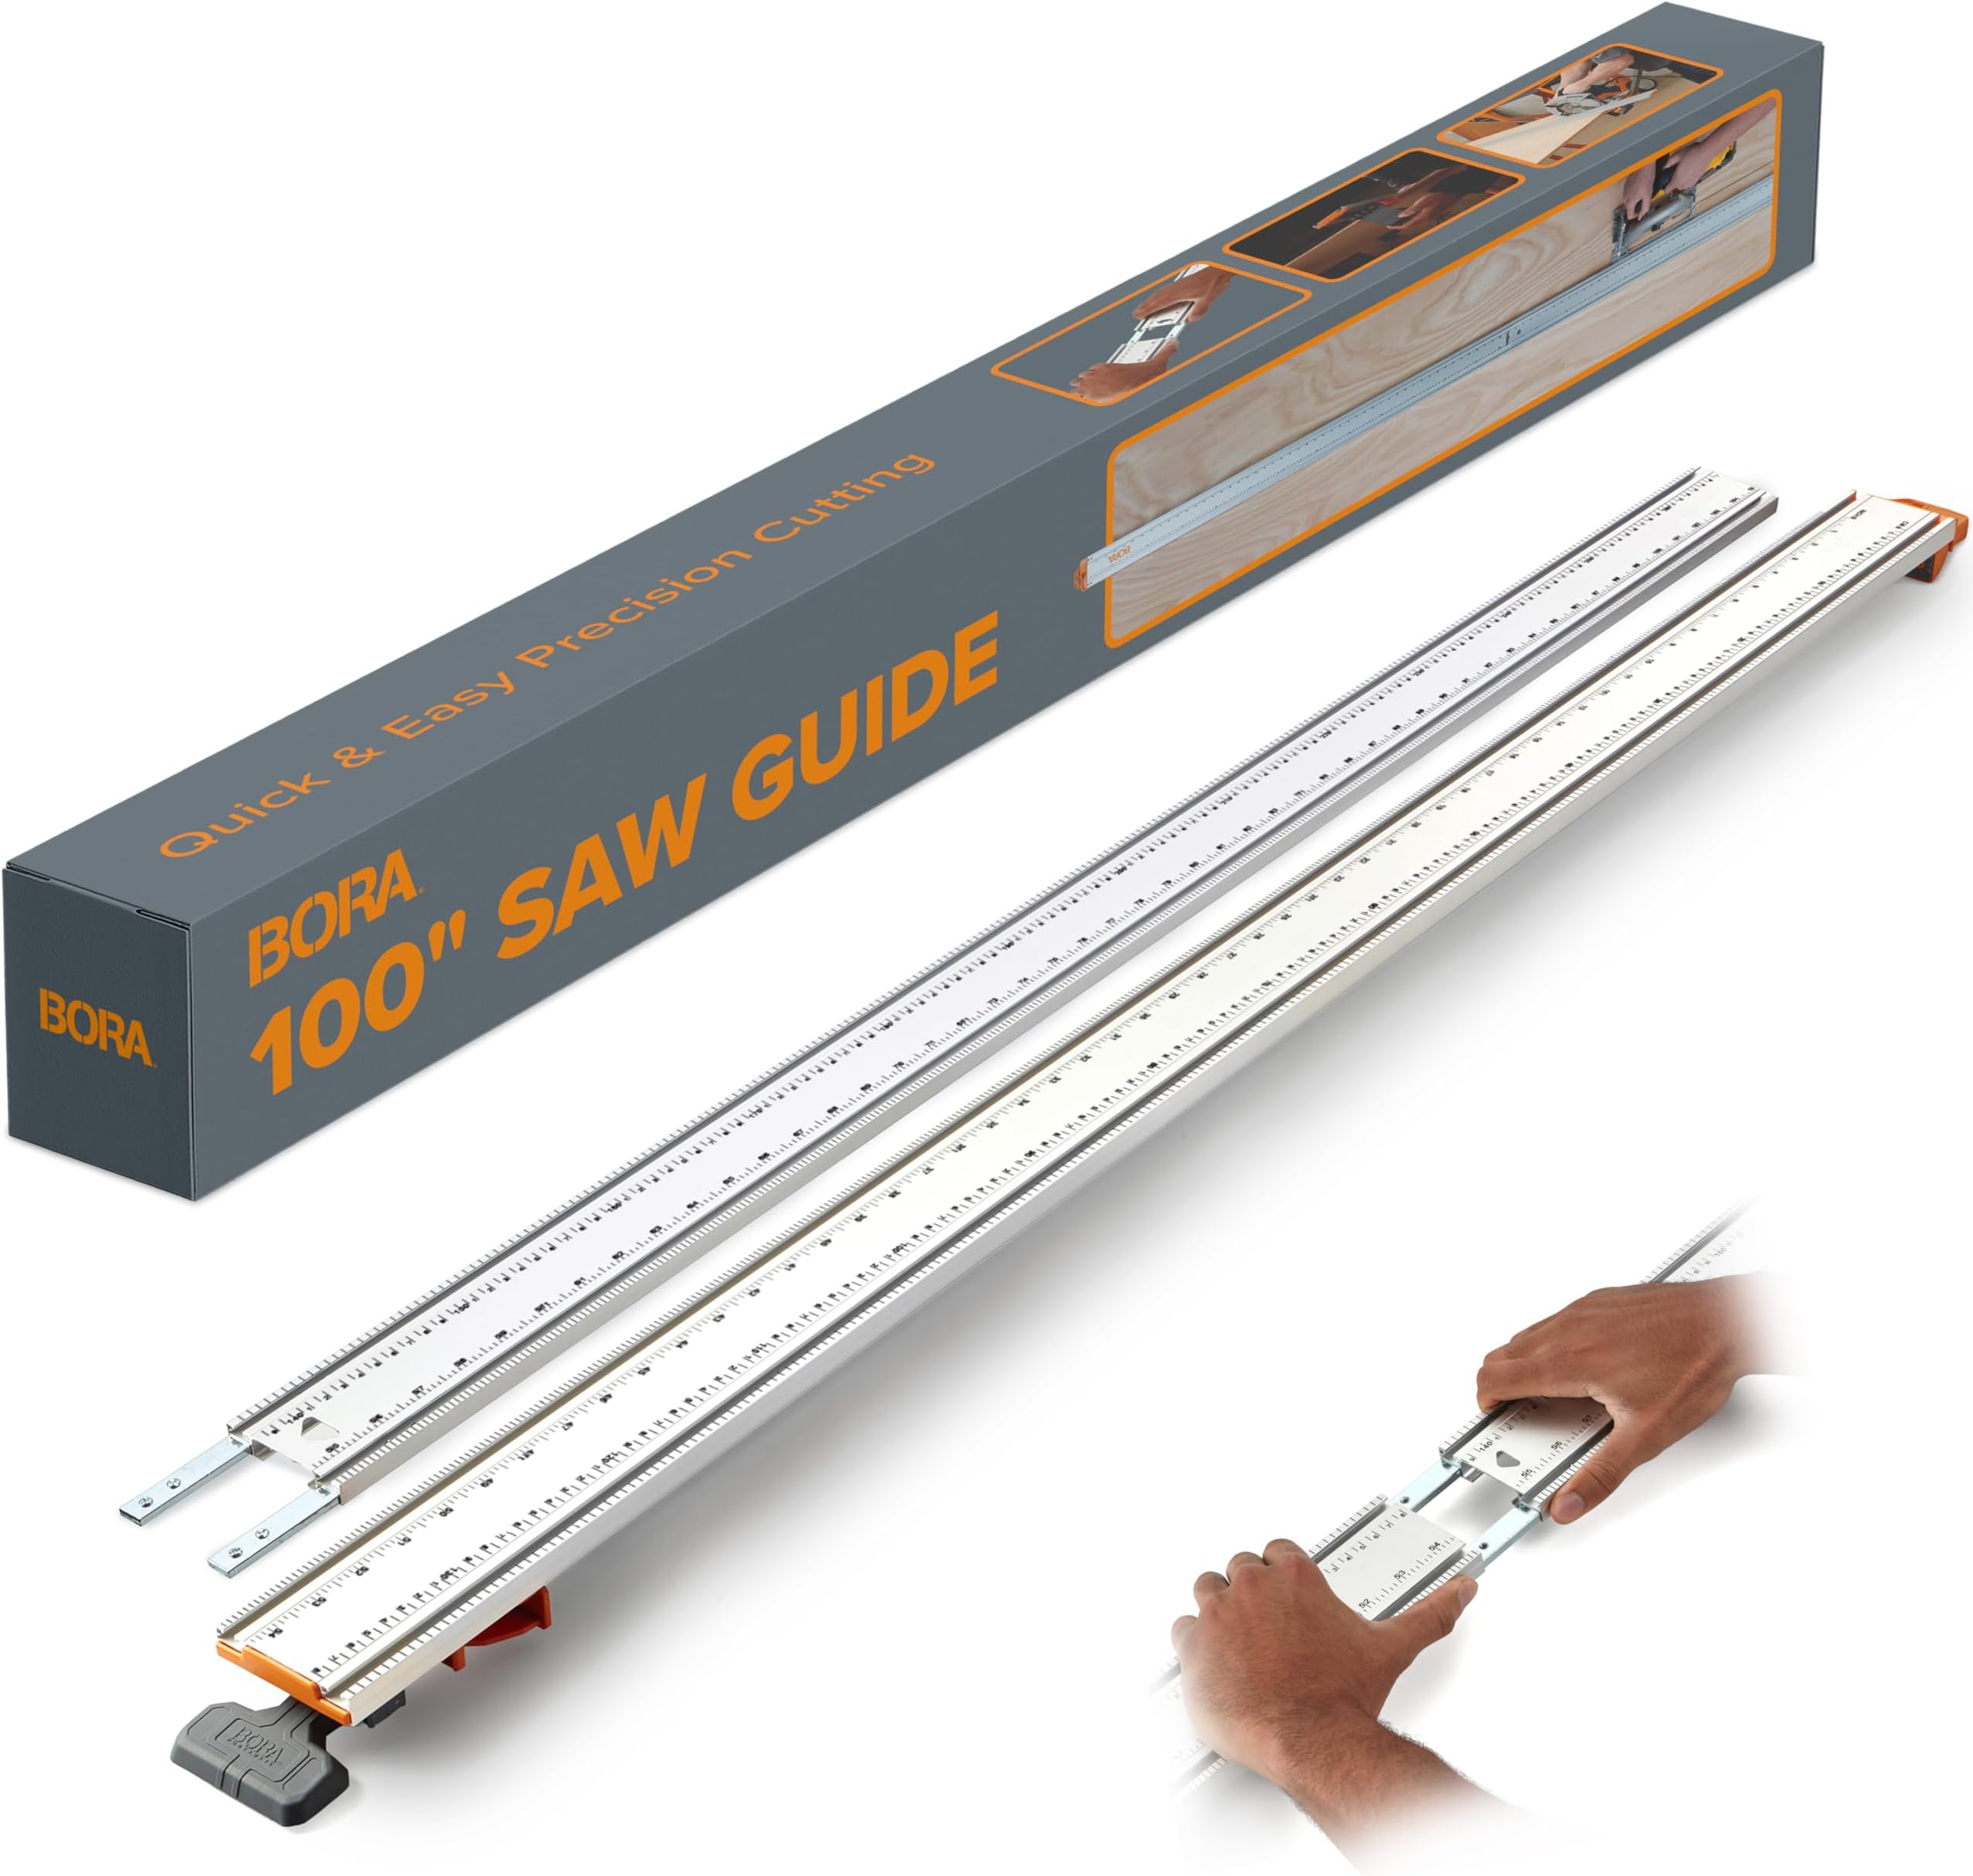
The BORA NGX 100" Circular Saw Guide Rail is a professional-grade track saw system designed for millimeter-perfect straight cuts on plywood and large panels. Featuring a robust aluminum frame, quick lock clamp technology, and integrated dual T-tracks, it offers unmatched versatility and stability. Compatible with all circular saw brands, this guide rail streamlines your workflow, boosts precision, and elevates your woodworking or remodeling projects to expert level.


| ASIN | B081464VDN |
| Best Sellers Rank | #10,809 in Tools & Home Improvement ( See Top 100 in Tools & Home Improvement ) #3 in Circular Saw Accessories |
| Color | Solid Black |
| Customer Reviews | 4.3 4.3 out of 5 stars (2,634) |
| Date First Available | November 6, 2019 |
| Included Components | BORA 100" NGX Clamp Edge (50+50) |
| Item Package Quantity | 1 |
| Item Weight | 3.96 pounds |
| Item model number | NGX544100 |
| Manufacturer | Bora |
| Material | Aluminum |
| Part Number | T-544100K |
| Product Dimensions | 100 x 3 x 0.75 inches |
| Size | 100" |
| Style | Clamp Edge |
| Warranty Description | 1 year |
E**G
Darn nice clamp!
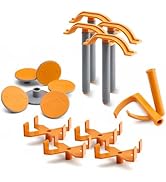
I got this with the saw guide, to make an "affordable track saw". Works pretty darn well for that purpose, once you get the edge guide aligned with your saw. BIG TIP: The clamp always seemed to be "sticking". Sometimes it would slide easily, but often it would jam up and stop sliding at all. It took forever to figure out the trick. Now it slides easily all the time. The trick is this: * The orange part of the clamp has two little tabs sticking out at the back end. * I had no idea what they were for, and none of the instructions mentioned them. * You put the heel of you palm against the back of the gray handle (in the "open" position), and then pull back on those tabs with your fingers, as though pulling on a hypodermic needle. * Voila! The internals of the clamping mechanism (whatever they are) COMPLETELY disengage, and the clamp slides freely in its track. Important Notes: 1) In the pictures, the "edge guide" looks like thin tape that could go anywhere. It's not. It's a nice, thick piece of plastic, with adhesive on one edge so it is ready to apply, and there is cut-away on the bottom of the clamp to attach it to, so it works well. 2) You NEED the edge guide. If you use the clamp for cutting sheet goods, you darn well want that edge guide in place. It is the ONLY good way to align the clamp for cutting. (There are blade-markers on the saw guide, but they're not really useful for lining up the cut when the saw is on the guide. (If you take the saw off, they may work. I didn't.) 3) To attach the edge guide, it's best to remove the clamping mechanism. (Easily done by taking out two screws. The instructions don't say that (they could use improving), but it's pretty easy to figure out there is no way to attach the edge guide the full length of the clamp, until you do. 4. The tape on the edge guide doesn't QUITE go to the end. It's maybe 1/4" short, but there is an inch of extra tape, so do yourself a favor and cut off the end of the guide where there is no adhesive, before you start applying it to the clamp. That will remove the slight tendency of the edge to lift up--something I may have to trim off, eventually. 5. Don't bother with the T-Square attachment! Total waste of money, if you're using the clamp as a track-saw. (For details, see my review of that attachment. It works fine when it makes a "T", but it has to be in an "L" configuration to work with your saw. And in that configuration, it fails miserably.) 6. Now that you know you CAN'T depend on the T-Square for alignment, and you MUST have the edge guide in place, do yourself a favor and mark BOTH sides of the panel you're cutting. Then put the clamp in place, and cut away. You'll save yourself the half-panel I ruined before I figured out those steps. 7. But there is still ONE MORE PROBLEM to solve, if your saw is like mine. The edge guard projects 1/2" beyond the edge of the clamp. The instructions for mounting the saw to the saw plate don't SAY to put the blade as close as possible to the edge of the plate, but they should. What they DO say is to make sure the blade guard is free to move. That's a darn good idea. BUT... On my Ryobi saw, "reasonably close" puts the blade 3/4" from the plate. The blade guard is pretty thick where it is close to the plate, so I can get it the saw MAYBE 1/8" closer, while still being able to move the guard. I KNOW I can move it 1/16" of inch closer. And I MAY be able to move it 1/8". But I NEED it to be a full 1/4" closer, for the edge-guide to be of any use. In "short" (pun intended), the edge-guide is 1/4" too short for use with my Ryobi circular saw. Will it work with other saws? Don't know. But I would check the width of yours. If your blade guard is more than 1/8" from the edge of the blade, it won't work. There is a WORKAROUND, though. So check your saw before installing the plastic strip that comes with the clamp. If it won't be wide enough, double-sided carpet tape and a strip of linoleum are the perfect size. Here's the procedure: a) Get a linoleum remnant from your nearest big box store, along with double-sided carpet tape. b) Cut a 2" strip of linoleum the length of your clamp. c) Put double-sided carpet tape in the groove under the clamp. d) Turn the clamp right-side-up and use your razor-knife to trim the excess tape. e) Turn the clamp over again, peel the backing from the tape, and put down the strip of linoleum, shiny-side pressing into the tape. f) Find a nice long piece of wood you can cut the end off, and do it. Voila! You now have a perfectly-trimmed edge guide!
M**S
It's not stuck, it's locked. You have to unlock it
For the people complaining that the clamp "gets stuck" when you try to take it off, it's not stuck, it's locked and must be unlocked: attached to the sliding gray "locking lever" part is an orange "clamp" part. It has locked/unlocked positions (see pics). When you disengage the locking lever after use, you have to then unlock the orange clamp by squeezing the orange and gray finger tabs toward each other. There are even instructions molded in to the plastic lol, again, see pics. That being said, this is an excellent product for the price, especially useful for cutting straight lines in plywood and the like or ripping boards with a circular saw when a table saw isn't handy.
A**6
Not perfect but close
Overall, it’s a good tool and works as advertised. However I was a little disappointed in the build quality. The clamping mechanism feels a little cheap and not as durable as I’d hoped. Also, you really have pay attention when locking the clamp that the opposing end did not slip. Because the clamping edge is only a few inches wide, it’s kind of difficult to square up the far edge of the clamp. It’s not nearly as fast to get the track setup square for your cut line. It takes a little patience and a double checking of your measurements before locking the clamp in place. Once set, the straight edge is awesome and produces great cut results. No need for the track sled in my opinion. The fence edge is plenty high enough to keep good contact with your circular saw, router, or jig saw. Overall, I do like it and would recommend it, but it could be a little beefier and with a wider edge clamp to help keep it square when getting it set up.
R**H
very easy to use
great product
A**M
The fix for the glitch
I really like this clamp. I did not buy the track saw guide but only the 544100 saw guide clamp. I’ve only had one glitch, and that is after locking it in place and unlocking it to remove, the clamp does not slide along the track until you release it. I thank Eric Armstrong for his review and his “BIG TIP”. That addressed the problem that I was having. The last time I used this, I put a note on the instructions on how to release it, but didn’t understand my note. Now I have a video that shows exactly what I need to do. Full disclosure: in order to get it started I used a rubber mallet and tapped the clamping piece to release it. My husband sprayed silicone into the clamp to try to get it to release more easily.
J**P
Inexpensive alternative to a tracksaw
When combined with the Bora NGX saw plate (for mounting a circular saw) this becomes a viable alternative to a high end track saw, but at a relatively low price. A good track saw is more accurate, but they can cost 8 times as much. I recently used this (with the addition of a NGX saw plate) to cut full plywood sheets for a Murphy bed project and the results were great. Much better than my old method of clamping a straight board the full length of the plywood and running the circular saw along the edge. That said, be aware that the clamp is narrow, so when used at full length it tends to inflect slightly in the middle if you are not very careful and this can affect cut accuracy. Also, tear out on plywood is still an issue, particularly when cutting against the top ply’s grain. If you are cutting 8’x4’ plywood frequently and need high quality cuts, invest in a track saw. However, if you do this only occasionally, then the Bora NGX system is a nice alternative and you will probably be happy you saved several hundreds of dollars that you can use for other tools you may also need.
W**E
Works well, but...
This product is easy to use, clamps at different angles, and gives you a straight edge to hold tools against. The groove on either side can be used with some of their sleds. Other ones ride on top of this. The problem that I had was that the two parts that connect didn't quite come to the same level on top. That caused their sled to bind when it got to the middle. Lifting the sled slightly allowed me to continue. In retrospect, I might have gotten it to work if I started off on the other side or rotated the guide so that the other end would be where I start, having the sled drop down by an insignificant amount in the middle, but it makes me question the quality control on this. I can't say whether other guides that use the side grooves would have had the same problem, but I'd suggest a practice slide in each direction all the way down prior to using this to make sure that nothing binds. The same might be an issue with a tool held against the edge, but since those likely have rounded corners, it probably won't snag.
M**E
Muy buena guia de corte
Me llegó en perfectas condiciones y cumple su función, el acabado del alumino lo hace liviano de manipular y a su vez es fuerte para evitar que se doble cuando estes cortando, el tamaño correcto para hacer cortes a lo largo del plywood que son mas de 244cm y la prensa es inferior.
D**D
As described
As described
C**U
Très pratique facile d’utilisation pas encombrant et léger 🤩
Excellent j’ai utilisé ceci avec ma scie circulaire pour tailler un bas de porte avec noyaux plein et ma taille etait parfaite!
P**R
edge Strait
good Quality
A**A
Buen producto
Son más grandes de lo esperado lo cual es excelente. Llegó en buenas condiciones.
S**U
Bad quality and no provision for replacement.
The locking system is misfunctioning...
Trustpilot
1 month ago
1 month ago