Desertcart purchases this item on your behalf and handles shipping, customs, and support to Tunisia.
๐ช Slide into style with the barn door everyoneโs talking about!
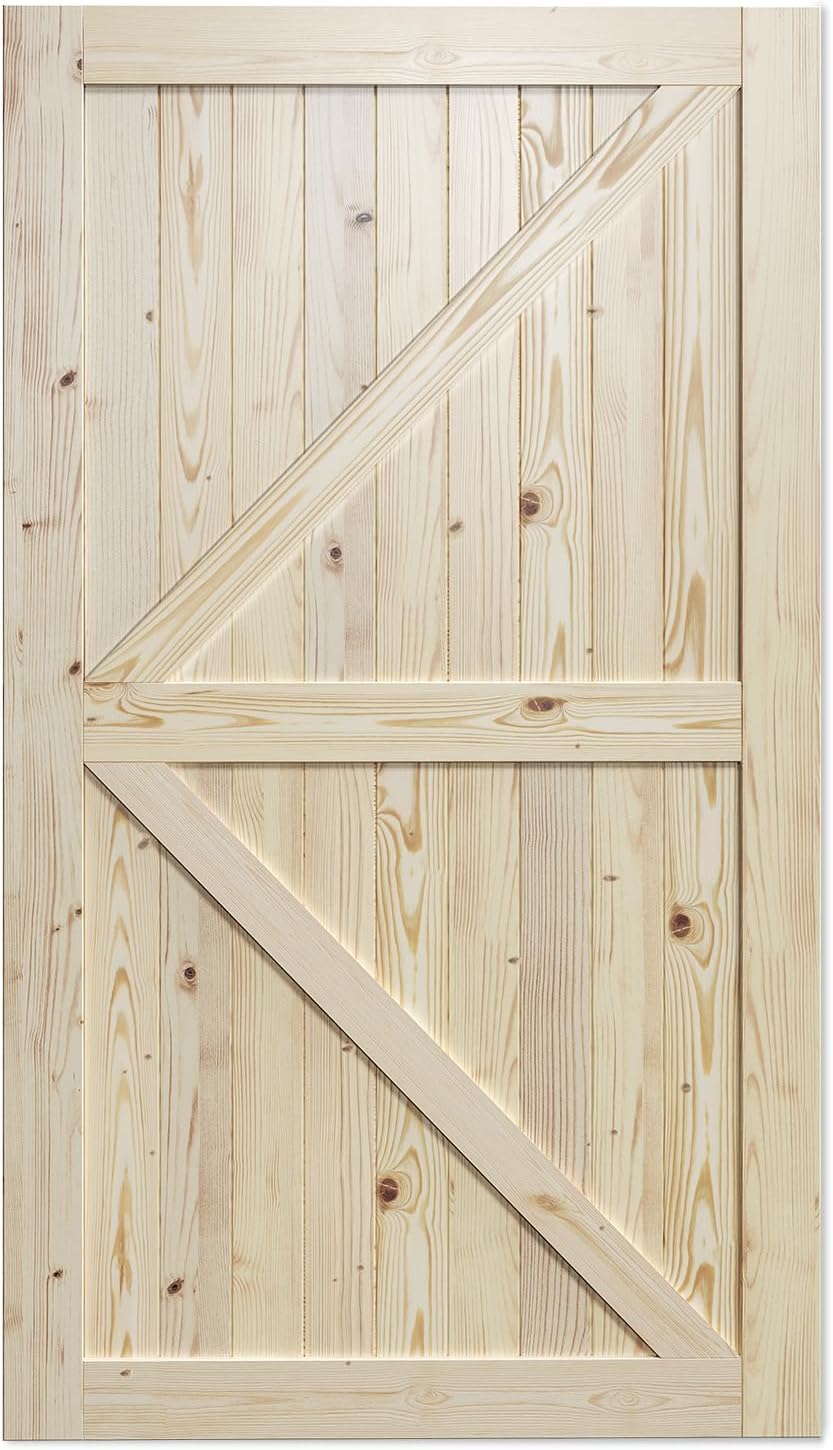
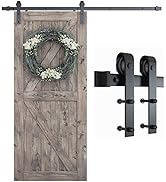
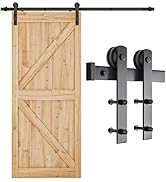
The SmartStandard 48in x 84in Sliding Barn Wood Door is a solid spruce wood panel door designed for interior use. Pre-drilled and ready to assemble, it fits standard 8ft rails and offers natural durability, sound and heat insulation, and a customizable unfinished surface. Ideal for millennial professionals seeking a blend of rustic charm and modern convenience in their home dรฉcor.


| ASIN | B07VQ7ZM6H |
| Best Sellers Rank | #42,289 in Tools & Home Improvement ( See Top 100 in Tools & Home Improvement ) #6 in Pocket Interior Doors |
| Brand | SMARTSTANDARD |
| Brand Name | SMARTSTANDARD |
| Color | Natural |
| Customer Reviews | 4.3 out of 5 stars 1,976 Reviews |
| Included Components | Barn Door Only |
| Item Type Name | Barn Wood Door |
| Item Weight | 62.9 pounds |
| Manufacturer | SMARTSTANDARD |
| Manufacturer Part Number | BD48KTS |
| Material | Wood |
| Material Type | Wood |
| Model Number | 48in x 84in |
| Number of Items | 1 |
| Style | Modern |
| Style Name | Modern |
| UPC | 860009206861 |
| Unit Count | 1 Count |
A**M
Love it!
Love everything about this door kit! The wood is visually pleasing, and professionally crafted with tongue and groove slats and pre-drilled holes so it assembled with ease. We didnโt used the cross bar wood piece, and it seems fine. No warping!
A**R
Great Barn Door
This barn door was wonderful. It was packaged very well and easy to put together. We noticed that there was some spacing between the boards when we put it together. Although the directions said it was normal and the wood would expand as the days went on, we felt the spacing was too much so we added some double sided tape to the inside groove of one of the long outside board. You will see there is a foam piece in the groove already, so we just stuck a piece of tape to it. We didn't take the paper off the other side of the two sided tape and then we put the boards back together. It seemed to work beautifully and hopefully the boards don't expand. The wood did not have a lot of knots and we were hoping to stain it, but we felt it looked better painted in our room. It truly would have been a beautiful door if we had stained it too. We put the "K" frame on the bedroom side of the door, but left it off the bathroom side of the door. If we notice the boards start to "cup", we will install the "K" frame on the bathroom side as well. I have attached pictures from both the bedroom and bathroom side so you can see what it looks like. To finish the door, first I rolled a coat of primer on the door and followed it up with three coats of white semi-gloss with primer, so I'm hoping the knots don't ever come through. Our walls are painted Sherwin Williams, color number 0055, Light French Grey. We feel this was a great purchase and would highly recommend it.
A**N
Not bad doors decent quality
I purchase 4 of these doors. For the money I think they will work out fine. Assembly time - 45 minutes each. Caulking, primer, sanding & 2 coats of paint - 2 hours If you use an impact gun BE careful not to strip out the holes. Screwing in to the end grain strips easy. Use a hand held screw driver to tighten the screws. Overall quality wood. I used wood glue at the joints.
C**N
Order the right size read description
Awesome looking just clear stain easy to assemble make sure to order right 2 size 36" doors won't cover 72 " closet space you will lose from overlap of brackets learned hard way but reordered 40" perfect love the look
S**V
nice
very sturdy, high quality wood, beautiful design
O**U
Beautiful wood, some assembly required.
Fantastic product. Great quality wood. Note: the dowels do not hold the heavier pieces in place, I had to add long screws to secure the sides from coming apart from top/bottom/middle thicker pieces.
J**G
Cheaper than DIY!
I initially considered crafting my own barn door, but after evaluating the costs of materials alone (excluding my time) the precut barn door kit emerged as the better option. The assembly process was surprisingly swift, taking 15-20 minutes to complete. The door's design features intuitive notches that ensure the pieces interlock seamlessly, secured firmly with screws. The central panels, also notched, slide in effortlessly without leaving any gaps, although ensuring good alignment and squareness helps with this. To conceal the screw holes, the kit includes pegs, and for those who prefer, decorative overlays can be added towards the end using the provided screws. One crucial tip: the door's bottom is pre-cut to accommodate a track guide, so it's important to position it on bottom during assembly. Keep in mind, the hardware for hanging the door is sold separately, necessitating drilling for the barn door rollers. My sole concern is the center panel's material, which is somewhat thinner and less resilient. You can feel it flex when you push on the door. It does its job but I could see kids rough housing and breaking the center section.
D**Y
The verticle slats are 3/8" too short.
I was really starting to enjoy putting this together. The instructions are lousy. When you drop the C1 slat, it fits into the groove of the 84" long board, you then slide subsequent C2 slats on top of each other. When you top it off with the C3 slat the result should be that the boards are 3/8" above where the other 84" board closes it up to make the complete door. What actually happens is, that the boards are flush with the (3) 48" boards so that the Top board that is suppose to lock everything up, only meets those slats, not fit into them. This makes for an unstable fit. The slats have the floating ability to cause airspace. Not good engineering. They must not have made a prototype to work out the bugs. Also, not enough screws to go all around. Should be just a tad larger because the angle boards are warped. You need to be able to have more bite into the wood to draw the boards flush, and take out the airspace between them and the door. I haven't got them all put together yet, because I have to go to the hardware store and buy more screws. It appears that if you are going to have any success at all, you need to glue! glue! glue! Also, be sure that you run the long screws all the way down. I didn't understand that I needed to measure how far they went in, so as to not have the dowlings that you plug the hole with stick up past flush and find your self thinking you have to cut them down and file or sand flush. I learned the hard way.
Trustpilot
4 days ago
2 weeks ago