


Buy anything from 5,000+ international stores. One checkout price. No surprise fees. Join 2M+ shoppers on Desertcart.
Desertcart purchases this item on your behalf and handles shipping, customs, and support to Tunisia.
โจ Restore brilliance, skip the hassle! ๐
The CERAKOTEยฎ 
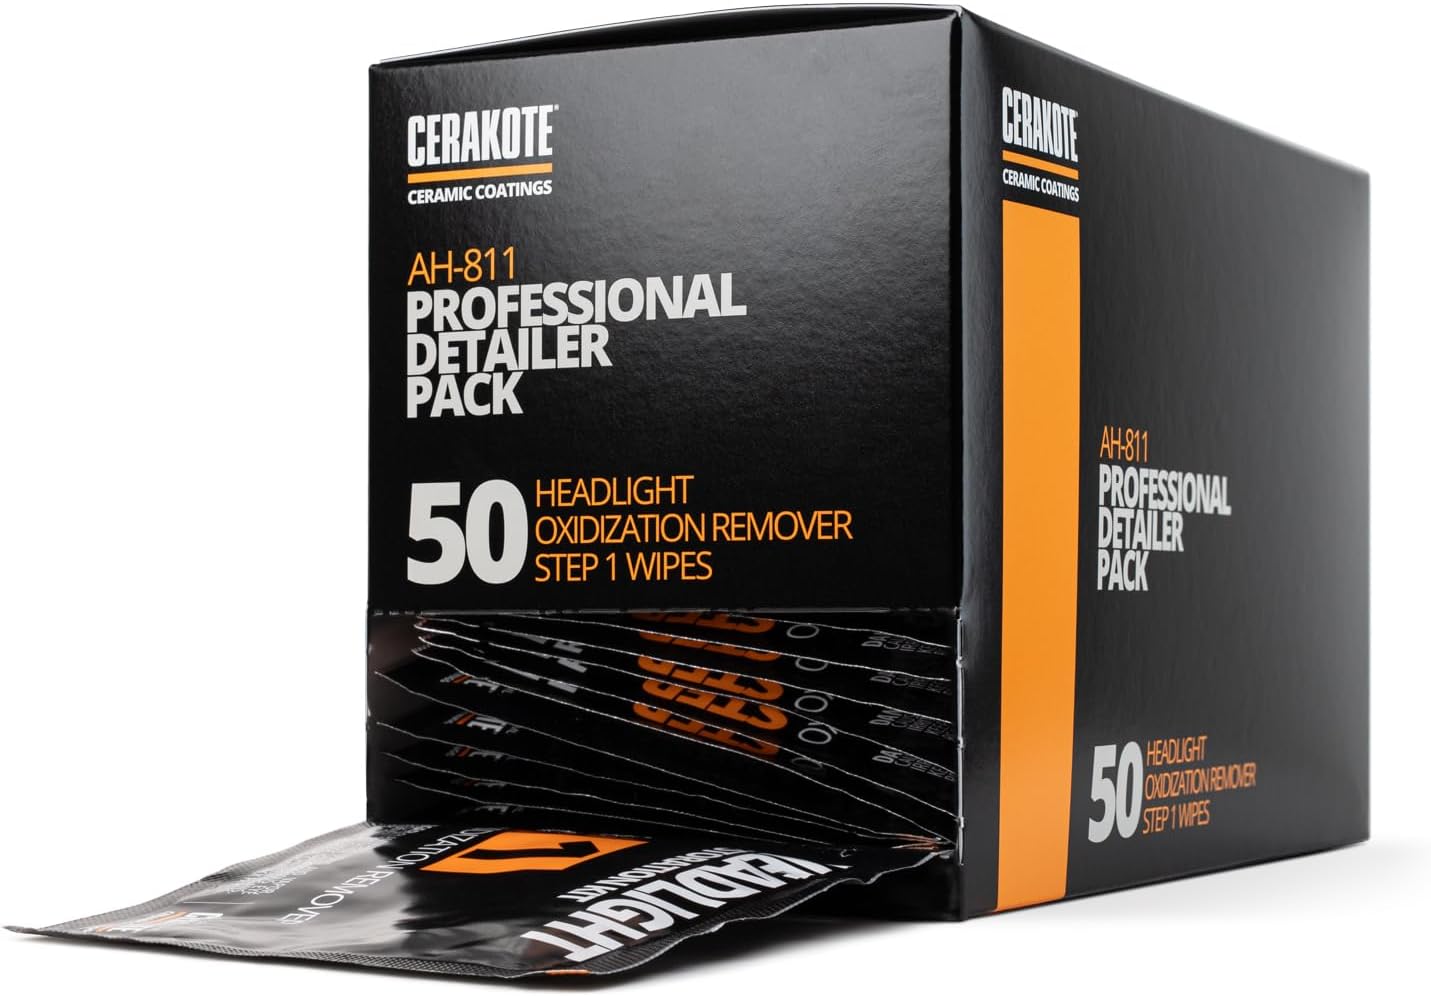
Ceramic Headlight Restoration Professional Detailer Pack includes 50 Step 1 Oxidation Removing Wipes engineered to quickly and effectively remove hard oxidation from old and faded headlights. Designed for professionals and enthusiasts alike, this kit restores clarity in minutes without power tools and covers over 6 vehicles per pack, prepping surfaces for superior ceramic coating application.


| ASIN | B08DDJ49X7 |
| Best Sellers Rank | #12 in Automotive ( See Top 100 in Automotive ) #1 in Automotive Headlight Restoration Kits |
| Brand | CERAKOTE |
| Customer Reviews | 4.6 4.6 out of 5 stars (69,906) |
| Date First Available | July 21, 2020 |
| Item Weight | 1.3 pounds |
| Manufacturer | CERAKOTE |
| Manufacturer Part Number | AH-811 |
| Package Dimensions | 8.4 x 5.7 x 4.3 inches |
| Position | Front |
C**N
Very happy with the outcome, worked perfectly
I was very happy with the CERAKOTE Ceramic Headlight Restoration Kit. The instructions were simple to follow, and the whole process was much easier than I expected. My headlights were cloudy and dull before using it, but after completing the steps, they looked dramatically clearer and much closer to new. The kit included everything needed, and I liked that it did not require any extra tools or complicated equipment. The results made a noticeable difference in the appearance of the vehicle, and the headlights also seem brighter at night. Overall, this is a great product that does exactly what it claims. I would definitely recommend it to anyone looking for an affordable and effective way to restore foggy headlights.
T**S
Great product thatโs easy and effective
This is a simple straightforward way to turn your yellow headlights back to clear. You can do the full process in under 2 hours or even faster if you have a way to dry the headlight after the scrub. It lasts in the Texas sun and heat for over 2 years without any signs of wear. Application is straightforward and easy with instructions and a QR code for video. After scrubbing allow it to dry fully. For the streak-free shine, make sure you use all the #1 pouches.
Y**Y
works as advertised!
I purchased this kit to renew the headlights on my 2016 Nissan Frontier pick-up. The headlights had become slightly oxidized and dull -- not that bad but it was bothering me and for the price of the kit I figured it was worth the effort to attempt to renew them. All I can say is -- WOW, what a difference. The end result looked like new -- clean, brilliant and bright. Read the directions (2 or 3 times) and follow them EXACTLY. Total time for me from opening the kit to being done was about 2 hours and I was taking my time. This kit is different in that the final step applies a UV resistant coating which really makes the glass super transparent. Great investment in the time and money. I can't stop admiring my new (old) headlights!
A**R
WOW! I am so impressed!!! You need to get this!
I do have before and after pictures, but I'm too lazy to upload them. Trust me when I say that the difference is DRAMATIC. It's as if I have brand new headlights! I took them from foggy/clouded to crystal clear, without even that much effort. And with the ceramic coating, I expect they will stay that way. Here are some tips from what I learned about using the kit. 1. If you are careful, and you're not doing the lights on a big truck, and the fogging isn't terrible, you can split the supplies in half and have enough left over to do another car! 2. It's not a bad idea to tape off the headlights through steps 1 and 2 (initial chemical cleaning, and especially, sanding). Even though I did this, I still managed to sand off a thin line of paint right next to one of the headlights. That was entirely my fault. 3. You can't really sand too much. I actually did it twice. Instead of going by the clock (they say 3 minutes per pad), I just told myself I would use the applicator twice on each piece of sandpaper, and then take off the sandpaper to sand by hand a third time. In other words, three passes with each grit, for a total of six passes per light. That worked out well, and it wasn't too hard, either. Just be careful you don't sand the paint on your car! 4. Bring a roll of paper towels with you before you start. I spent a lot of time running back and forth to the house. You won't need the whole roll. I used about ten towels, total. So bring a roll, and save yourself some time. 5. Make sure you set aside an hour to do the job, and another hour to let it cure. That's about how long it took me, and I'd never done it before. I believe I can do it again in under 45 minutes, easily. But you'll still need an hour for the final coating to cure. If it's raining, you won't be able to do this work. Also, you should work in the shade. I don't think it would come out very well if you do it in direct sunlight. 6. You will definitely need a spray bottle, filled with water. A 16 oz bottle would be about right. I used a little tiny 2 oz bottle, and had to refill it numerous times. 7. When they say to keep the surface of the headlight WET while you sand, they mean it! Your work will come out much smoother, and go faster, if you do that. If not, you end up with a gunky mess that you will have to clean off anyway, and probably have to sand some more - so why not spray while you go? 8. Be sure to use those paper towels to clean things around the lights very well between each step. It just makes the job easier when you don't have to worry about ruining your paint with the chemicals, and you get all the sanding glop out of the way, so you can see if you are sanding your paint, and not your headlights! 9. Be sure to REMOVE THE TAPE before you begin step 3 (ceramic coating). Then, use a hair dryer to THOROUGHLY dry out the surfaces around the lights (and the lights themselves) before you start coating the headlights. This last step 3 is crucial to performance, and is why this kit is so special. It takes no time at all to do the work, like rubbing alcohol once on the headlight surface. But the chemical isn't alcohol, and it's very strong, so prepare well - you don't want to have to stop in the middle of the application. Dry out those lights and surfaces first (because the chemical coating does not play well with water, at all)! Then know that putting on that coating only takes about 15 seconds per light. You just coat it once, with 50% overlap, wipe off any of the chemical that's dribbled onto your paint, and then DON'T TOUCH THOSE HEADLIGHTS FOR ONE HOUR! Let them cure, and they will be like-new! Again, this kit is marvelous. If I had known the end result would be so amazing, I would have taken it out of the box much sooner. I am going to do my wife's car next. It really is the best thing I've seen to do this job. Somebody put a lot of thought into this product, and you can tell. Not too much work for an absolutely fantastic end result!
C**R
Best product I've tried so far but still temporary. YMMV.
This product really does work. It is the best I've used. I purchased in September 2024 and am writing this review in May of 2026, roughly one year and 8 months later. I noticed product failure a little after a year after application and it has been degrading slowly since. Currently the product is visible like a layer of clear paint flaking off and you can physically scratch some off. Here are the pros and cons. Pros: Clarity, relative ease of use, value Cons: Taping and sanding, doesn't last for as long as you own your car as claimed Best used as a temporary fix. Bottom line, would I use it again? Yes. What am I doing today? Replacing the headlights completely. Why? I plan on keeping my car for longer than a year.
A**Z
I can see the light!
I love my car. It is my baby. But somewhere between life, busy schedules, and total neglect, my babyโs headlights started looking like they had a severe case of cataracts. They werenโt just foggy; they were begging for some serious TLC. I was genuinely worried Iโd have to start driving with a flashlight taped to the hood just to return it to its former glory. Enter this kit. I am not exactly what youโd call a "master mechanic," so I opened the box with a healthy amount of skepticism. But the instructions were so easy to follow that even I couldn't mess it up. Step one, step two, step threeโidiot-proof. The real shocker here was the quality of the tools included. Usually, these DIY kits give you sandpaper that disintegrates if you look at it wrong and a microfiber cloth the size of a postage stamp. Not this one. Everything felt high-quality, durable, and up for the task of wiping away years of absolute neglect. After a little bit of elbow grease, the results were nothing short of amazing. The transformation was instant. My babyโs eyes went from "haunted house chic" to "fresh off the dealership showroom floor." It looks incredible, it sees incredible, and my pride has been completely restored. If your car is currently crying out for a glow-up, buy this kit right now. 10/10, highly recommend!
A**Y
You will not regret buying this! My headlights look brand new!
I was very skeptical when I saw this on Amazon, but man they were right, it works for the average person too! Now I see why some people do this for a living. It was easy. Just a 3 step of chemicals. I couldn't believe the results and can't stop staring at my headlights! It made my car look 5 years newer. I wish I would have done this sooner but I was afraid of creating more damage. Now all my friends and family want to do the same! I just bought another kit for my boyfriend's truck now that we know how amazing these results are! I have trouble seeing in the dark and I think this will be a big help. The instructions are clear and the video is super helpful to follow each step.
P**R
Incredible results
I can only speak to initial results, but oh man this is an amazing product. The instructional video doesn't really do justice to the elbow grease and time that goes into it, but it was well worth the effort and very satisfying. The video is very detailed and walks you through every step of the process and explains how the product works. I've "restored" my 2012 toyotas headlights before but it didnt come close to looking this good. Took me about 3 hours all told (to be fair I was very thorough and this includes the dry time after sanding). I couldn't be happier. It successfully removed all the cloudiness and my headlights look brand new. I'll have to update after a couple of months when I see how well it holds up to the Arizona summer. Very pleased right now though!
G**E
Great results if you follow instructions
Great product. I used this on a 2010 Toyota Yaris headlights. The left side headlight had yellowed from sun exposure, as a result of being ungaraged for 16 years. The right side looked ok. I followed the instructions carefully for the left side headlight and found it took less than 30 minutes to prep and apply. The end result was that the light looked almost as clear as new. However it was so good that it made the right side look old by comparison, and so I then treated the other side too! This does also mean both headlights now have UV protection and should have future aging delayed on both sides. The quantity of chemical on the wipes is ample for two headlights, I also had sufficient excess to apply to the Plexiglas screen of my motorcycle. The box contained a QR code for a YouTube tutorial video that is essential to watch. The process isnโt difficult but it identifies where water must be used and where the lights must be meticulously dry. This has made a great improvement to the aesthetics of the car and is cheap and easy.
N**E
Nice and good
Nice and good
G**O
Fari come nuovi
Ottimo prodotto, ho seguito le istruzioni alla lettera ed il risultato รจ stato ottimo, ora i fari sono come nuovi. Consigliatissimo
D**K
Excellent product.
Works.
F**A
Increadible results
If you you follow the instructions carefully and work patiently it is really worth it. The sanding part takes some time, especially if you haven't done this before. However the headlights looked like brand new afterwards. Hopefully it lasts a long time.
Trustpilot
3 weeks ago
1 week ago