Description
🛠️ Patch it. Wear it. Own the waves.
- PORTABLE PRACTICAL - Compact kit that fits in your gear bag—be ready to repair anytime, anywhere.
- EXTEND YOUR ADVENTURE - Save money and reduce waste by prolonging the life of your neoprene gear effortlessly.
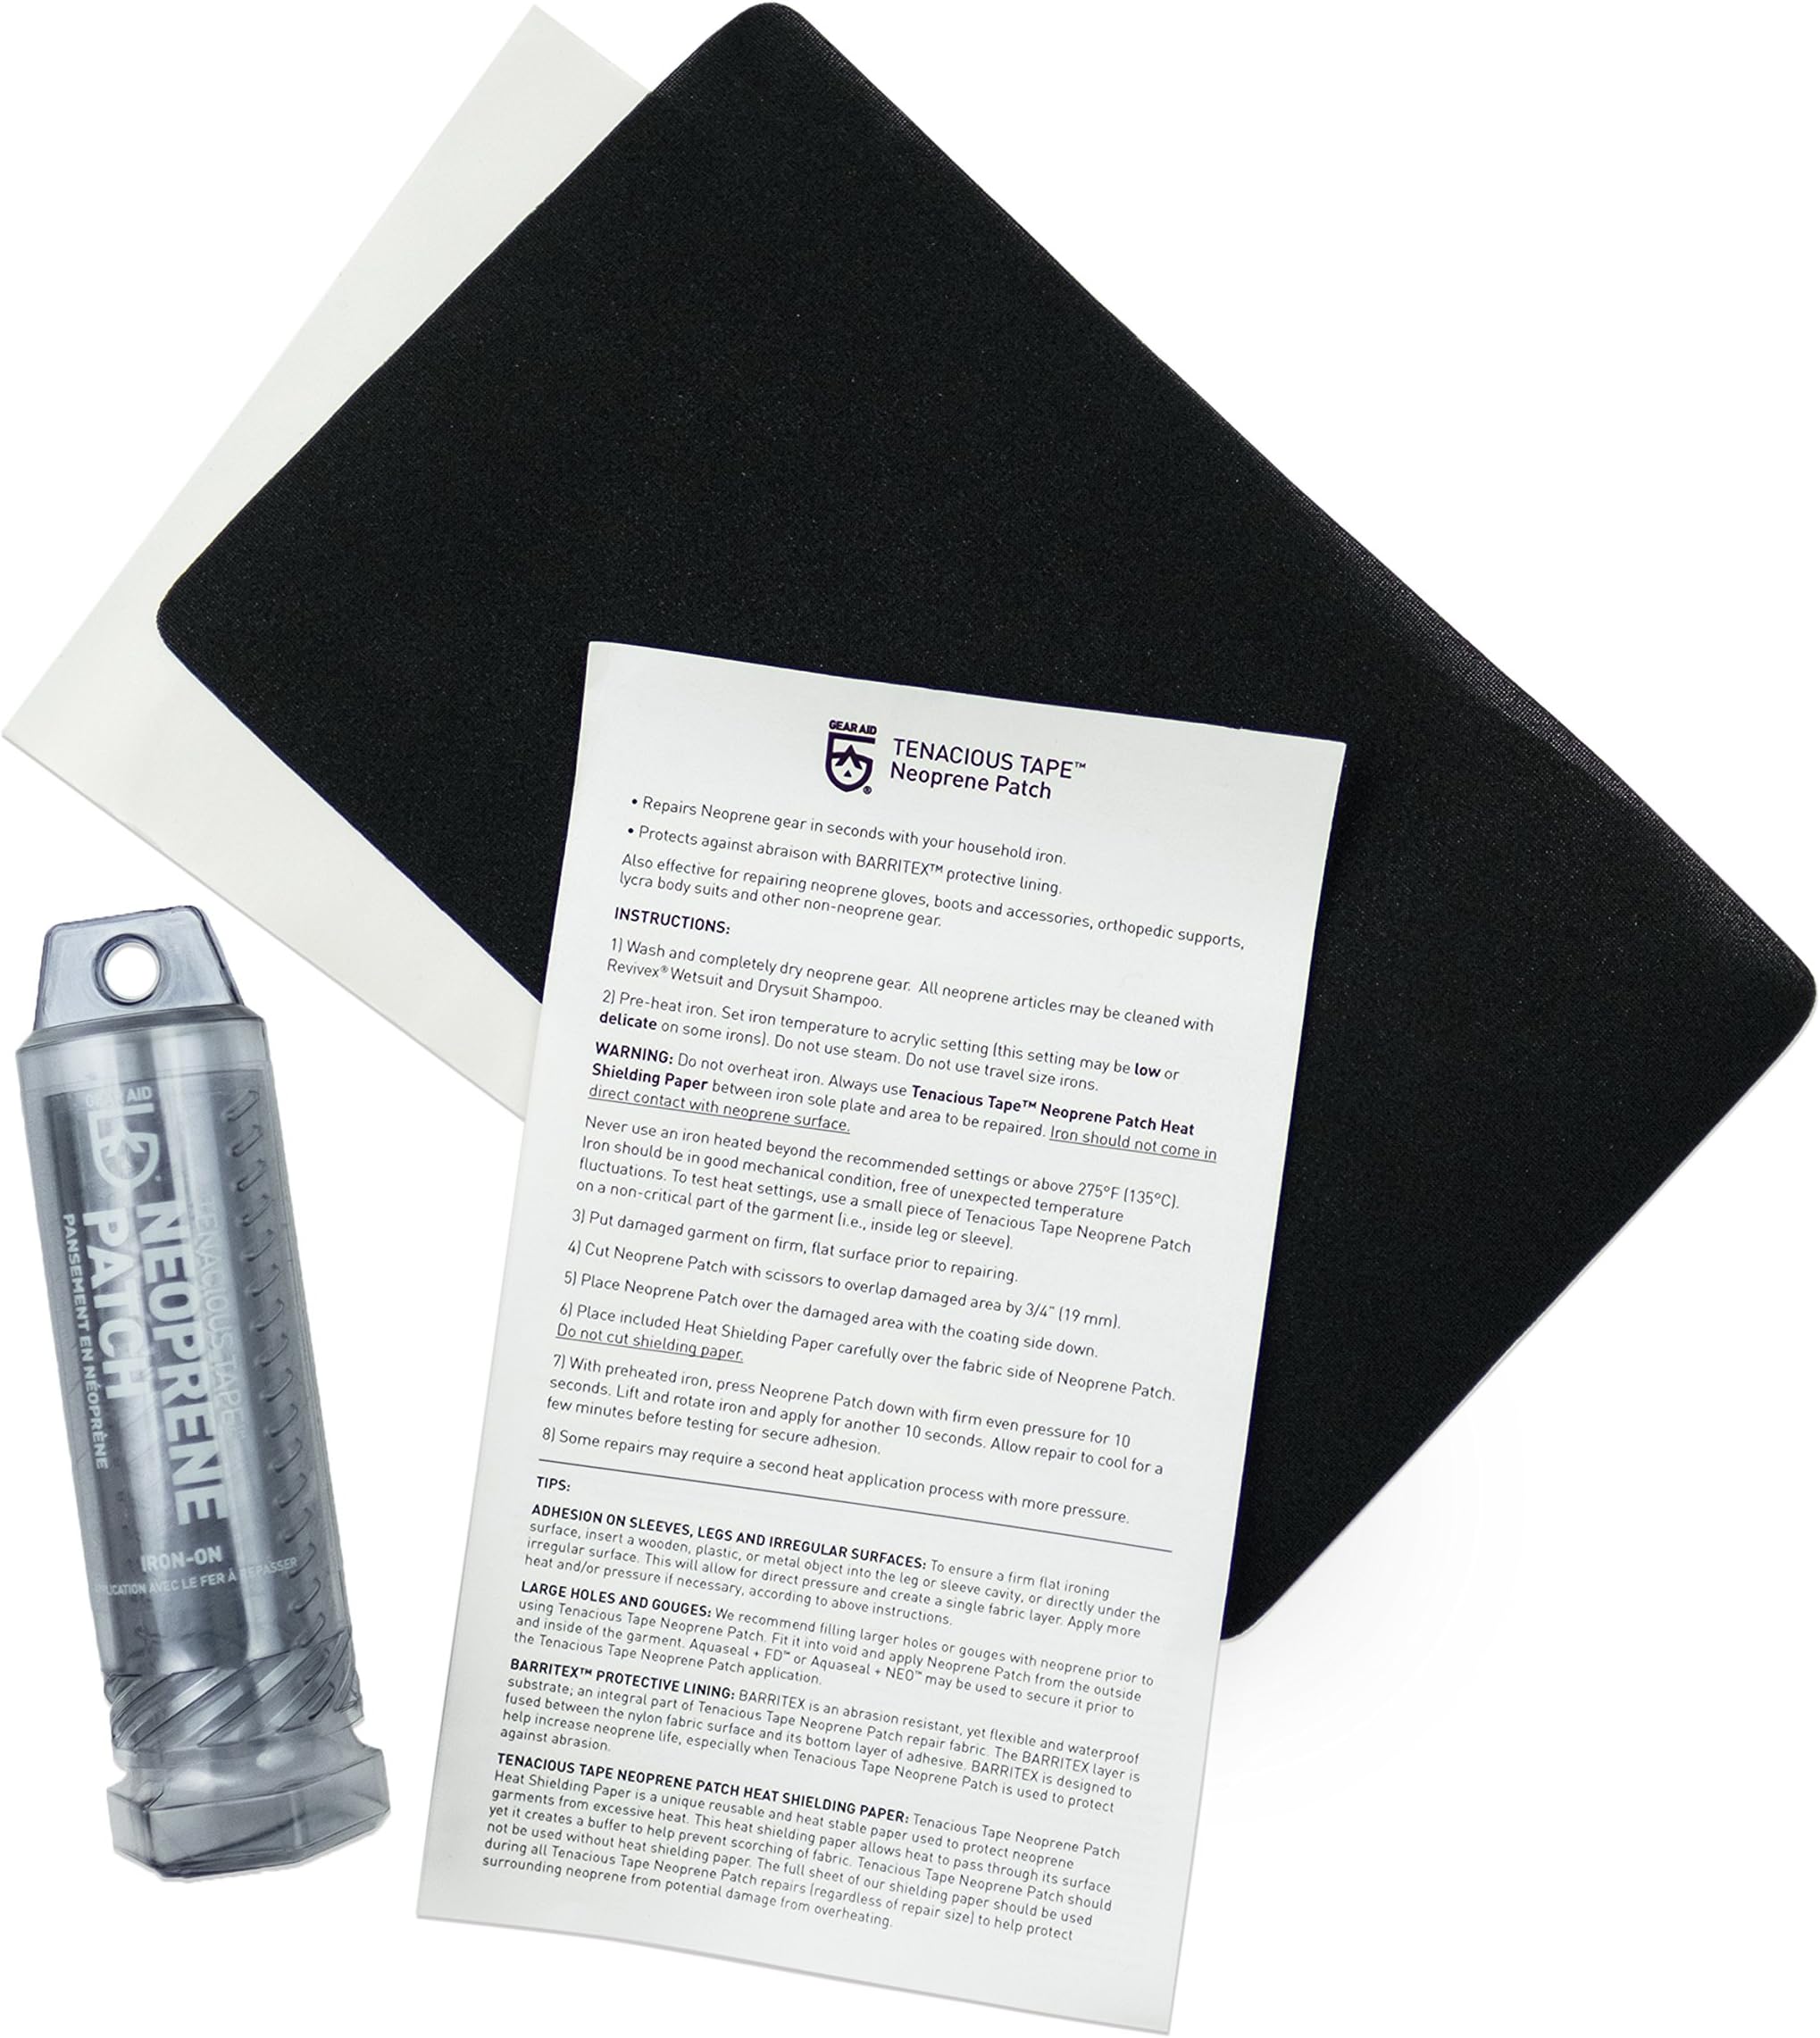
- TAILORED TO YOUR GEAR - Cut the large 10”x6” patch to perfectly fit wetsuits, drysuits, booties, gloves, and more.
- INSTANT NEOPRENE REVIVAL - Fix tears and rips in minutes using just a household iron—no special tools needed.
- BUILT FOR HIGH IMPACT ZONES - Reinforce elbows, knees, and other wear-prone areas with durable, stretch-friendly fabric.
The GEAR AID Wetsuit Repair Kit features a heat-activated 10”x6” neoprene patch designed for quick, permanent repairs on wetsuits and other stretch fabrics. Easily cut to size and applied with a household iron, it reinforces high-wear areas like elbows and knees, extending the life of your gear while resisting abrasions. Compact and versatile, this kit is a must-have for any water sports enthusiast aiming to keep their equipment in peak condition.