Desertcart purchases this item on your behalf and handles shipping, customs, and support to Tunisia.
๐ง Silence your floors, amplify your homeโs vibe!
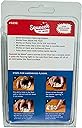
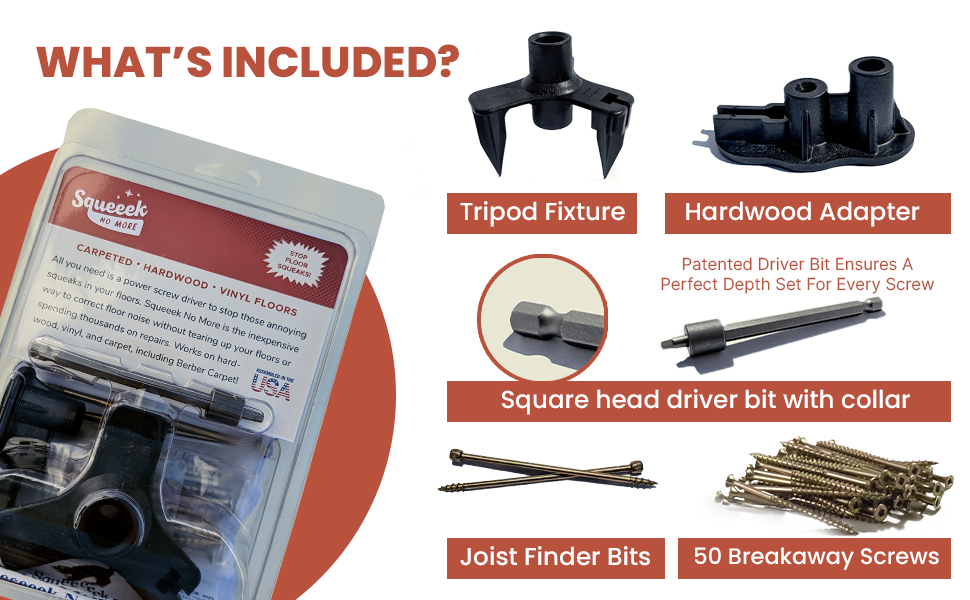
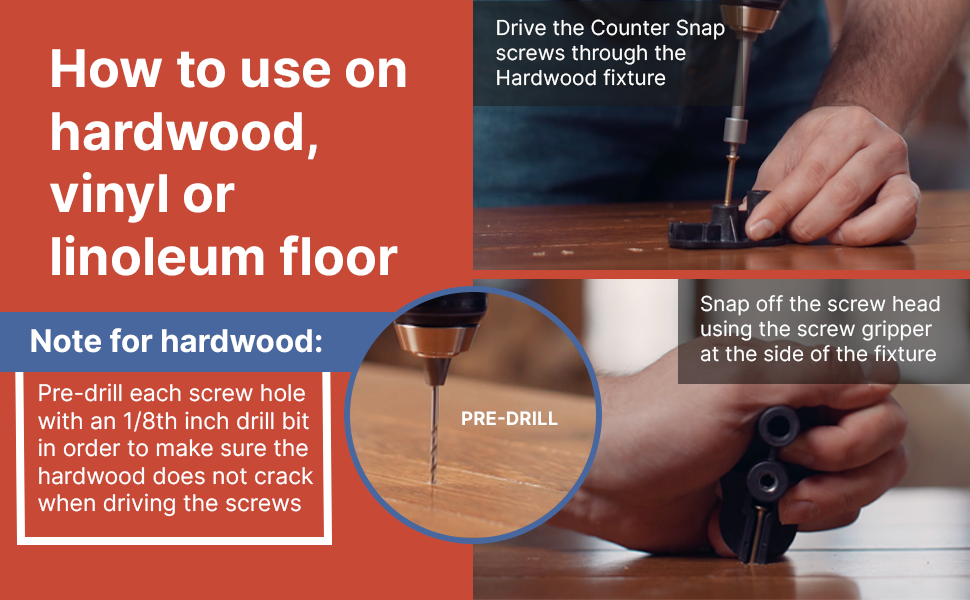
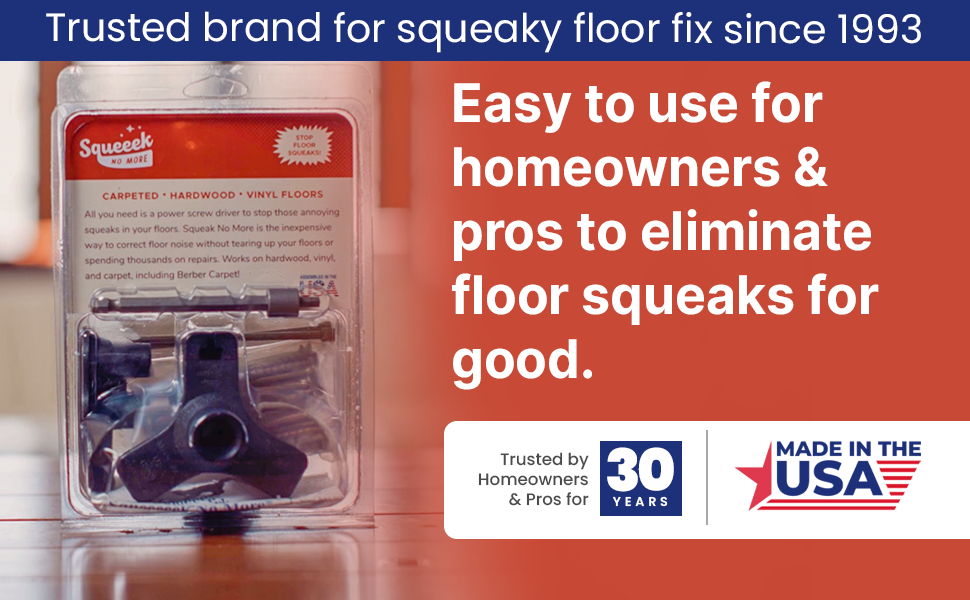
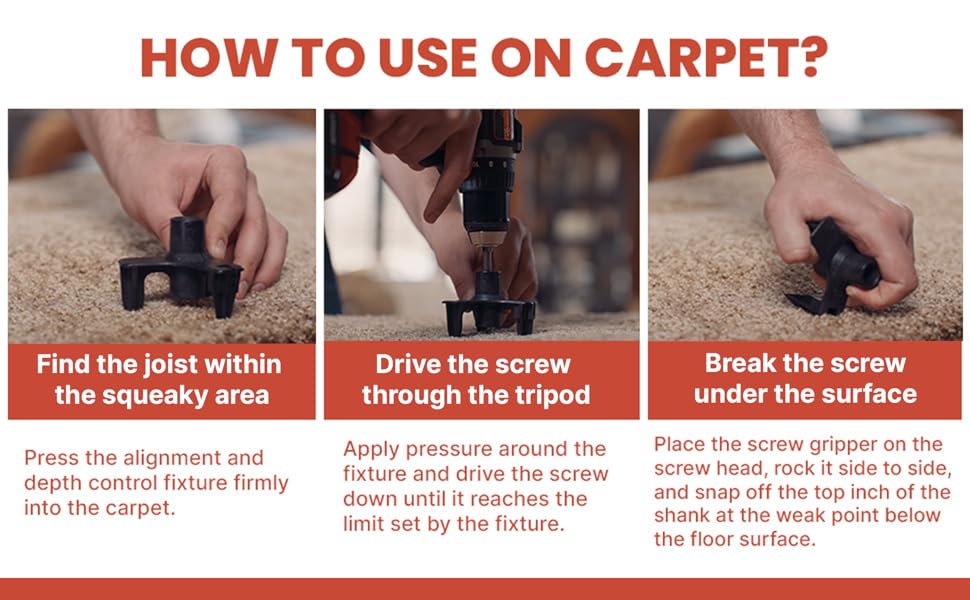
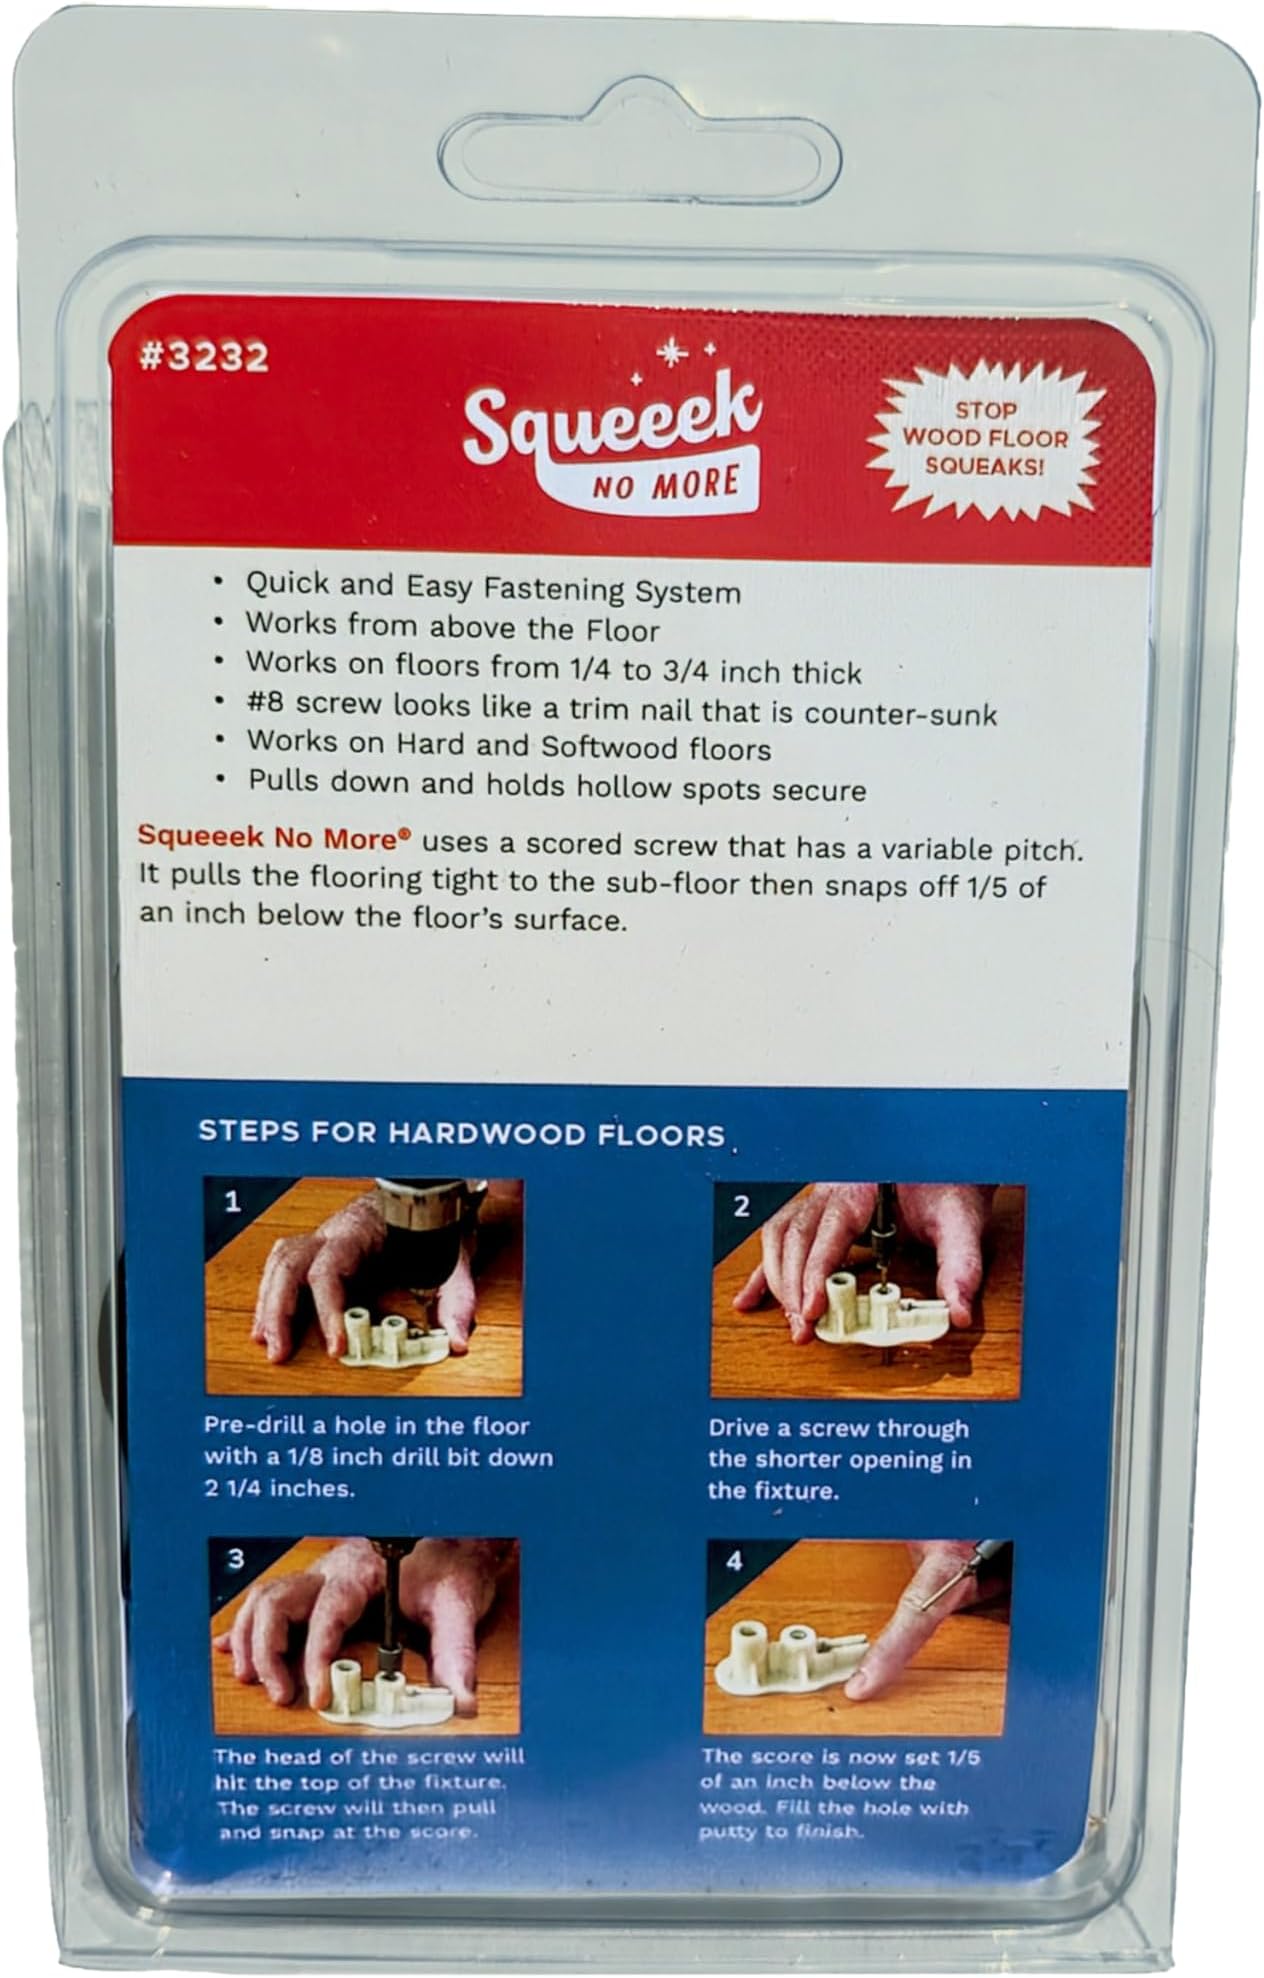
The Squeaky Hardwood Floor Repair Kit by Squeeek No More features 50 zinc-finished snap-off screws, a driver bit, and a counter snap fixture designed to eliminate floor and stair squeaks by securing joists beneath hardwood and vinyl surfaces. Its innovative scored screws snap 1/4" below the wood surface for easy concealment with wood filler, delivering a clean, professional finish without invasive repairs.


| ASIN | B01E62LHM2 |
| Best Sellers Rank | #19,887 in Industrial & Scientific ( See Top 100 in Industrial & Scientific ) #2 in Flooring Nails |
| Brand | Squeeeeek No More |
| Color | Brown |
| Customer Reviews | 4.1 out of 5 stars 1,066 Reviews |
| Fastener Type | Snap-Off Screws |
| Finish Types | Zinc |
| Grade Rating | residential |
| Item Dimensions | 6 x 6 x 4 inches |
| Item Shape | Round |
| Item Weight | 9.6 ounces |
| Item dimensions L x W x H | 6 x 6 x 4 inches |
| Material | Steel |
| Material Type | Steel |
| Model | 765806032517/765806032326 |
| Number Of Items | 50 |
| Number of Packs | 1 |
| Number of Pieces | 50 |
| Part Number | 765806032517/765806032326 |
| Screw Head Style | Trim |
| Set Name | Squeeek No More Hardwood Floor Repair Kit (50 Screws, 1 Driver Bit, 1 Counter Snap Fixture) |
| Size | One Size |
| Size Name | One Size |
| Thread Size | 8-32 |
| UPC | 644730140317 |
| Unit Count | 1 Count |
E**P
Awesome product that fixed my squeaky stairs!
This product is amazing! My house has a 115-year-old staircase whose squeaks are loud enough to wake the dead. I was researching options online, and even contemplating ripping all the basement drywall off to get at the stairs from underneath, when I found this product. While it is designed for floors (I think) it works just as well for stairs. The key is to get the nails into the stringers (the wood that supports the entire staircase). For each step, I put one nail in each side of the stringer, and then also one nail into the riser on the front of the stair in the center of the step. This worked really well, and solved 90-95% of the stair's squeaks! It's an old staircase so it won't ever be perfectly silent, but it's a HUGE improvement. I did end up with two nails that didn't get far enough in before they broke, and that was a bit of a hassle to fix, but since it stopped my stairs from squeaking, I'm not too upset. I used a Dremel cutting bit to remove the excess screw from the stairs and then puttied over the hole. The screws are pretty neat in how they work and I was impressed at how small the hole left behind was (see photo)! You can see the puttied holes from the nail holes, but my stairs are far from perfect already given their age, so it's fine with me. If you put more effort than I did into finding an exact stain color match, I bet you could just about completely hide all evidence of the nail holes. Suggestions: -Use a smaller bit than 1/8" - I used the next size down -Use the "soft wood" method - this gives you more control over when the screw breaks so you have less chance of it breaking early and ending up with the nail sticking out of the floor -When you pre-drill the pilot hole, make sure you are actually drilling into the stringer/joist. If you aren't, then the screw isn't going to do anything to fix the squeaks. It needs to grab onto the stringer/joist in order to tighten the floor. I could actually hear my staircase "creaking" as the screw did its work tightening everything up. -You'll need wood putty and a stain/paint color to touch up the floor with after
A**R
Product worked as described
This product works as described. I recommend , if you decide to go this route , buy a good stud finder. Make sure you drill a small exploratory hole to make sure you hit the stud and when you do , then use the 1/8" drill to make the adequate size hole for the screw. Also, and this is important , make sure the screw and jig are perfectly vertical so as to not cause added resistance . I eliminated 5 squeaks using 5 screws. Matching the wood puddy is crucial for hiding the screw holes.
D**D
This system seems to work well for my needs.
I think these types of screws work well I used them on my engineered hard wood floor using a long drill bit then I went downstairs in the basement to see where the bit came through and marked it to place a 2x4 between the joists to drive these screws into the 2x4.
T**I
Took too many screws to fix the squeak.
Find a less invasive solution. This solution works, but you might need a lot of screws to stop the squeaking area, which means lots of patching and stain matching for hardwoods floors. I needed so many screws to stop the squeaking, that it messed up my hardwood floor. Youre supposed to find the central location of the squeak and then target it to stop the noise. Fixed that, and then the parts around it still had a squeak. So, if you have a simple issue with one or two floor planks, the product might work better for you. But for larger areas, just work on fixing the underlayment. The screws are long and most of them didn't just break off like in the video -- it took wiggling and "elbow grease."
G**.
Hallelujah, it worked
Praise the heavens above this actually worked. I had to use two screws but it worked. I had already crawled under my crawl space and put probably eight screws in going from the side of the joist into the subfloor while my friend was upstairs jumping up and down on the floor and the squeak never went away So I tried these things and I had to use two but the first one stopped it mostly and the second went about 6 in away stopped it completely I followed the directions I drilled a little hole first stuck a paper clip down and then actually went under my house to see where that hole was that I measured and knew to move over 1 and 3/4 in to where the middle of the joist was. Then I follow the directions and put two screws in right into the middle of the joist where this week was happening. And now I can jump up and down on this thing and it is quiet. Now I can sneak in and out of the house without anyone knowing ๐ The picture shows three holes before I filled them with any putty, which it does not come with by the way you'll have to find some at home Depot that matches your floor, the first hole was the one to find the joist, and the second two are right in line on the joist where I put in the screws
P**L
Does not always work correct
only 5 out of 10 times work as described. Sometimes it will not break at all and the tool is screwed tight to the floor other times they donโt get all the way in before the break and you have metal protruding
A**K
Outstanding product
Incredible. 96 year old house with original hardwood floors, squeaking could be heard throughout the whole home. This product reduced the sounds of the squeaking by about 80%. I've been trying to solve this issue for ages, had two different flooring contractors in who said the only option was to lay down new floors and tear up the old, $10k job right there. $20 bucks on this product and nearly perfect. Whoever invented this is a genius, hats off. Easy install as long as you have a decent drill and 1/8" bit. Get some wood putty from the hardware store and you'll be good to go in 20 minutes.
T**S
This product woked WAY better than I thought it would
This product woked WAY better than I thought it would. I have hardwood floors in my kitchen that are directly above my sons bedroom. The squeaks were driving him crazy. I installed these by first putting blue painters tape on the floor and using my stud finder to find the joists below. I marked the joists on the blue tape with a pen. I then drilled the pilot hole. Before drilling in the screw, I stood on each side of the drill hole to ensure my body weight pressed the floor all the way down. I then used wood putty to fill in the small holes after the screws were inserted. I was really worried about drilling holes in my hardwood floor, but honestly you cannot even tell unless you get on your hands and knees and look real close. Here are some tips that helped me: 1. Measure your pilot hole drill bit with a tape measure to ensure it extends out 2 1/4 inches from the drill. Use the black adapter when drilling pilot holes. 2. Use blue painters tape to mark joist position. 3. Stand on either side of hole when driving in screws. 4. Be patient when trying to remove snapped-off screw head from floor (even when snapped off, the screw head has a small burr at the end that makes it hard to pull out of the floor. 5. I only had to use 8 screws to fix my squeaks, but it was still a pain to alternate between the drill bit and screw drive every time. If you have a lot of screws to use, borrow a second drill from a friend.....you will be glad you did! 6. Double and triple check your joist position with the stud finder. I have a "deep scan" setting on my stud finder and it worked just fine. 7. Make sure that you get the kit specifically designed for hardwood floors if you are using it for hardwood floors.
S**E
Good Product.
Works well. Only solution I can find out there.
B**.
squeeeek!
product works well if you find the joists
L**A
Disappointing
I wanted to try and fix the squeaky floors on our hardwood. The product arrived very promptly and delivered as advertised. The first screw I tried did not snap off and subsequently, I drilled too deep and now the screw is stuck in the plastic guide.
R**T
Resolved my squeaking issue.
Used about 10 screws. 2 broke off above the surface of my hardwood flooring. PITA to fix. You might want to use a slightly bigger drill bit than recommended. Aside from that seems to resolve my squeaking issues and a good idea overall.
J**T
Awesome screws. The name says I all.
Screws did what they claim.
Trustpilot
3 weeks ago
2 weeks ago