Desertcart purchases this item on your behalf and handles shipping, customs, and support to Tunisia.
🚀 Upgrade your Pi 5 with NVMe speed — don’t get left behind!
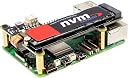
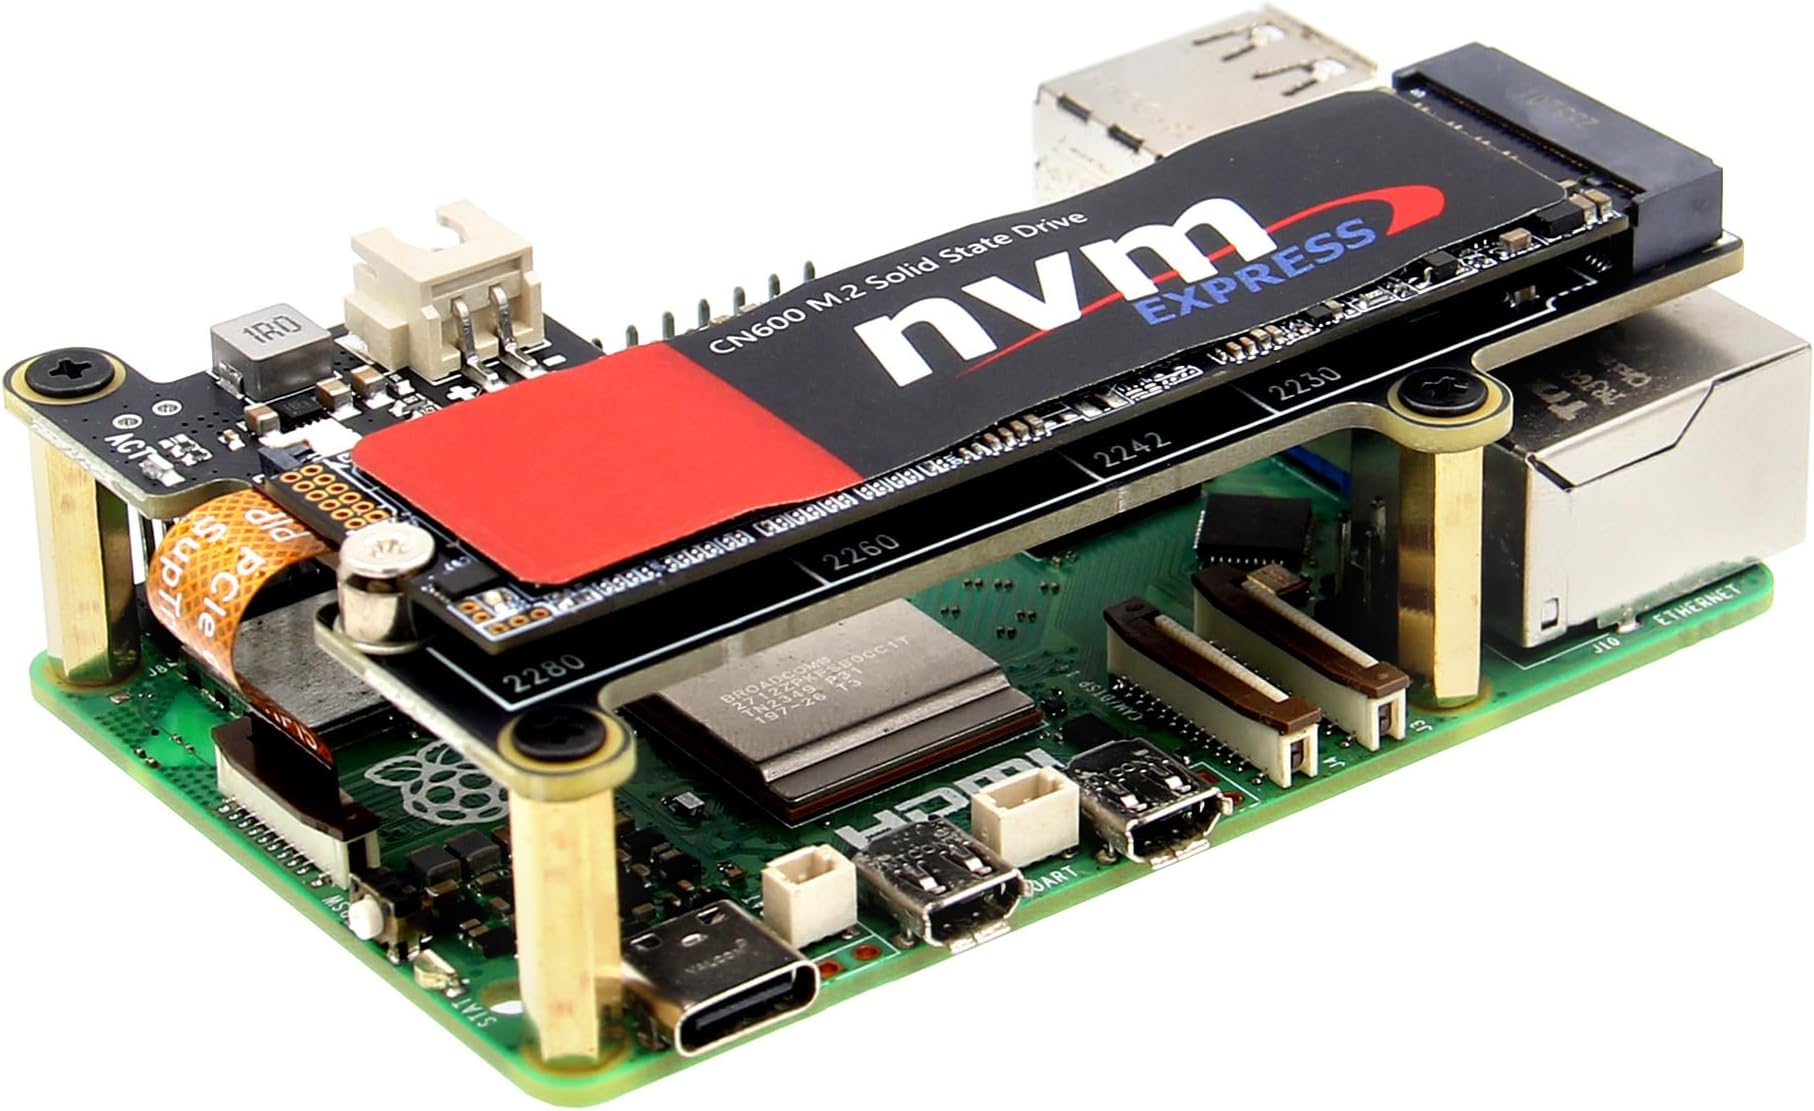
The Geekworm X1001 PCIe to M.2 HAT is a precision-engineered expansion board designed exclusively for Raspberry Pi 5, enabling ultra-fast NVMe SSD storage via PCIe Gen3 x1 interface. Supporting multiple M.2 Key-M SSD sizes, it offers a sleek, low-profile design that fits seamlessly into existing Pi 5 setups, delivering a cost-effective, high-performance storage boost for professionals and makers seeking next-level speed and reliability.


| ASIN | B0CPPGGDQT |
| Best Sellers Rank | #20,648 in Computers ( See Top 100 in Computers ) #294 in Single-Board Computers |
| Brand | Geekworm |
| Built-In Media | 1 x X1001 V1.1 Shield, 1x Screws Pack Accessories |
| Compatible Devices | Raspberry Pi 5 |
| Compatible devices | Raspberry Pi 5 |
| Customer Reviews | 4.6 out of 5 stars 524 Reviews |
| Hardware Interface | PCI Express x1 |
| Hardware interface | PCI Express x1 |
| Item Dimensions L x W x H | 8.7L x 5.6W x 0.1H centimeters |
| Item Weight | 22 Grams |
| Item weight | 22 Grams |
| Manufacturer | Geekworm |
| Mfr Part Number | TB-2023-05 |
| Model Number | X1001 |
| Number of Items | 1 |
| Operating System | Linux |
| Product dimensions | 8.7L x 5.6W x 0.1H centimeters |
| Style | Classic |
| Style Name | Classic |
L**M
Good
New Edit: This drive randomly disconnects while transferring larger files. Anything over about 6GB the device disconnects and no longer works. I do not recommend this. I was a bit dumb installing this. Here is a guide that worked well for me: # Copied: ## How to setup mount / auto-mount USB Hard Drive on Raspberry Pi Follow the simple steps in the order mentioned below to have your USB drive mounted on your Raspberry Pi every time you boot it. These steps are required especially if your are setting up a Samba share, or a 24x7 torrent downloader, or alike where your Raspberry Pi must have your external storage already mounted and ready for access by the services / daemons. Step 0. Plug in your USB HDD / Drive to Raspberry Pi If you are using a NTFS formatted drive, install the following ```sudo apt-get install ntfs-3g``` Step 1. Log on pi using ssh terminal and execute: ```sudo blkid``` You will see something like the following: lrwxrwxrwx 1 root root 10 Jan 1 1970 0AC4D607C4D5F543 -> ../../sda1 Note down the value of the UUID --> 0AC4D607C4D5F543 Step 2. Create a location for mount point: ```sudo mkdir /mnt/volume``` Give proper permission: ```sudo chmod 770 /mnt/volume``` Step 3. Get the uid, gid for pi user and group with id command (usually 1000) Step 4. Mount the USB Drive and then check if it is accessible at /mnt/volume ```sudo mount -t ntfs-3g -o nofail,uid=1000,gid=1000,umask=007 /dev/sda1 /mnt/volume``` Or: ```sudo mount /dev/sda1 /mnt/volume``` Note: ntfs-3g for NTFS Drives vfat for FAT32 Drives ext4 for ext4 Drives Step 5. Now, we will configure RasPi to do this after every reboot: Take a backup of current fstab and then edit ``` sudo cp /etc/fstab /etc/fstab.backup sudo nano /etc/fstab ``` Add the mount information in the fstab file (replace UUID with your own): ```UUID=0AC4D607C4D5F543 /mnt/volume ntfs-3g async,big_writes,noatime,nodiratime,nofail,uid=1000,gid=1000,umask=007 0 0``` Or: ```/dev/sda1 /mnt/volume ntfs defaults 0 0``` Step 6. Reboot ```sudo reboot``` Step 8. (Optional, required if using as data storage for owncloud) If you are configuring ownCloud's data directory on your NAS drive, it should be having a 770 permission for www-data user. You can simply add user www-data to pi group, since its already having 770 as permission as set above in fstab. ```sudo usermod -a -G pi www-data``` ## Alternative 2 This is a short guide on how to connect an External Hard Drive to the Raspberry Pi! Most external Hard Drives are quite juicy and will require a USB Hub to run in a stable manner, so please do check this before trying to install your drive! First step is to plug it in, and then switch on your Pi! It should boot up as normal, so go ahead and log in to Raspian as usual. Step 1. Is it there?! If you want to check for the current storage devices attached to your Pi, simply run the command: ```sudo blkid``` This reveals that we currently have our “Seagate Expansion Drive” attached. Step 2. Check the Partitions We now need to check the boot name of our Seagate’s partition. ```sudo fdisk –l``` Reveals that our drive is located at /dev/sda1 Step 3. Mounting it. Now we know where our drive is, we need to mount it: ```sudo mount /dev/sda1 /mnt/volume``` The folder “/mnt” is the standard location for mounting permanent media, but you can always create your own folder if required using the “mkdir” command. That’s it! Our drive is mounted. Step 4. Permissions. As our drive is formatted in NTFS, we might need to change the /mnt drive permissions in order to enable proper access. Simply run the following command: ```sudo chmod 775 /mnt/volume``` This will change your permissions and allow you to access the drive. To test this, let’s try to create a folder. . . ``` cd /mnt/volume mkdir IMAFOLDER cd IMAFOLDER ``` Great! So we can read and write to our hardrive! Step 5. Automounting our drive. If you want your Hard Drive to mount from boot, we need to set this up! First step is to edit our "fstab" file ```sudo nano /etc/fstab``` This will open up the file in nano text editor: We need to add the following line to have our hard drive mount at boot! ```/dev/sda1 /mnt/volume ntfs-3g uid=1000,gid==1000,umask=007,nofail,x-systemd.device-timeout=30 0 0``` You can now reboot your Raspbery Pi, and your Hard Drive will automatically mount! Step 5. How to unmount. To unmount the drive, simply run the command: ````sudo umount /mnt/volume```` As long as you’re not currently accessing the drive, it should unmount successfully.
J**G
Simple, inexpensive, easy to install, brilliant!
Brilliant! Easy to install and it worked flawlessly. Fits within this GeeekPi Metal Case for Raspberry Pi 5 with Pi 5 Active Cooler, with plenty of room to spare: https://www.amazon.com/dp/B0CMZ84GM8 For some reason two ribbon cables were included. They looked different from one another so perhaps one is just a spare. The board does not block the fan. The Pi is running as cool as it ever has. I am using this Patriot P300 M.2 PCIe Gen 3 x4 512GB Low-Power Consumption SSD: https://www.amazon.com/dp/B082BJ4679 I followed these instructions, don't know if Amazon allows links but if you search for "Booting Raspberry Pi 5 from NVMe SSD" you will find a simple four step procedure which is really only three steps because the fourth one is to reboot the Pi: 1. format 2. copy the system from SD card to the SSD 3. configure the boot order 4. that's it! There is an enormous speed improvement, as you can see in the pictures (before / after). Very inexpensive. Perhaps the most cost-effective improvement there is to a Raspberry Pi. Don't even think about it. Just buy it.
B**N
Works great with a gen 3 NVMe SSD
After following the instructions I was able to set this up fairly easily. I have a USB-C NVMe enclosure so I used raspberry pi imager to install the Raspberry Pi OS on it and then edited the config.txt on the bootfs partition to add the line for PCI-E. Instructions for that is easily found on Google. I have the case from 52pi which holds the active cooler and NVMe board but note that I had to purchase smaller 2.5 standoffs to get it to fit in the case. But it boots up significantly faster and has a noticeable increase in speed. I recommend it. I bought this one because I had a 512gb M.2 2280 SSD so I needed a board that supported the 2280, which this one does. Note - please don't leave a bad review just because you get upset when you can't get it working. I was hesitant to buy this because of a bad review but thankfully I got it anyway. If you have trouble, there are several videos and KB articles available to help you.
M**S
Works very well
I already have a ‘Pineberry hat bottom’ for my other raspberry pi 5. I got another pi 5 and decided to try the Geekworm because it was readily available on Amazon and at $16 it’s very well priced. . It mounts on standoffs with three screws. Another reviewer complained about the double female standoffs making it hard to mount in a case, but if you use slightly longer (2.5 x 12mm) screws, you can mount it through the bottom of a standard Raspberry pi 5 factory case. It was easy to install, and unlike the bottom hat does not block access to the SD card. Also, because it’s only half width it does not block the Pi active cooler. Even with my pi overclocked to 2.9 GHz (+20%) temps under stress-ng, cpu/gpu 100% load temps were below 75C and normal temps were in the mid 40s. I used a Kingston m.2 2280 512GB pcie 4x4 SSD because I had one around. The system boots reliably from that drive and I get around 850 MB/s sequential reads and 750 MB/s writes. I have stress tested the SSD at pcie 3 speed with no issues and it did not require heat sink. Some reviewers have complained about an inability to boot from WD drives. This is not a problem with the adapter but instead is a known issue with the Raspberry Pi. Hopefully this will get sorted out over time. There were some other reviewers who complained about power. Most SSDs will work fine from the 5 watts that is available from the pcie cable. That limit is imposed by the raspberry pi, not by the adapter. If you need more power, the connector is a standard 2.54 mm JST, and you can readily buy a cable here on Amazon. But virtually all pcie 3 drives and most pcie 4 drives of 2 TB or below will work within the 5 watt window, especially considering that only one pcie lane is a use. My only complaint is that the activity light stays on all the time. unlike the Pineberry, it does not blink when the drive is accessed. Other than that I’m perfectly happy with it.
K**C
It just works without issues
It's a tricky install but that's because of the design of the Raspberry Pi itself. This board fits on very nicely and works very well. I do have to get a different case as it doesn't fit in the official case - no big deal I wanted a better one regardless. I did have to image my drive twice to get running. This is again a Raspberry Pi issue not this board. Speed of the drive is phenomenal!
Trustpilot
2 months ago
1 month ago