Desertcart purchases this item on your behalf and handles shipping, customs, and support to Tunisia.
🔧 Master Your HVAC Game with Precision & Power!
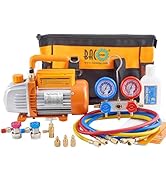
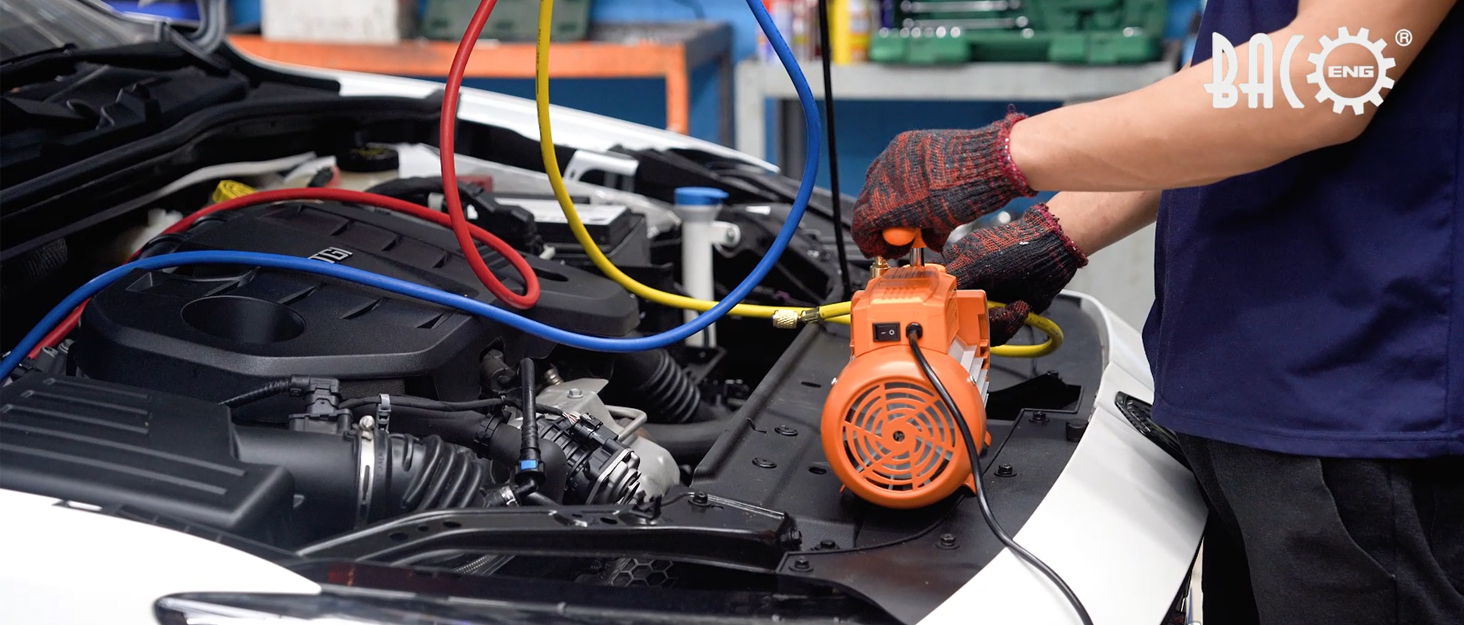
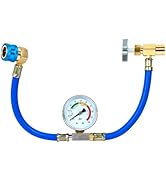
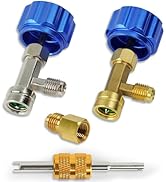
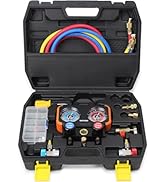
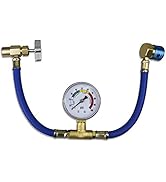
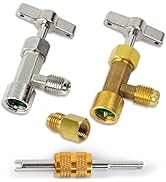
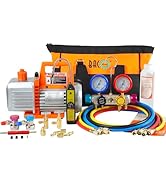
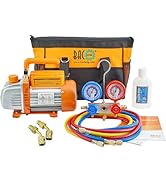
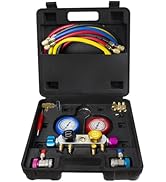
The BACOENG Professional Vacuum Pump & Manifold Gauge Set is a compact, high-performance HVAC toolkit featuring a 4 CFM, 1/3HP vacuum pump and a 4-way manifold gauge compatible with major refrigerants. Designed for rapid diagnostics, evacuation, and charging, it includes durable 5ft color-coded hoses, precise pressure gauges, and a full suite of adapters and accessories—all housed in a portable case for professional-grade convenience.





| ASIN | B07LFR24VP |
| Best Sellers Rank | #68,723 in Automotive ( See Top 100 in Automotive ) #132 in Automotive Air Conditioning Line Repair Tools |
| Brand | BACOENG |
| Customer Reviews | 4.3 4.3 out of 5 stars (582) |
| Date First Available | 8 February 2019 |
| Item Weight | 8.91 Kilograms |
| Item model number | P0288FUSA |
| Manufacturer | BACOENG |
| Manufacturer Part Number | P0288FUSA |
| Product Dimensions | 26.92 x 11.94 x 23.11 cm; 8.91 kg |
M**K
compressor problem
compressor was not working probably although i have added a recommended oil before usage... Manifold Gauge Set ( ok(
J**I
Most Cost Effective Solution For Any DIY
Comparing all the options online, this set by far has been the maximum bang for buck ratio. Take away all the pros and cons, and you are still in the green with this one. Not overly priced, includes all the necesary adapters and hoses, and provides vacuum with a 4th hose being black for suction. I was able to fully restore lost freon after a AC compressor replacement for an 7 year old truck. Not that old but the bearing inside the compressor pulley was showing early signs of failure with bearing noises/clicks. Regardless, one job alone was given an estimate of $250. This kit saved me $100 and now I can do more tune ups for family/friends. Only thing I found annoying about the hose connections was how flimsy and loose they can get even hand tigthening as much as possible. Wont leak but a few jiggles and tosses and it will twist open on its own so guess that is part of the price tag.
M**P
You'll need to buy a 240v-110v transformer for UK use, but works great
The extra item you'll need is the "Yinleader 500w Voltage Transformer" at £42 to provide 110v for the vac pump which has the amps/watts headroom to power the vac pump. My 31yo truck vac'd down nicely with the pump, after replacing a worn through high pressure ally pipe, a new condenser & drier. Having the black AND yellow pipes means that the pump has it's own vac pipe, and using the vac'd system, you can add oil to it on the yellow vac'd line, drawing in the oil under vac, without pulling in air. In all a great piece of kit.
A**R
Works great! Very pleased. So far.
I've only used this kit twice and it works great. Can't say how durable it is but for the amount I use it should last.
S**.
Great kit - can tap won't work.
First let me start by saying for the price I am very pleased. Now, the can tap that comes with it won't work on the new type refrigerant canisters. It is for the old type that was designed to be peirced. Went to the auto parts store and the one they had worked but was acme threads. Fortunately an adapter came with this kit that worked. Aside from that I'm very pleased overall with the kit. Manifold is far superior to the 3 line setup. For those that are a novice like me when it comes to A/C systems follow these instructions and you should be good. (Took me a bit of trial and error) 1. Have a shop evacuate your system to reclaim old refrigerant if it's still under pressure. If like in my case you had a leak, there is nothing left to evaporate. 2.With all the knobs on the manifold in the closed position, Hook blue side to Low service port and red side to high service port. You can't mix these up. They are different sizes and will only fit on the correct port. 3. Connect vaccum pump (make sure you put the supplied oil in it. Don't use pliers on any of these fittings, they are designed to seal hand right. 4. Turn on the pump. And open the black, blue and red knobs on manifold. Make sure the service port quick connects are in the open position as well (note* these go clockwise to open unlike the manifold knobs.) Let it run until it draws down to 30 on the blue guage. Close the black knob (vaccum) and shut off the pump. At this point let it set for at least an hour and make sure it maintains 30 and the needle doesn't move. If it does you have a leak somewhere and charging won't do any good. 5. If vaccum held. Turn the pump back on, open the black knob back up and run for another 30 minutes to make sure all moisture is drawn out of the system. NOW PAY ATTENTION HERE TO THE ORDER OF THINGS. 6.Close the black knob. Shut off vaccum pump and close the red knob (high side) on manifold. You are ready to begin with charging. 7. On your vehicle there should be a sticker that states how much and what type of refrigerant to use mine happen d to be 1lb 14 oz. Keep in mind that all the cans you find will be 12 oz. Doing the math in my case makes for 2 & 1/2 of a can of refrigerant. A small scale can help you to determine the fraction of a can (if needed). 8. Screw in the refrigerant can on the yellow line, screw can tap down all the way and then back a couple turns. Now you need to purge the yellow line of air. This is done my removing the small brass cap and depressing the Schrader valve (like a tire stem). Doesn't need much. Just a quick burst. 9. Start your car. Turn the AC and fan on. Once again make sure the red knob is closed on the manifold. Now slowly open the yellow knob on the manifold. This will allow refrigerant to start flowing into the system. The compressor will start kicking on and off and will gradually drain the can. Look through the window in the manifold and you will see the liquified refrigerant going through. Helps to see when a can is empty as well. 10. Now that you have emptied a can MAKE SURE YOU CLOSE THE YELLOW KNOB. With the yellow knob closed you can remove the empty canister. Make sure to wear gloves as if it's not fully empty you could get frost bite from liquid refrigerant when you unscrew. 11. Attach next canister, purge like before, then open the yellow knob back up. 12. Repeat process until you have the specified amount of refrigerant charged. Hope this helps as I had a hard time finding clear and concise instructions on line. Once again, unless you have old stock R134 cannisters (puncture type) the can tap provided won't work. It's only $7 for a new one. Aside from that I am very pleased with the quality of this set.
I**U
Is made for 110v and us plug not for uk market
The compressor is 110v and us plug. So it’s unusable for uk at 220v. In the pictures of the product is blurred so you don’t clearly see. Waste of time and money as I can’t use it
Trustpilot
2 months ago
1 week ago