


🏡 Revitalize Your Basement with Style!
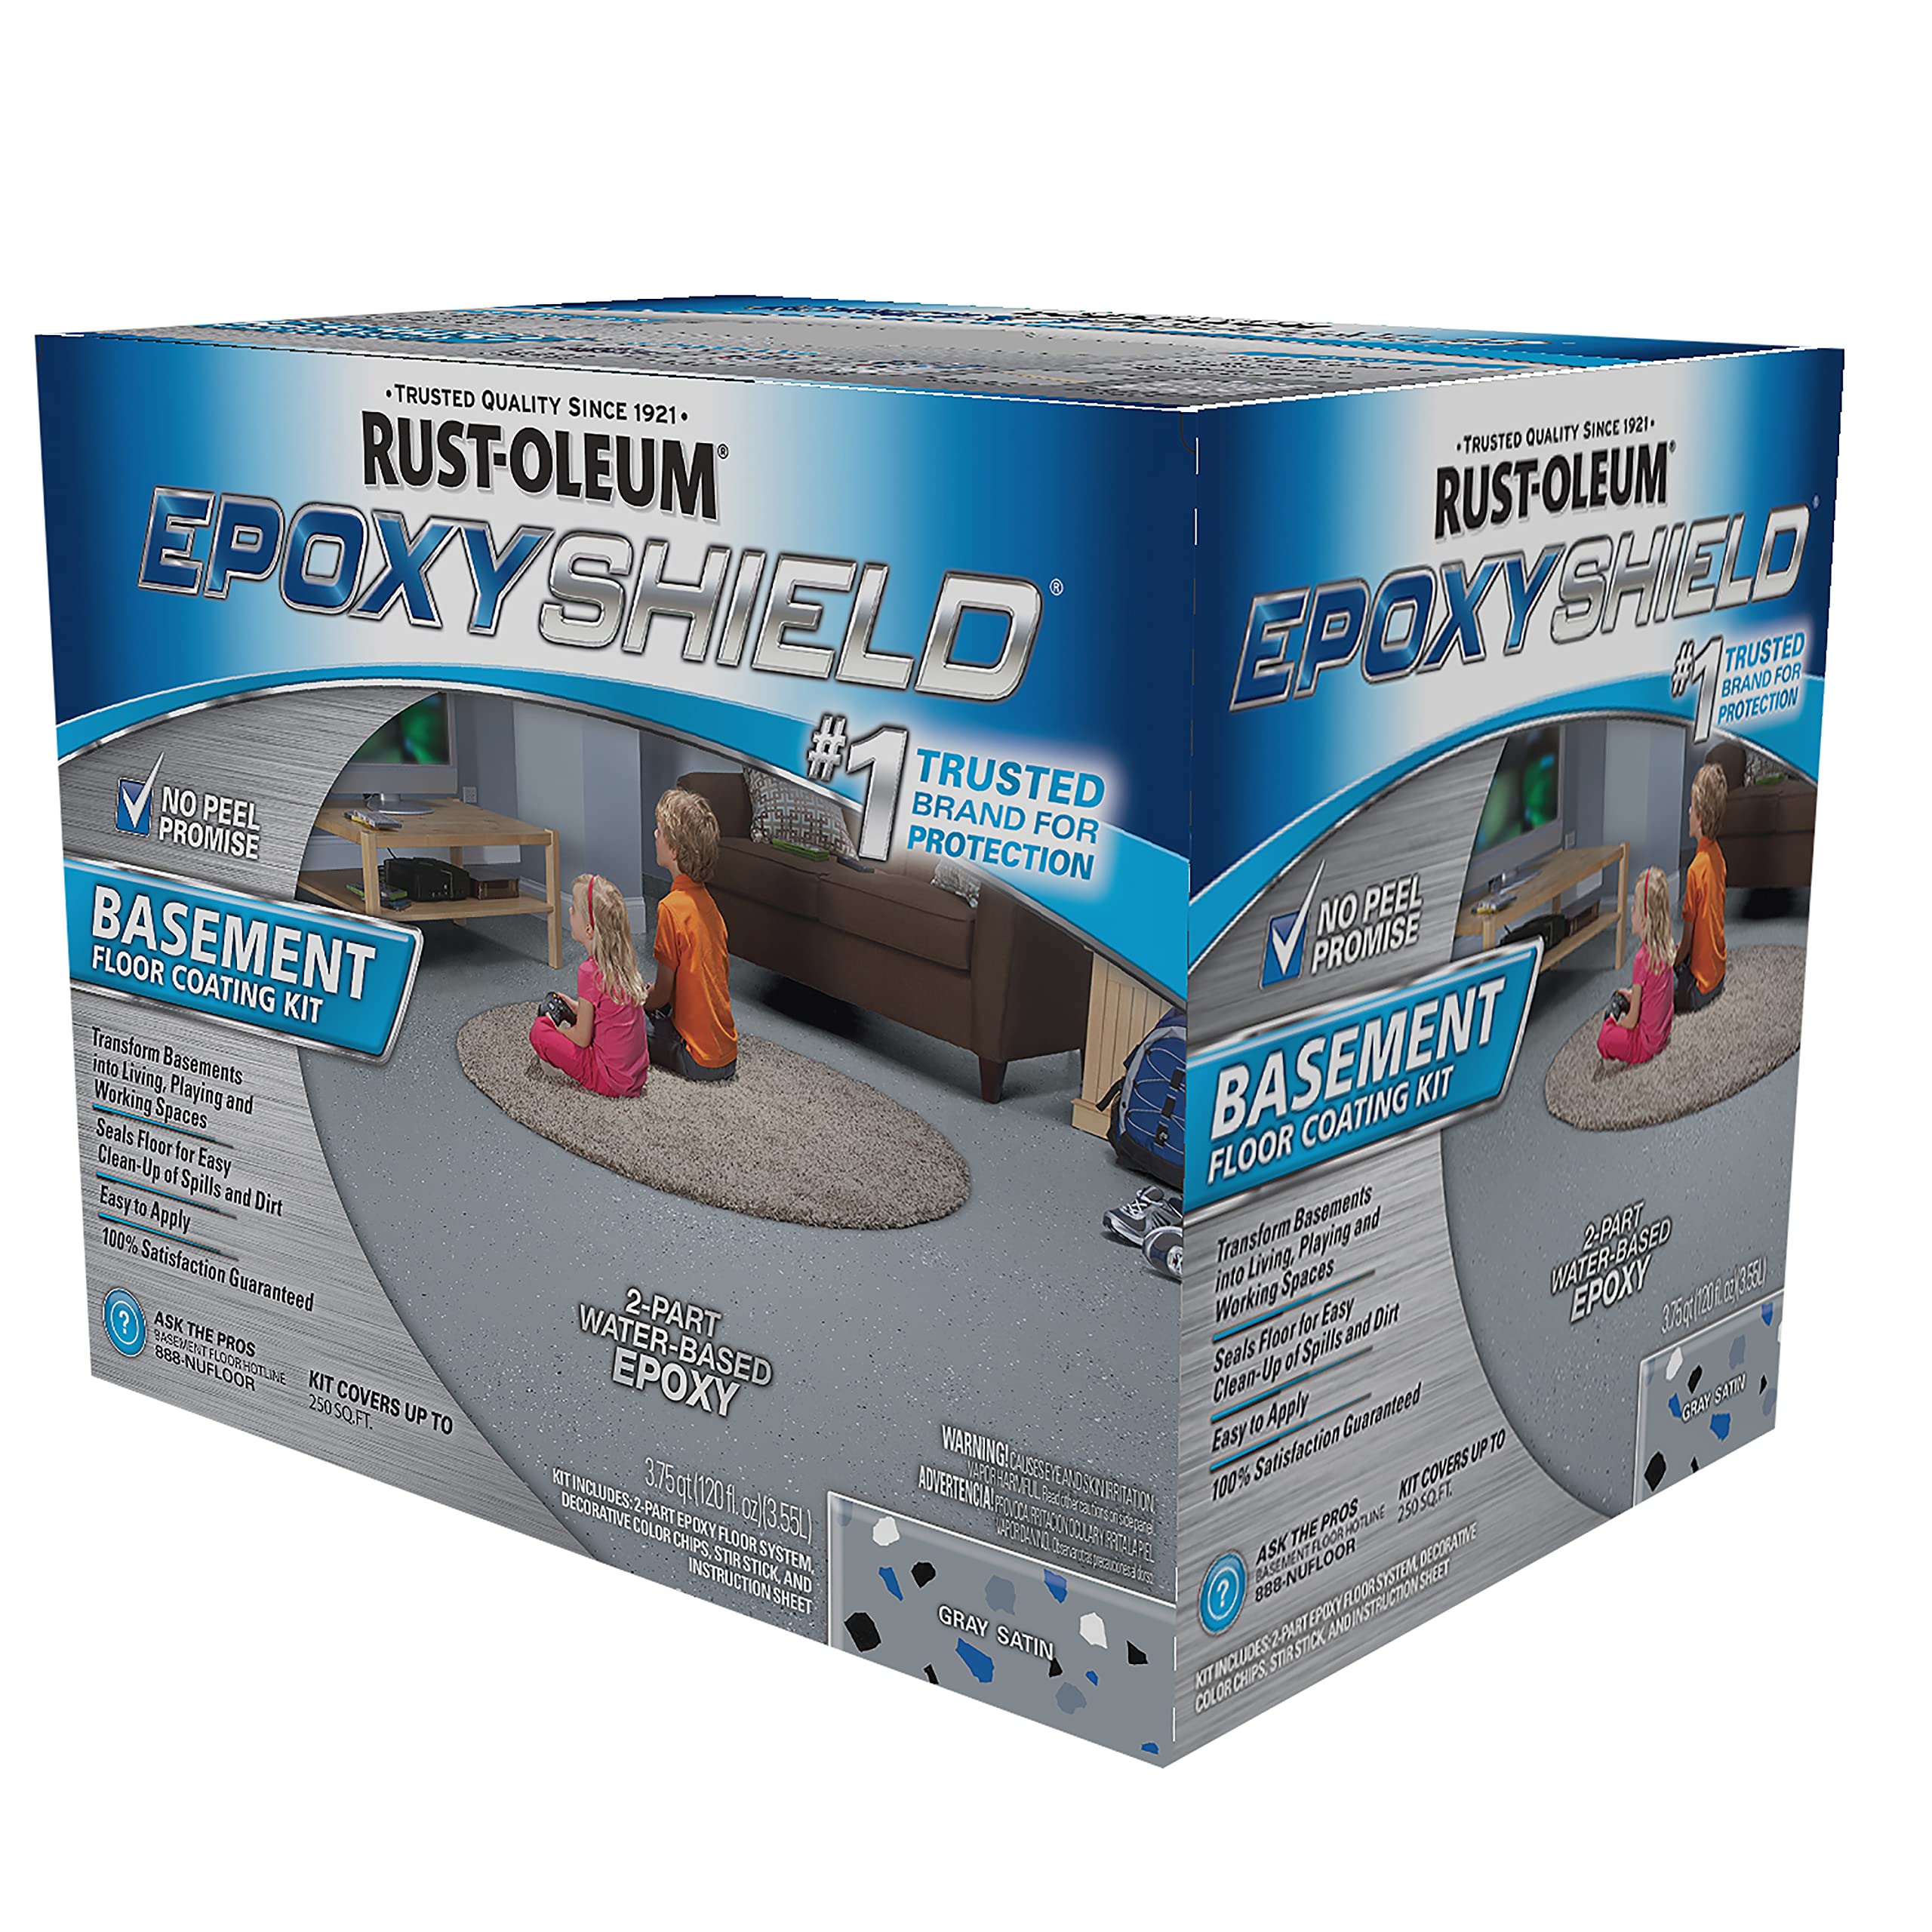
The Rust-Oleum 203007 Epoxy Shield Basement Floor Kit is a premium solution for transforming your indoor spaces. This kit provides a hard, durable surface that resists wear, stains, and abrasions, ensuring long-lasting beauty. With easy soap and water cleanup and a low-odor application, it's perfect for DIY enthusiasts looking to elevate their home environment.
| Manufacturer | Rust-Oleum |
| Part number | 203007 |
| Item Weight | 454 g |
| Product Dimensions | 22.86 x 35.56 x 43.18 cm; 453.59 g |
| Item model number | 203007 |
| Size | 1 Pack |
| Color | Gray |
| Finish | Satin |
| Material | Liquid |
| Item Package Quantity | 1 |
| Special Features | Low odor |
| Specific uses | Interior |
| Included components | tile epoxy adhesives |
| Batteries Included? | No |
| Batteries Required? | No |
M**V
Rough old basement floor with gray decorative epoxy and premium clear coat
I used this product on a 150-year-old basement floor. The floor was very uneven and rough. In one room I had to strip old paint off the floor using a 3200psi pressure washer and chemical stripper for several rounds. I also used the Epoxy-Shield Concrete Resurfacer in this room to fill in some of the major pockets, divots, pitting, and unevenness. I put on two coats which filled in the worse of it, but did not completely smooth the surface (as advertised by the product since it is just for light spalling and pitting). I was fine with this since I was not going for a look-like-new smooth surface.I then used the Epoxy Shield Concrete Etch in both the newly resurfaced room as well as the rest of the floor. This was easy enough to use and clean off.I bought the Epoxy Shield Basement Floor Kit (Gray with blue/black/white decorative ships) to apply epoxy on the floor. I measured out the floor areas and divided it into smaller sections. I then took all the decorative chips, and using a kitchen scale, separated them into proportional groups so I knew how many to apply to each section so as to make sure I had enough and that I applied a consistent amount everywhere. The epoxy was easy to apply using a Wooster Brush Epoxy Glide Roller Cover, however since it was only 1/4" nap and I had a very rough floor, I had to fill some spots in with a brush (as well as all the edges). The instructions state to apply epoxy in 4ft x 4ft sections and then toss the chips. If you try larger sections, the epoxy starts to dry and the chips may not stick as well to it. The epoxy did go on a lot thinner than I was expecting and therefore, because of my rough floor, after it dried many chips were sticking up or had corners sticking up from the surface.Therefore, I read some reviews online and decided to try using the Epoxy Shield Premium Clear Coating. It was a little more expensive but I definitely wanted to put a clear coating of some kind over the epoxy and chips and decided at this point to just stick with the same brand. The clear coating was very easy to use, I didn't even need to use a brush for the edges, just the roller. This time I just used a basic painting 3/8" nap. I used the anti-sliding additive that came with the kit and just made sure to mix the can every time before I poured into my roller tray. It went on really easily and much quicker than the epoxy. Note the smell is quite strong, so recommend opening windows if possible while applying.The end result was very nice, exactly what I was hoping for. The clear coating sealed up all the chips with the epoxy and gave it a nice finished look. See pictures attached, including zoomed-in views on the rough uneven floor.
R**A
Looks amazing!
Our house was built in 1969. The basement is big and open, but sure has a lot of settlement cracks in the floor.I wanted to paint the basement floor to double up our living space. We have a busy 6 yr old, and extra space is always welcome.I read many reviews before buying this product and considered BEHRR brand at Home Depot, but there were too many steps involved...clean, prime, paint, seal...Also the Epoxy brand at Home Depot was only for garages and the kits were $108.00 each.First we filled the settlement cracks with a masonry floor filler, we didn't sand the floor (probably should have but didn't care about making it "perfect", and didn't want to spread lead dust if there was any), then we scrubbed the floor clean with TSP. The floor cleaned up well.The paint arrived within 3 days of me ordering it, the seller was great. We went with the blue/gray color as it matches our laundry tub and support beams in the house.You have to mix the epoxy with the paint and wait 30 minutes before use. For some reason that annoyed me. I'm not patient by nature and thought I could just open the stuff and start working. Either way, not a deal breaker on using this product.Our basement is 1320 sq ft, and I bought 3 cans of this paint, knowing I will likely need to buy 1-2 more. We've had to start painting in sections because the space is so big. One can covered approximately 289 sq ft, it covered in one coat, the flakes are easy to use and adhere well. We used ½ inch nap rollers, and I used disposable foam 3" brushes for cutting in the edges, (mainly because once you use epoxy cleaning it off a brush is a nightmare) When you use the flakes, I suggest raising your hand as high in the air as possible and tossing them as if you're sprinkling confetti. The floor took about 9 hours to be "light foot" traffic dry. I'm pretty sure we are going to buy the "non-slip" additive to put around the laundry area, this paint is slippery if it gets wet.It took my husband and I about 40 minutes to do 289 sq ft, it was a simple application, and the results are well worth it.I just hope as we proceed with the other cans that the paint will blend well. That's the only current concern.But we are very happy with how it's looking so far and can't wait to finish. I'm hoping it holds up for many years as other consumers stated it did for them. I'd suggest this product to anyone stating they want to paint their basement floor.
B**N
Very impressed, plenty of coverage well worth the time and money!
Extremely happy with this product... I have used the industrial version imy garage and based on my results there I tried the basement version. Applied very easy, pleased with the low oder especially since it's used in a somewhat enclosed space. I did use a box fan in a window to help with the light oder. I also used a fan to aid in drying as had to paint my floor in two different 'shifts' and I was hoping to get it done in the advertised position life of 16 hours. I had no trouble with the pot life the advertised 16 hours was accurate. I'm my case it covered significantly more square footage than advertised, even with a thick coat. My floor was very smooth with little to no texture, because of this extended coverage I did have to get some additional color flakes at HD I like more flakes vs less. My suggestion is buy more than you think you are going to need and return extras.Shortly after using this coating I quickly noticed a significant decrease in dust being carried around our finish basement from the unfinished portion. This coating makes the floor easier to clean and looks significantly better!
A**E
I wanted something to cover the floors and I choose this because it seemed like the best quick fix that’s not exspencive and is ...
I moved into a house with an unfinished cement floor basement. I wanted something to cover the floors and I choose this because it seemed like the best quick fix that’s not exspencive and is diy. I am very impressed how this turned out. I was Skeptical because I pictured something that was the same consinsty as paint but it was like chalk water. Never the less it did it’s job, it covered and went on well and I’m very happy with the results. My husband and I finished our 500 square foot basement in about 2 hours. We did it in the evening while the kids were sleeping and it was dry by morning. It’s made my basement look more polished. Like I said we had really ugly stained cement floors and this covered it so nicely. The hardest part to this project is just getting the room cleaned out and getting the floors prepped but one you have that done this is a breeze .
R**S
Very good stuff... impressed!
It was more than enough to do a 2 car garage with one coat. And 1 coat seems to be all it needs. I did my garage in sections so I could move stuff around and do a little every other day. A mix ratio of 20 ounces to 3 ounces gave me a perfect match of color from section to section. I also used a 6 inch small diameter foam roller, those big nap rollers soak up so much paint and I didn't want to waste any. As far as prep goes, I really just swept and vacuumed the floor. I didn't mop or acid wash it, and so far everything is great. We'll see what happens over time as we start parking the car on it.After about a week we started sliding stuff across the floor, including a few steel shelves ,and didn't see any scratches. It seems to be really tough. I would certainly recommend this stuff.
Trustpilot
1 week ago
2 days ago