Buy anything from 5,000+ international stores. One checkout price. No surprise fees. Join 2M+ shoppers on Desertcart.
Desertcart purchases this item on your behalf and handles shipping, customs, and support to Tunisia.
🎯 Master your space with SimpleCord — where clutter meets its match!
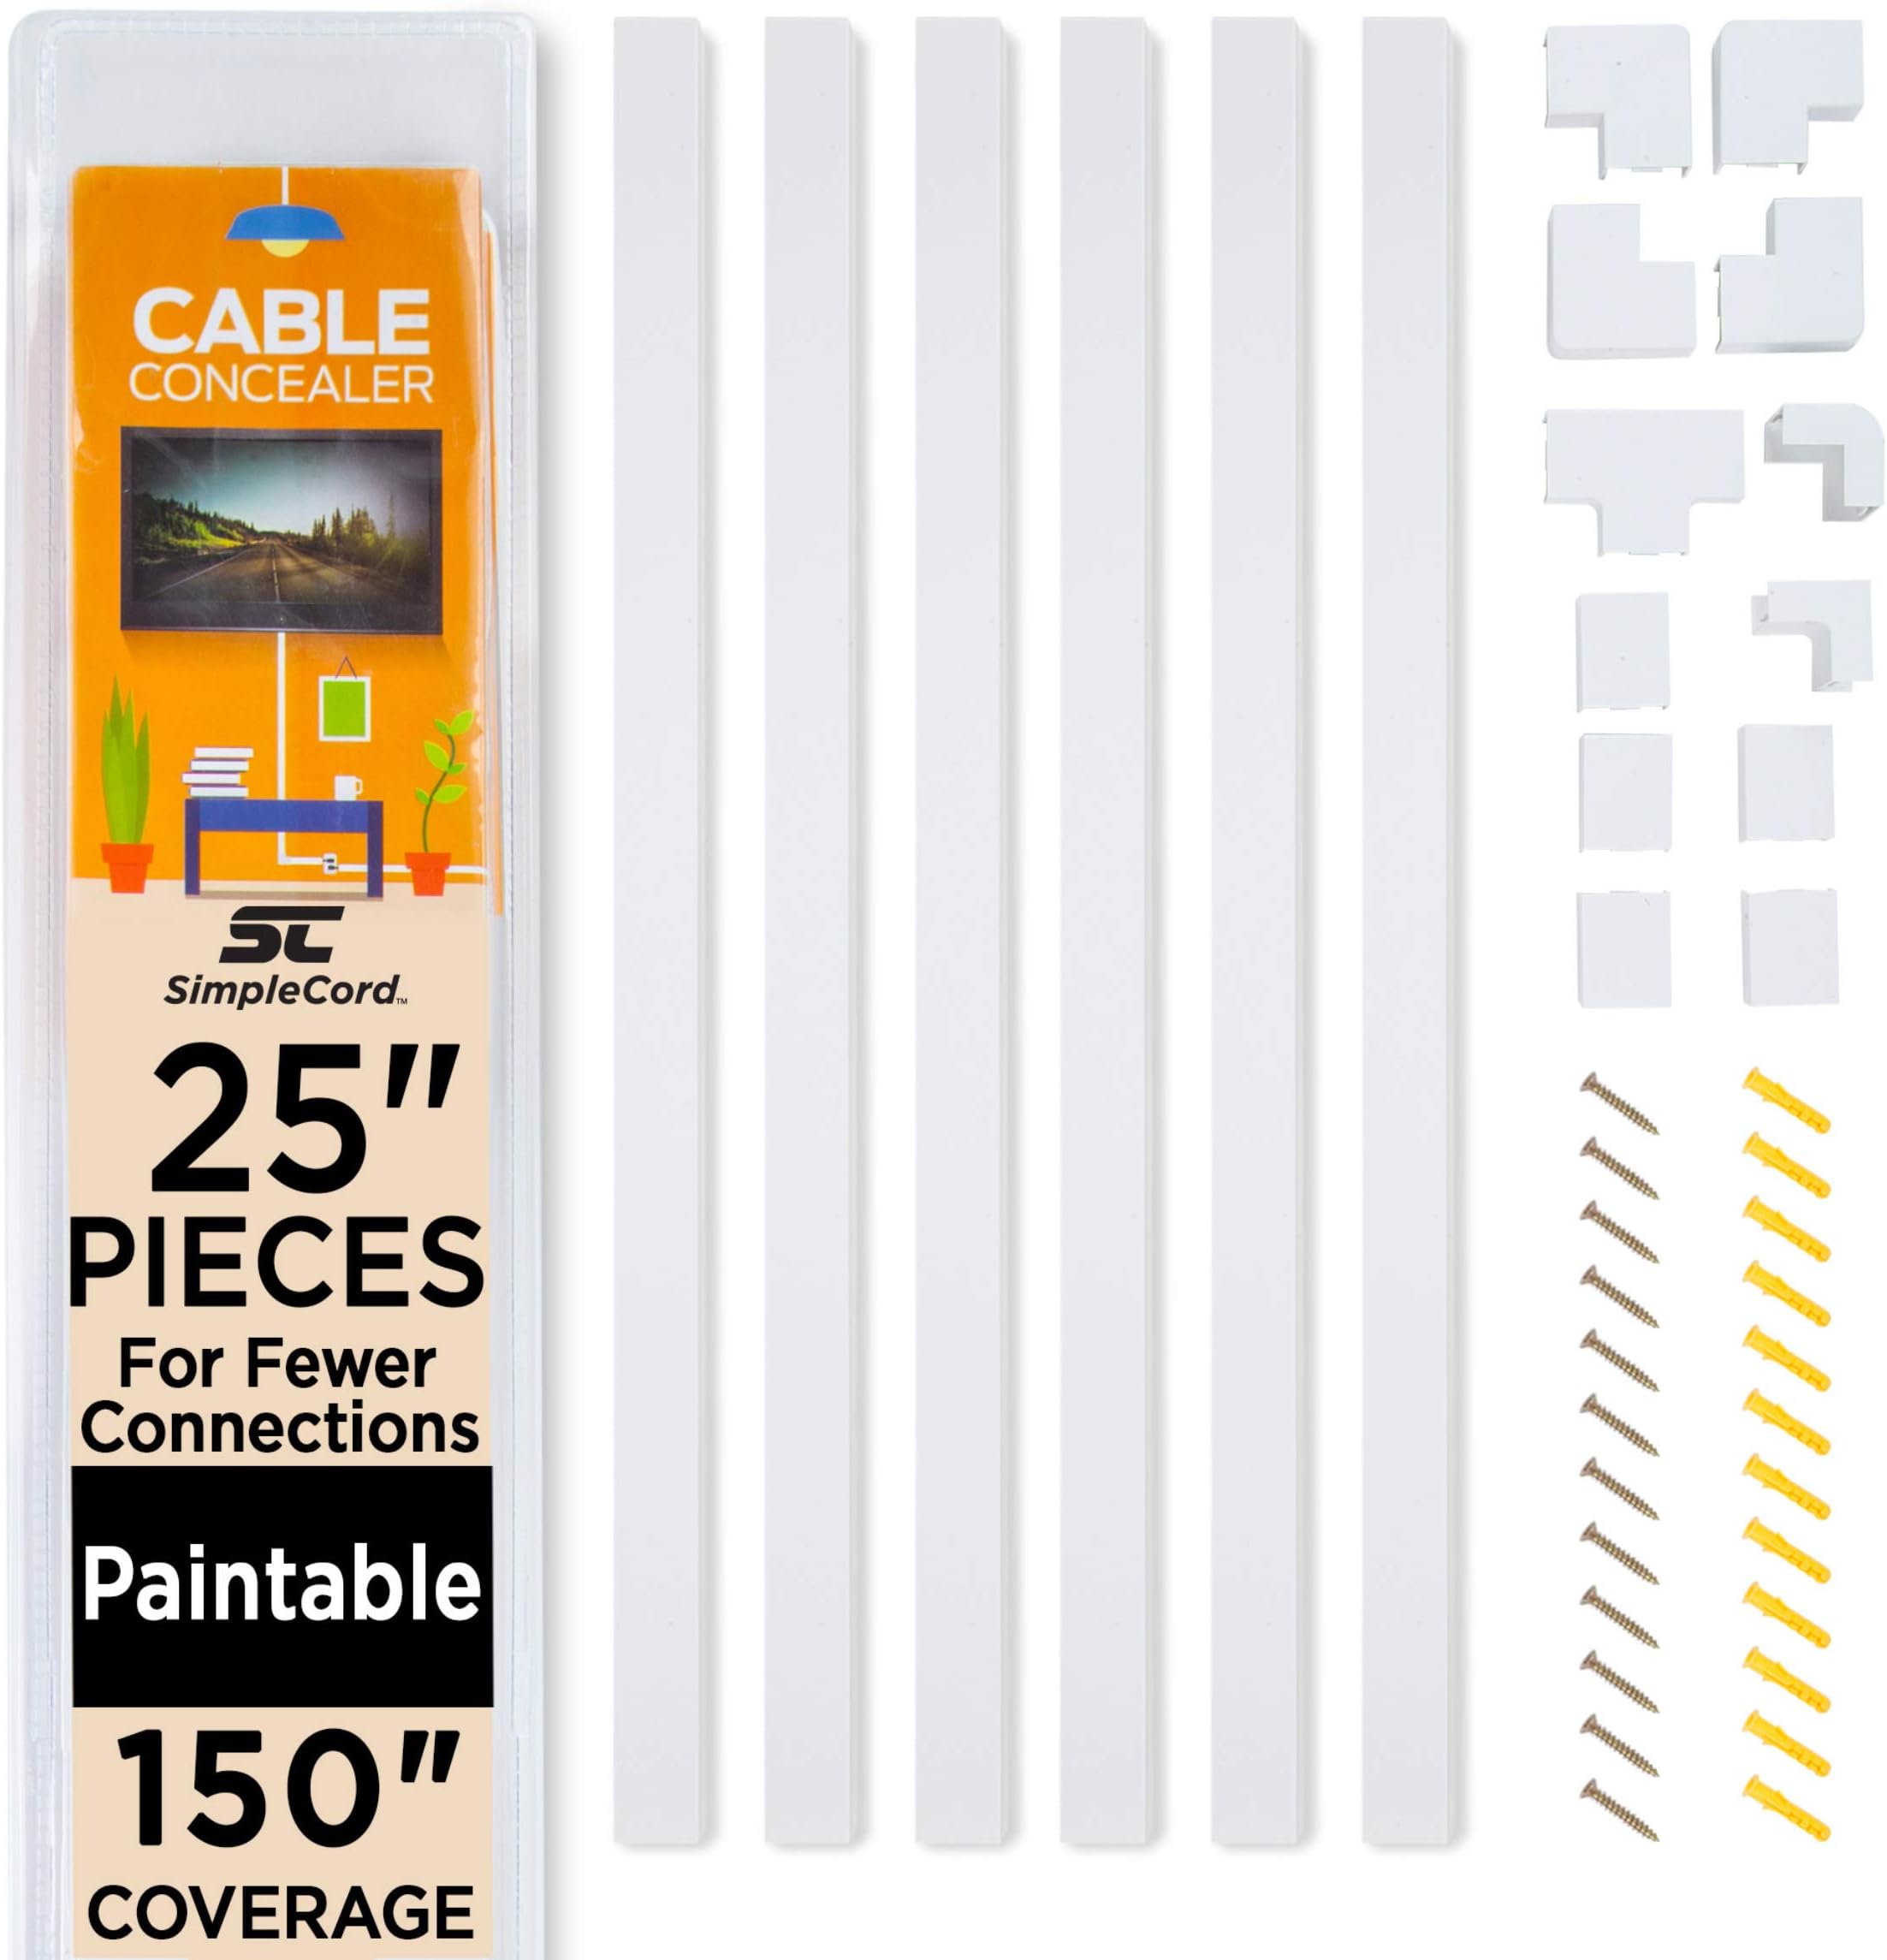
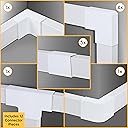
The SimpleCord On-Wall Cable Management Kit offers 150 inches of customizable cable coverage with six 25-inch raceways and 12 connectors. Designed for easy installation via self-adhesive tape or screws, this 48-piece set blends seamlessly into your décor with paintable plastic covers. Ideal for safely organizing wires around TVs, desks, and baseboards, it protects children and pets while maintaining easy cord access.


| ASIN | B01JKO8724 |
| Best Sellers Rank | #30,727 in Electronics ( See Top 100 in Electronics ) #207 in Cable Raceways |
| Brand | SimpleCord |
| Color | White |
| Customer Reviews | 4.5 out of 5 stars 3,362 Reviews |
| Enclosure Material | Plastic |
| Global Trade Identification Number | 00643303997327 |
| Indoor Outdoor Usage | Indoor |
| Installation Type | Self-Adhesive |
| Item Dimensions L x W | 25"L x 25"W |
| Item Type Name | Simple Cord Cable Concealer On-Wall Cord Covers with 6, 25” Raceways – 150” Cable Management System Hides Cords, Wires for Wall TVs, Computers – White |
| Item Weight | 2.11 Pounds |
| Manufacturer | SimpleCord |
| Material | Plastic |
| Mfr Part Number | SC-CC-Main |
| Model Number | 83-SCCC1000 |
| Number of Pieces | 12 |
| Product Dimensions | 25"L x 25"W |
| Style | White 150" |
| Style Name | White 150" |
| UPC | 643303997327 |
| Unit Count | 1.0 Count |
| Warranty Description | 30 days |
J**Y
Perfect!
I used this to conceal wires coming from my projector. Before installing these, the wires were just hanging down and looked awful. They come with two installation methods: adhesive tape or drilling holes. I ended up going the drilled hole route since I did not want to rip paint off the wall in the future when taking these down. I suggest the same if you don't mind a little extra work. The plastic is durable. It recommends using a saw to cut it to desired length (if needed), however I used a strong pair of scissors to cut it which did the job just fine. Maybe not as perfect as using a saw, but it got the job done. For me, the location that I was installing these was very high so I had a difficult time installing since I did not have a ladder. Had it not been so high, I know it would have been fairly easy to install these. I used a small drill bit to drill holes a few inches from each end and then screwed directly into the wall. I didn't even bother to use anchors or screw into a stud. The screws were durable enough and the wires plus concealer didn't have enough tension on the screws to pose a threat to falling out. The whole process took roughly 1 to 1.5 hours to install. I'm very happy with the result and would definitely purchase again for another similar project in the future. One piece of advice is to make sure that the rails line up perfectly when drilling your holes, otherwise you will be left with a slightly off looking track. If you look at my image, you can see this on the far right track. I decided not to correct it because it was so difficult to reach that high to install these in the first place and I just wanted to be finished with the project.
D**R
longer conduit = less work and better looks
thankfully after reading many reviews of conduit on amazon, i saw this kit recommended. it is true, these longer conduits work better. less cutting--and the lengths are more appropriate for what most people might be trying to do. it's not hard to paint the plastic--it takes about two thick coats for me. and i was surprised that the adhesive tape was more than sufficient to hold up the conduits against my painted dry wall. exactly what i had hoped for. i might add a tip: i had separated the conduit (front, back) to paint it. but that was a waste. just attach the adhesive backing first to the conduit (but don't peel off the second layer). then paint it as sloppy as you like. i was worried that the pain would keep the conduit stuck, but that didn't happen.
J**S
I love the cord concealers
I love the cord concealers. I ordered 2 packs and they work great. It's very easy to drill into. It was hard to snap the top onto the bottom section that was screwed to the ceiling, but I just took a hammer and gently tapped the top into place. I would give 5 stars, but one pack is a bit pricey.
N**9
Work well in my theater room
This is a good no frills kit for the price. I am running it along the baseboards for a couple different purposes. One section carries 2 runs of double jacketed 14ga speaker wire and a run of Cat6e for my Atmos surrounds and my router, and another section is hiding a long run of HDMI and a C14 power cord for my projector. The sections assemble pretty easily, and securely enough that 90 degree bends of stiff cable don't pop the raceways apart. The connectors fit securely enough and are no more or less unsightly than others I've seen. I wish they sold just extra sections of the raceway. I have a ton of leftover angle connectors that will go to waste and I still need more raceway to finish the room. On long runs along the walls I don't even use the flat connectors. I just butt the raceways end to end and they blend with the walls better than if you have that bump between the sections every few feet. The raceways are easy to cut to size. I did it with a box knife but you could probably use utility scissors as well.
N**K
Improves the look of our cabling significantly - installation was some work
Cable Concealer On-Wall Cord Cover Raceway Kit - Cable Management System to Hide Cables, Cords, or Wires - Cord Organizer for TVs and Computers at Home or in The Office We really needed to tidy up our wall-mounted television cabling and this kit worked quite well. General comments: * We were able to put a large number of cables through the channel: 2 HDMI, 1 Ethernet, 1 pair of RCA AV cables (Red+White), and a Coaxial cable * It helped me to locate studs on the wall to use them as anchor points, rather than the double-stick tape. * I found it much easier to slide the cover panels onto the channels, rather than try to snap them on (or off) * I found it very important to try out the cables in the channels with the covers (slid) on to ensure things fit. * At first, we had a 3-wire component connection cable set that did not fit. I chose to separate the cable into 3 parts, and keep only the Left and Right audio that we wanted, and had to remove a couple of big rubber bumps from the cable also. * I also had to arrange for my HDMI cable lengths to be long enough so that I could keep the cable ends outside the channel, and did not need to put any extenders in the channel. My installation experience: * My installation is a wall-mounted TV over a fireplace mantle, with some cables going to the right of the fireplace and other cables going to the left. * I used a "T" under the TV and fed both left and right sides from there. * I planned the overall route, and identified the studs I was going to use along the way, and measuring lengths to be sure things were centered and balanced. * It was not necessary for every section to have a stud or screw in it. for some ones that did not have a stud, I used double-sided Velcro tape instead of the the included double-sided tape, on the assumption that I was going to need to remove this at some point to adjust the wiring or add new wires. * The key point here is that removing or adding the covers seemed difficult unless you slide them out the end. That being the case, it helped have the ability to unscrew the main section to freely move things around. This would not be the case if they were anchored with double-sided tape. If you use the double-sided tape, make sure you get it right the first time.) * I installed things in sections starting from the TV and working way away from it. * At each step, I would cut the length I needed, check out the cabling for fit with the cover on; then I remove the cover to drill and screw in the channel. Once that was done, I would slide the cover on from the end and go to the next section. The whole thing took maybe an hour since I was figuring out a lot of things by trial-and-error. Now that I think about it, a You-Tube video of installation options might really help others. It may even be out there, but I didn't look at the time. We are very satisfied with the look of the system, even without any painting to match our off-white wall color.
D**.
They don't stay closed
Overall, the product is very easy to use and install. The adhesive tape is really strong, and I was impressed with how well it sticks to the wall. I didn't even have to use screws to hold it on there. I didn't need to use any of the corners or t-connectors for the cable runs, but I assume they are OK as the junction pieces fit nice and secure to join two pieces together. The biggest downside to the conduits is the looseness of the clips. I had about 8 cables going through the conduit, and they all were not thick enough to cause any bulging, but the covers would just not stay on. The plastic tracks just didn't stay locked together very well. I ended up using zip ties to keep them closed. Running 2-3 cables through with varying thickness worked out OK, so I can't dock the conduit too much. I did what it was supposed to do, just needs to be a little stronger at it.
U**L
Great product. Just make sure to test fit your cables.
Like many other people, after installing my T.V. and soundbar, I didn't want the cluttered wires hanging around. Ideally, I wanted to run the cables through the wall, and have a nice clean setup, but since I live in an apartment that was not an option. In looking for another solution I found this product. Reading the reviews and looking at the pictures, I decided to give it a try. After it arrived, I made some test fits just to make sure the number of cables I would be running through them wouldn't be too thick. They work just fine, but I will say that if you run a power strip cable and 2-3 HDMI cables, there is not much more room to run anything else. MAYBE ethernet, but you would have to carefully test fit and all of the cables and plan your route. But this is a great product. I used the adhesive tape instead of the screws, just to limit the amount of wholes I was putting in the walls. The tape works great! Once it is stuck, it's stuck. Removing it is difficult, which is the point, just carefully lay the tracks and make sure everything lines up before you press fit with the tape. The tape will also add about 1/4 inch of depth to the track. So the track will be raised off the wall just a little bit more than using the screws. I would highly recommended this product, and would seriously consider using this again for future projects.
K**S
Way better (and cheaper) then adding an electrical outlet behind your tv or drilling holes in the wall to hide those ugly cords!
These things are awesome if you're like me and can't stand the site of cords hanging from your TV. We recently hung our tv on the wall ( https://www.amazon.com/gp/product/B000WYVBR0/ref=oh_aui_detailpage_o02_s00?ie=UTF8&psc=1 ) with that wall mount from Amazon of course (which is awesome) and quickly realized we needed SOMETHING to hide the hanging cords. Bought this baby and she did the trick! Took about 20 minutes, only because I had to gather a measuring tape, level and then figure out how I wanted the wires to go, but was pretty straight forward. Didn't have a hacksaw to cut for measuring, but good kitchen shears worked just fine. I fit SO many cords into one of these pieces (cable cord, TV power cord, fire stick cord, surround sound cord, AND audio optical cord). I didn't bring the cords and cover all the way down to the trim, because the cords weren't long enough to reach all the day and then swing part of the way back up to where our electrical outlet is--so in one photo you can see where the cords come out of the channel (picture 2). With a little movement of furniture and moving some decor, they're all hidden. And I only used one single piece plus a small piece of another, out of the entire package. #winning. Hoping to throw some paint over the plastic channels to really blend with the wall--no rush on that. Amazon, once again, has literally every product I've ever needed. I'm a sucker for a good before and after, so eat your heart out (then go cover those ugly TV cords).
A**A
Excelente producto
Excelente producto, muy facil de usar y de muy buena calidad. Lo volveria a pedir de ser necesario
N**U
Muy práctico. Materiales y adhesivo de calidad
M**B
Top
Sehr gut
M**S
Alternative to chasing in cable into a wall
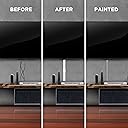
Having mounted my TV onto the wall I needed a quick way to run HDMI, Power and Ethernet to the TV. Bought this on a bit of a whim thinking it might not look that good and I can always take it down, but I was really surprised. Not exactly difficult to use, cut to length, peel of the backing paper and stick it on, but the nice touch it takes paint really well. We painted it once it had been up and I was really surprised how good it looks. No two ways about it, you want the ultimate way of hiding cables, chase the brick work, cut a grove and run some duct, but thats expensive. This is really good alternative and painting the same colour as your wall goes a long way to make it less obtrusive. Very recommended
A**.
Really easy to fix
It took less time and looks better
Trustpilot
2 weeks ago
2 weeks ago