


Desertcart purchases this item on your behalf and handles shipping, customs, and support to Tunisia.
🌟 Bloom beyond basics – your nails deserve the spotlight!
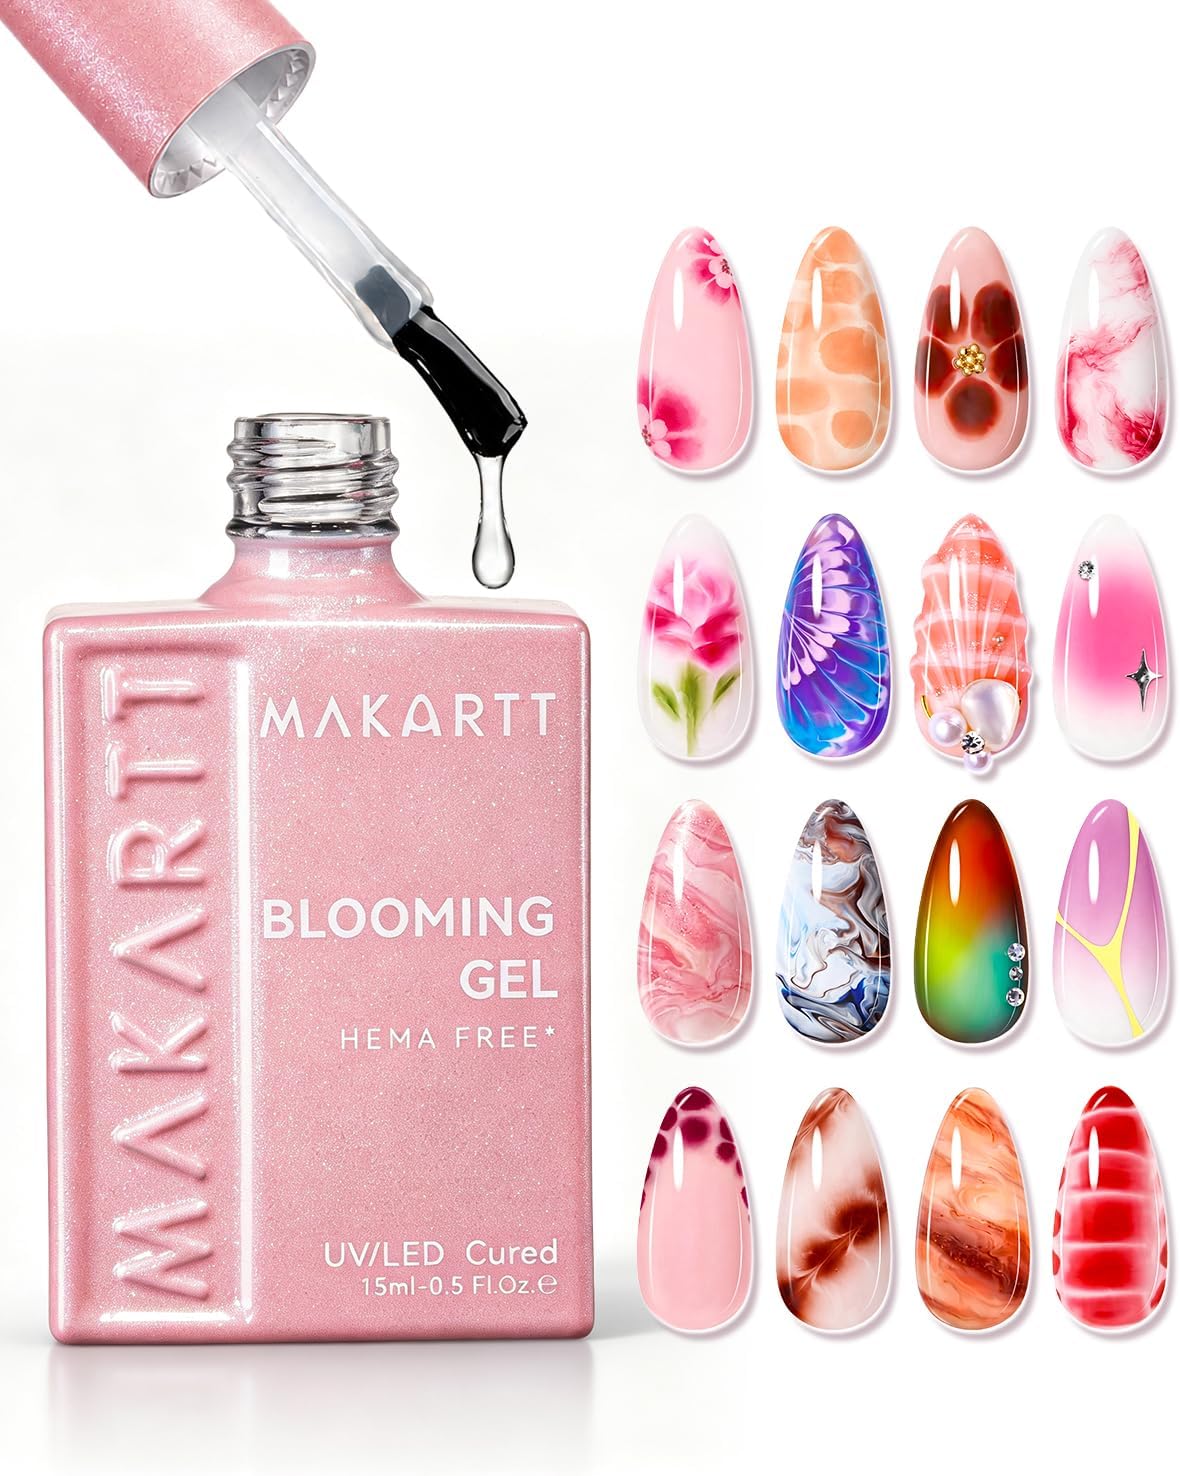
Makartt Blooming Gel Polish is a 15ml clear gel designed to create unique blooming nail art effects without harmful chemicals like Hema or TPO. Cruelty-free and compatible with UV polish, acrylic, and natural nails, it offers professional-quality, easy-to-use versatility perfect for both beginners and experts. Elevate your nail game with endless creative possibilities and a formula that cares.





| Asin | B09MKBMVRR |
| Guaranteed Software Updates Until | unknown |
| Language | German, German, German, German, German |
| Manufacturer | Makartt |
| Manufacturer Reference | DE2C0702 |
| Product Dimensions | 9.7 x 3.5 x 2.7 cm; 80 g |
User
Blooming Marvellous!
Package arrived on time and was delivered in the usual way (ring the door bell, throw the package on the doorstep and run away). The blooming gel survived the traumatic delivery experience with no damage.The bottle is pretty big for the price. I have never used anything like this before. I had lots of grand ideas which haven't quite worked out yet. I think that if I have a little play around I might be able to do something more impressive but as a simple first two goes I did the pink then the blue.Here's how I did it.1. I prepared my nails the same way that I always do, they are very short at the moment because I am having a break from my normal nail extensions... Mostly because I got bitten by a small wolf (ok a dog but still it really hurt!) on my little finger and I am not sure if the nail is going to come off! I took off my previous colour, shaped and made sure that they were dry and free from any dust or bits.2. I choose my two colours for my first try I used pinks. It is better to have a pale base colour especially when you start out because if you have a darker colour it makes the colours you put on top look kind of muddy.3. I put my usual base coat and cured.4. I put my base colour on and cured (I needed two coats to get the right coverage.)5. I put a thin coat of the blooming gel on and I did NOT cure it. It is very thick and gloopy which isn't a problem it goes on evenly, it just surprised me.6. Along the base of my nail along my cuticle line (avoiding the skin) I put a line of small dots of the top colour. I added a bit more a few minutes in because I didn't think it looked like a strong enough colour.7. I hung my hand down to encourage the darker top colour to spread down my nail in the direction I wanted. When I was happy with the look I cured it. If you are unhappy with how it looks you can just wipe it off before you cure it. Reapply the blooming gel and try again.8. Apply your normal top coat and cure. I did a second round of curing to be sure that it was properly set.It worked out really well and I am pleased. There are a lot of ideas that I would like to try out but the gel nail varnish lasts for so long and I don't like taking it off if it's not chipped!Over all if you enjoy doing your own nails as a hobby I would say have a try!
User
💅🏼Super results ⭐️⭐️⭐️⭐️⭐️ highly recommend💅🏼
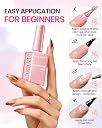
Ok I have never tried Blooming gel before and my video attached is of my very first attempt yesterday at trying to achieve a marble effect, next time I would only add 1 line of white in the colour pallete 😊💅🏼I paint my own natural nails every 3-4 weeks and had seen this on some videos so I was eager to try it out as I love creating eye catching nail designs.👍🏻Really simple to use:• You can either do it straight on top of a clear base coat that you have set or do it on top of a coloured base• once you have set a base coat, Prep your colours on the pallette by putting 3-4 lines of your chosen colours• Get a dotting tool and swirl a few lines through your lines of colour to pull them into each other• now put on a thin coat of the blooming gel and do not set it• with a long brush, now pick up the colour by pushing it straight across your colours• now start from the base of the nail and wiggle it up to the tip• get another line of colour on the brush and fill in the sides• try not to keep touching what you have already layed with the brush as it will just blend into a mucky colour (this process is all shown in my video)• you can use the dotting tool to pick up a certain colour to add to a section that is lacking that colour• set under lamp• topcoat and set➕TIP:Only things to bear in mind if you are doing several nails obviously the first nail you do is left to bloom longer than the last nail you do, so it's really hard to get the same effect if your not really quick doing it.So to start off you may need to set each nail as you do it to stop the colours blooming too much.YOU ONLY NEED A THIN LAYER OF THE BLOOMING GEL AND DO NOT SET IT TILL AFTER YOU HAVE ADDED THE COLOUR ON TOP OF ITHighly recommend ⭐️⭐️⭐️⭐️⭐️
User
Blooming marvellous!
First time I’d ever tried blooming gel polish, I was surprised at how easy it was to create such a unique effect. I received so many comments about my nails, really looking forward to trying this again. I painted it on then added colour with a dotting tool before curing once I was satisfied with the pattern and once it had distributed across my nail bed - so easy to use.
User
Easy and beautiful results
Easy use, but need to watch a few videos how is it really works and need to be quick. Good quality and very effective when design your nails. Good value for the money. Sticks and shines very well
User
Good quality
Works very well i love it
User
Amazing
Amazing
User
Very thick, doesn't bloom as well as just using regular gel top coat
It is so thick for blooming gel, not overall happy with product
User
Perfect
So easy to use, clear in colour, does what it’s meant to. Can’t fault it, will definitely buy more
User
Braucht etwas Übung
Man braucht etwas Übung, aber wenn man es raus hat, dann lässt es sich gut damit arbeiten.
User
Esta biennnn
Cumple su función, me gusta
User
fantastico !
facilissimo da usare . ti ci puoi divertire un sacco. ho notato 2 cose1 dopo aver raggiunto il livello di sfumatura desiderato, meglio farlo essiccare nel fornetto 30 sec in più perché2 se si fa uno strato sottile sfuma di meno e quello spesso sfuma di più . magari però non sono stata brava io a farlo con lo strato più sottile. ho fatto giusto qualche prova e non ho mai usato pennelli o dot sulle unghie in vita mia.mi sono trovata davvero molto bene e lo riacquisterei
User
Perfect for Blooming Nail Designs!
I absolutely love this blooming gel! It spreads beautifully and creates stunning marble, floral, and aura nail designs in just a few seconds. The formula is easy to work with and gives me enough time to create different effects before curing. It works perfectly with gel polish colors and cures well under my UV/LED lamp. Whether you’re a beginner or a nail enthusiast, this product makes trendy nail art so much easier. The finish looks professional and salon-quality. I highly recommend it for anyone who loves creative nail designs.
User
Top
Bonjour une marque que j affectionne.. parfait fais de magnifiques Motifs sur les ongles et surtout jamais d allergie et un prix vraiment top merci
Trustpilot
1 week ago
2 days ago