


🚴♂️ Lock It, Love It: Your Bikes Deserve the Best!
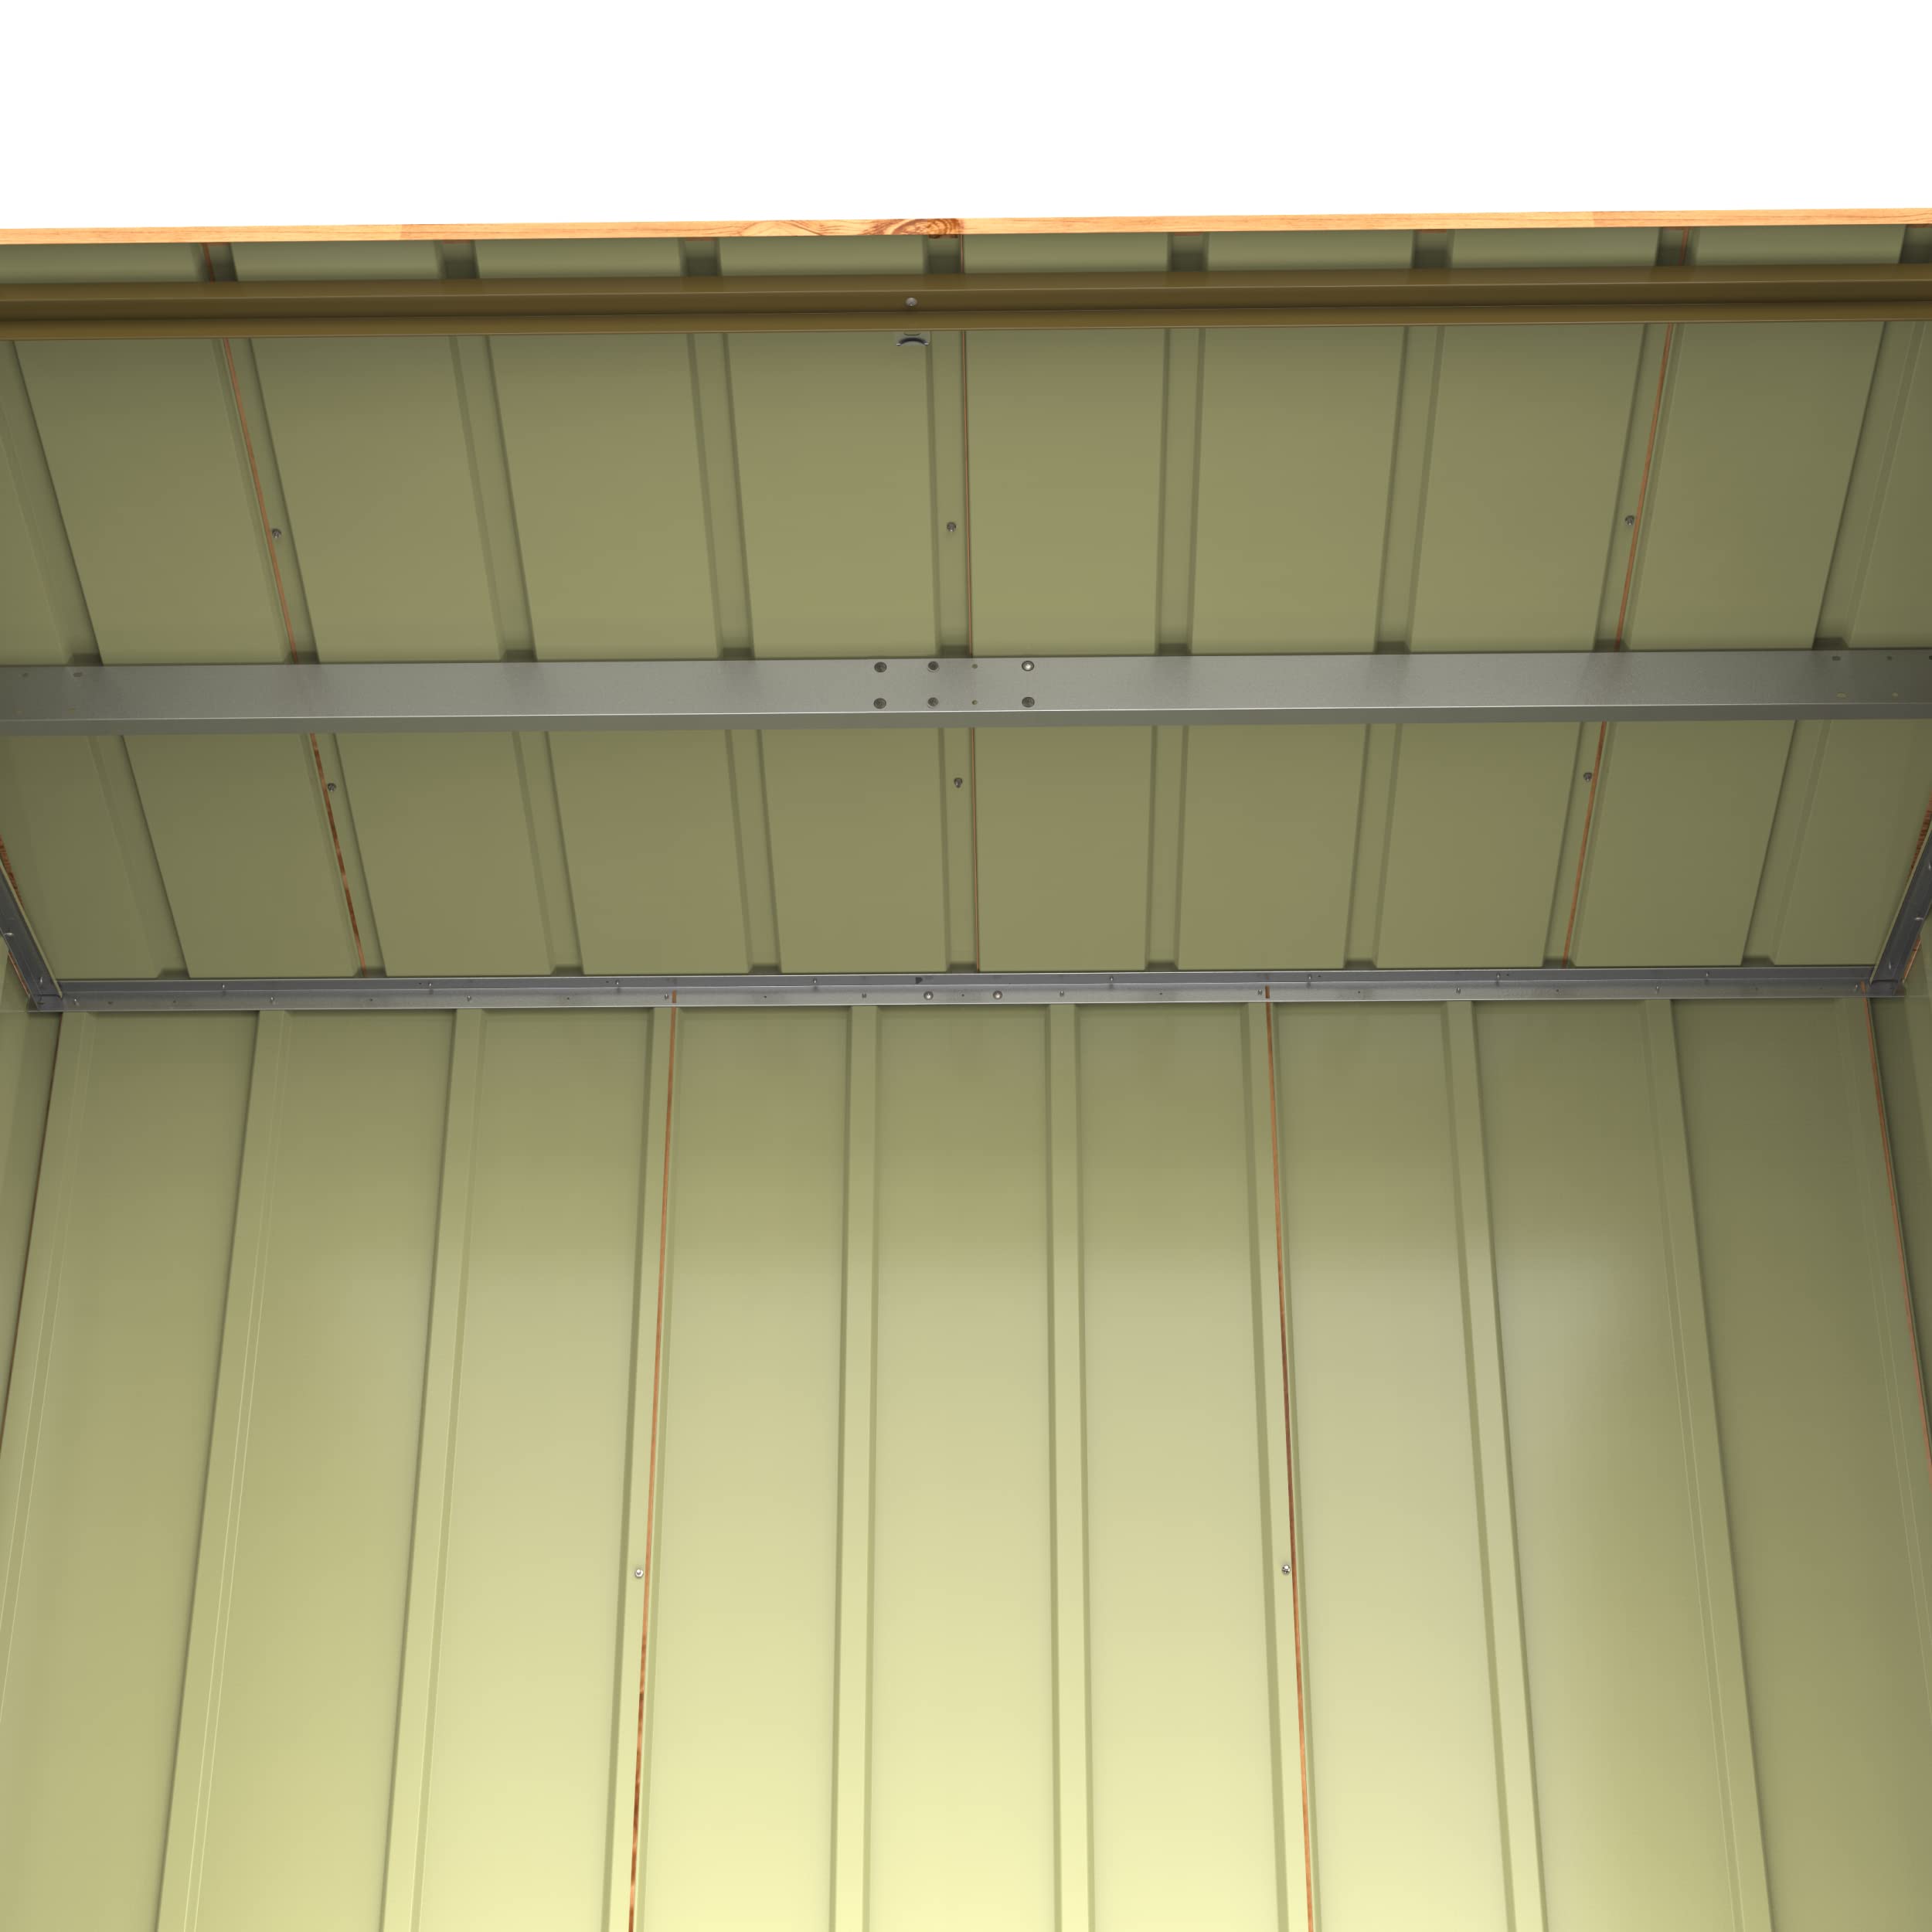
The Duramax Bicycle Store is a robust metal storage shed designed to securely house two bikes. With its all-weather durability, rust-free construction, and innovative ventilation system, this shed ensures your bicycles remain protected and in top condition, no matter the elements. Featuring fully wide double lockable doors and a spacious interior, it's the perfect solution for any cycling enthusiast.
| Product Dimensions | 201 x 72 x 13 cm; 45 kg |
| Part number | 0638801731450 |
| Material type | Metal |
| Manufacturer | Duramax |
| Item model number | 0638801731450 |
| ASIN | B0BMVJN449 |
L**G
and its still looking good. It does take some time to put together ...
We've had this for a few months now, and its still looking good. It does take some time to put together - about a day. Its not difficult - there are just lots of screws! It would be easier with two people. It feels secure, and fits in our bikes so we can easily get them in and out individually, rather than having to sort through. It also takes a couple of scooters. The lock is doing well, despite us living by the coast. Overall, a very good purchase.
S**G
Absolute hell to put together
The final product is very good and sturdy. BUT it would not be possible for most people to put it together. My husband is very good and used to putting things together but we had to go backwards a couple of times because the instructions aren't clear (very tiny illustrations), he cut himself several times (it says to use gloves but it is not possible to manipulate tiny screws and screwdrivers with gloves on) and installing it and securing it to the ground at the edge of your garden or other area would be impossible if you follow the instructions. You need to look ahead and work out how you will do it, rather than follow each item at a time.
P**K
Sturdy end product, dangerous to build!
The final assembled product is really good for the price. The whole thing weighs about 90kg so it’s very sturdy and feels strong. The fixtures and fittings are of good quality, so it feels like it would take quite a lot of effort to get into this. You get what you pay for with the presentation of the parts to assemble though - they don’t really help you much, things like the plastic washers for the screws are provided exactly as they would have come out of the mould, so all still attached to a frame. You have to take each one off individually for every screw, and there are a LOT of screws.A word of warning though - on my own this took me 2 solid days to assemble and it was the most dangerous flat pack assembly I’ve ever done. There are warnings on every page to tell you to wear gloves, which is essential as some of the metal edges are razor sharp. The gloves do help, but didn’t prevent me slicing my shoulder open (nearly had to go to hospital to get it glued together as it was a deep wound) and slicing my ankle open on the metal your bike sits on. My recommendation would be to cover your entire body (not ideal in hot weather) and wear safety goggles to keep your eyes protected. I did worry about a sharp corner catching me in the eye. Duramax provide plastic caps to put over the metal screws, but nothing to prevent injury on sharp metal edges. I’m going to get some electrical tape and cover all the sharp edges myself as I guarantee I’ll slice my leg open again in the future otherwise.I would say this could be 99% completed by one person, but depends on your height/wingspan. My wing span is around 2m, which helped to reach around long corners to tighten nuts onto screws, but if you’re shorter you definitely need 2 people. There are some fastenings I could reach (I think there were 5 I needed help with), so needed help with those.
P**B
Well worth every penny and scratch and cut.
Once it's up and in place you will appreciate it. A lot of work and would definitely be easier with 2 or more people BUT can be done alone, I did.Follow the instructions closely. Try to do it on a day with no wind of you are alone. Gloves help because there are some sharp edges. There's nothing heavy in any part of the shed. Use a cordless drill/screwdriver, even a really cheapo one will be good enough. Have the torque setting (number on the dial) set low, this will be different for each drill, so that the screws bite but don't just spin because this will effect the waterproofing later. Magnetise the bit or buy magnetised tips or bit holders. A magnetiser/demagnetiser is a great item to buy and only costs a few pounds.Make sure every screw or bolt that is on the outside has one of the little fiddly washers. When screwing 2 panels together and the instructions aren't particularly clear always make sure the bigger hole is the one the screw goes through first so that they tighten together.Get the ground as level as possible so the doors work properly and look neat. They are generous with the screws, nuts/bolts, washers, end caps etc so not like Ikea here. :)The instructions aren't quite as clear as Ikea BUT backtracking after a mistake/misread is not too hard. Every item is marked, some with a sticker and some are stamped. If you have the space then it saves a lot of time sorting the pieces out by item code. The sticker isn't an indication of which way up you use the panel. I made the mistake of thinking if the writing is the right way up then that's the way to install the item.The door trim that is fixed to the end of a door and the other door closes to it is fixed with screws and that is a really bad idea because the screwheads rub against the other door. I've removed it and re installed it with double sided sticky tape now.My build is waterproof the doors close perfectly and the lock works as expected. It looks extremely smart and is easy to get bikes in and out. The only tools I used was my cordless drill with the screwdriver bit, 1 screwdriver a 7mm socket (easier than a spanner) 1 small hammer to tap the point protectors that stop you shredding your hands on the exposed screw tips once the build is complete. I wore gloves for some parts but I'm not good with tiny screws, nuts and bolts with gloves on. The nuts are really fiddly. If you put 2 nuts in the socket and gently spin it then the bolt will easily pick up the nut so you can tighten it, you'll see what I mean with a bit of practice.Give yourself a day to do it, shouldn't take anything like that long, be patient and another person would speed it up a lot. Don't worry about the apparent flimsiness. It gets more and more sturdy as it's nears completion.I also bought a 10X8 shed from the same company and they look great together. The experience from building one helps when tackling the other (that definitely needed 2 people in the wind).First I levelled the ground as I dug down a bit. I put down overlapping sheets of porous weed control membrane. I packed sharp sand on top of that, about 3cm deep. I bedded in the interlocking plastic grids and filled that with 20mm slate. Got to check your levels are good as you go.I've hammered in some v shaped heavy duty pegs (camping ones are great) to hold it down, they are on the lips of the base and are around 8 inches long.
R**J
Complex installation
I'm pretty confident diyer, flat packs do not phase me. This was a good four + hours of build time.All the panels arrive, including doors in sheet form. You build by connecting metal sheeting by driving hundreds of screws into a frame. Each screw, each metal bar adds more strength. The final unit does seem fairly strong but I'm not impressed with how secure it is. I'm going to be adding a an additional external lock. Its a good unit, don't get me wrong and it looks good - but its also not a secure unit.
A**R
Sturdy storage for 4 bikes
Took about 5 hours to build with both of us but the instructions and labellum up of all the components made it very easy to follow.Perfect for our bikes
Trustpilot
2 weeks ago
1 month ago