Description
🖤 Elevate your space with strength and style—storage that works as hard as you do!
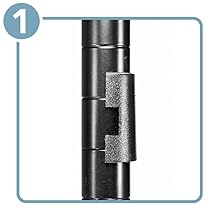
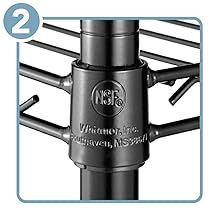
- BUILT TO LAST - Durable steel construction with NSF certification ensures long-term reliability and safety.
- EFFORTLESS SETUP - No tools needed—get organized in minutes and skip the hassle.
- SLEEK VERSATILE - Modern black steel finish complements kitchens, garages, offices, and more for a seamless look.
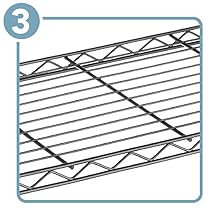
- HEAVY DUTY STRENGTH - Supports up to 400 lbs per shelf, holding your heaviest gear with ease.
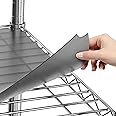
- CUSTOMIZABLE STORAGE - Adjust shelves in precise 1-inch increments to fit everything from bulky tools to delicate decor.
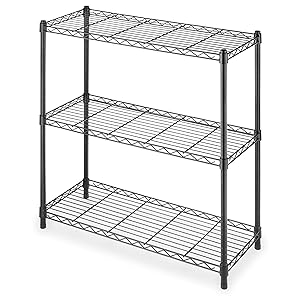
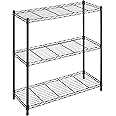
The Whitmor 3 Tier Shelving Unit is a robust, adjustable metal storage solution featuring a 400 lbs capacity per shelf and a total of 1200 lbs. Its easy no-tool assembly and sleek black steel design make it perfect for kitchens, garages, offices, and more, offering customizable storage with shelves adjustable in 1-inch increments.