


🚀 Elevate your Raspberry Pi vision game with pro-level clarity and flexibility!
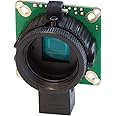
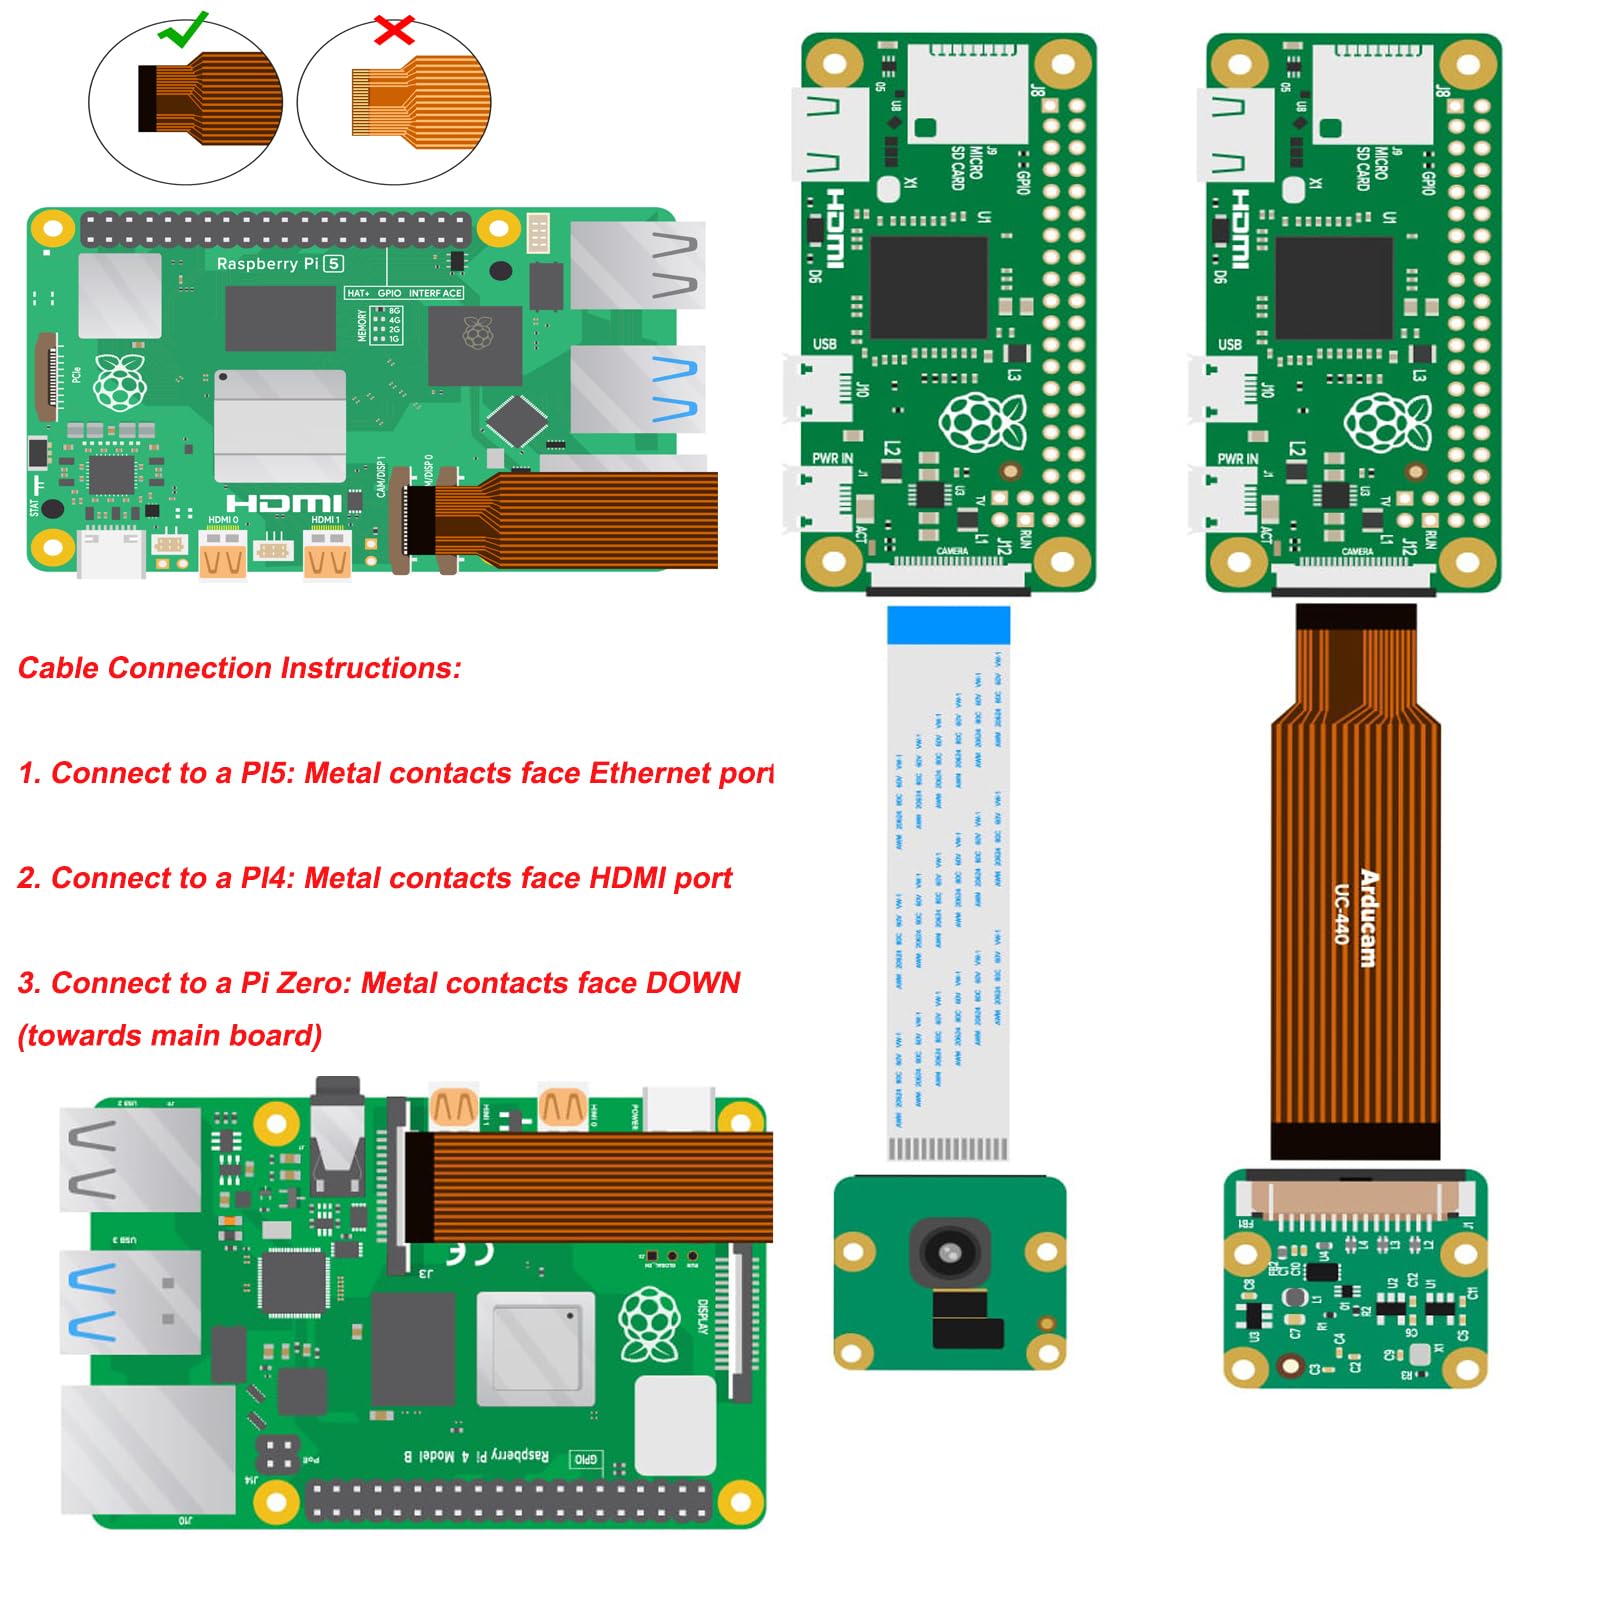
The Arducam for Raspberry Pi HQ Camera features a high-sensitivity 12.3MP IMX477 CMOS sensor delivering 4056x3040 resolution images. Compatible across all Raspberry Pi models including Pi 5 and Zero 2W, it comes equipped with a C-CS lens adapter and tripod mount for versatile, professional setups. Ideal for AI, facial recognition, and precision imaging applications, this camera module transforms your Pi into a powerhouse of visual innovation.


| Standing screen display size | 2.7 Inches |
| RAM | LPDDR2 |
| Wireless Type | Infrared |
| Brand | Arducam |
| Series | Arducam for Raspberry Pi High Quality Camera |
| Operating System | Linux |
| Item Weight | 1.13 ounces |
| Product Dimensions | 1.5 x 1.5 x 0.72 inches |
| Item Dimensions LxWxH | 1.5 x 1.5 x 0.72 inches |
| Processor Brand | ARM |
| Number of Processors | 1 |
| Manufacturer | Arducam |
| ASIN | B09YHN5DBY |
| Date First Available | April 21, 2022 |
Trustpilot
3 weeks ago
2 weeks ago