Desert Online General Trading LLC
Dubai, United Arab Emirates
Desert Online General Trading LLC
Dubai, United Arab Emirates

🖤 Transform, protect, and peel—DIY like a pro with Plasti Dip!
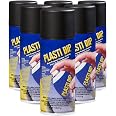
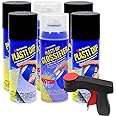
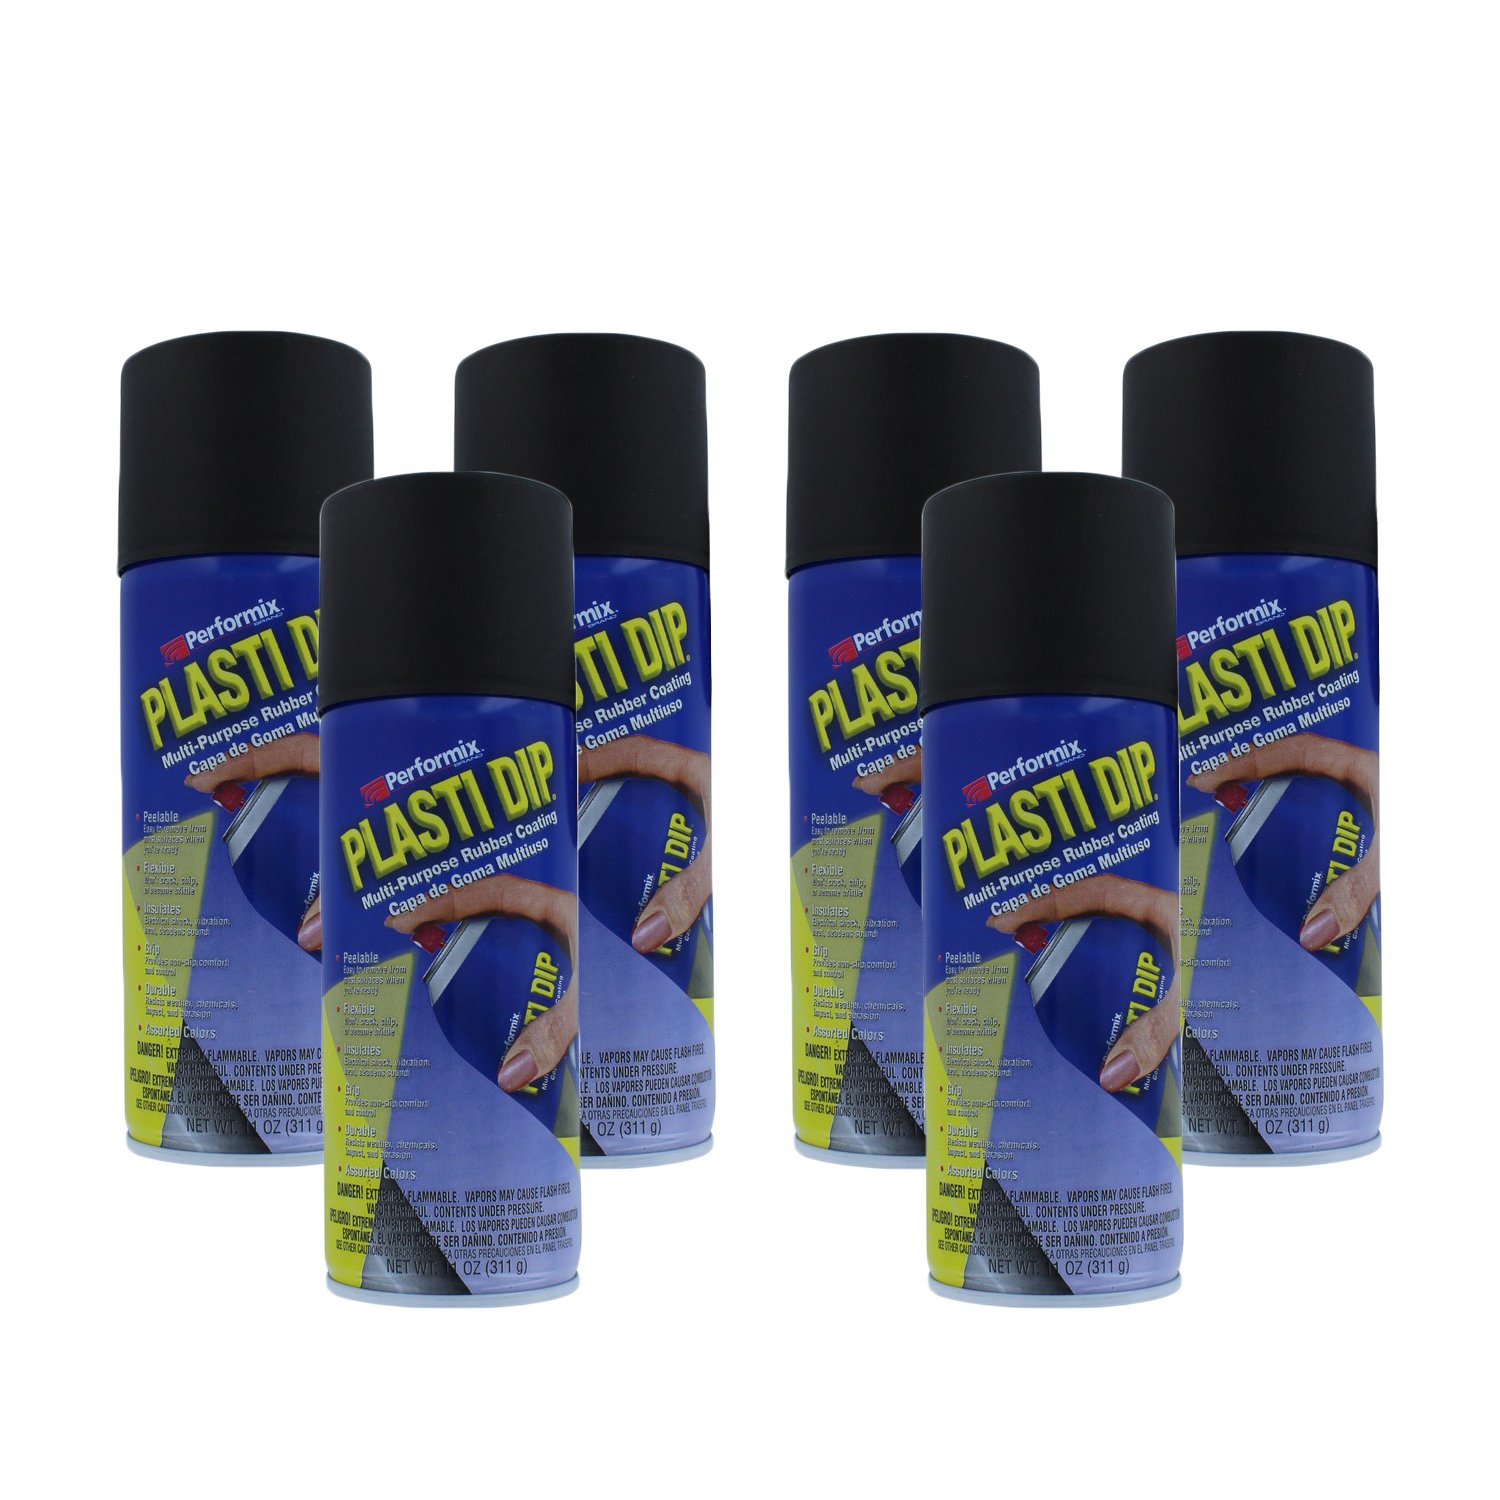
Performix Plasti Dip 11203-6PK is a versatile, matte black rubber coating aerosol pack (6 cans, 11 oz each) designed for indoor and outdoor use. It offers waterproof, chip-resistant protection against moisture, acids, abrasion, and corrosion while providing a flexible, peelable finish that enhances grip and control. Ideal for DIY enthusiasts seeking durable, easy-to-apply surface protection with a sleek look.


| Brand | Plasti Dip |
| Color | Black |
| Finish Type | Matte |
| Size | 11 Ounce (Pack of 6) |
| Item Volume | 11 Fluid Ounces |
| Special Feature | Chip Resistant |
| Unit Count | 66.0 Ounce |
| Paint Type | Specialty |
| Specific Uses For Product | Interior/Exterior |
| Surface Recommendation | Fiberglass, Plastic, Metal |
| Indoor/Outdoor Usage | Outdoor |
| Item Form | Aerosol |
| Included Components | Applicator, Brush |
| Is Waterproof | True |
| Model Name | 11203-6PK |
| Package Information | Can |
| Color Code | Black |
| Full Cure Time | 24 Hours |
| Coverage | 5 square feet |
| Water Resistance Level | Waterproof |
| Global Trade Identification Number | 30075815112034 |
| Manufacturer | Plasti Dip |
| Dry Time In Hours | 24 |
| Item Weight | 5.6 pounds |
| Product Dimensions | 8.5 x 5.8 x 8.4 inches |
| Item model number | 11203-6-6PK |
| Is Discontinued By Manufacturer | No |
| Exterior | Rubber |
| Manufacturer Part Number | 11203-6-6PK |
| Special Features | Chip Resistant |
E**S
Performix PlastiDip is like something from the future sent to us as a gift
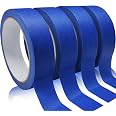
The media could not be loaded. What can I say about PlatiDip that hasn't already been said?PlastiDip adheres to most surfaces and stays there as long as you want it to without chipping or fading. It's easy to touch up if you scratched through the initials coats you set down.USE - I PlastiDipped my Nissan Armada -front grille, mirrors, doorhandles, interior center dash and shifter console. It's been on there for about 16 months now and holds up beautifully to the wash - both hand wash and machine wash.I used it on my wheels and I had a mixed experience there perhaps due to brake dust, high heat or my poor application.1. Clean the surface you are applying the PlastiDip on - cleaning will depend on surface2. mask areas carefully is they aren't to be coated (I use Blue painters tape or Scotch Tape - depending on surface.3. Shake can very well before use to get the particulates into a very fine composition so application is nice and even.4. When applying, I recommend medium coats (too thin- plastidip will lift off into almost like a popcorn type surface finish and if too thick- will run or bubble).5. I wait 8-10 minutes between coats - Yes 8-10 minutes form the time the nozzle had it's last stream of PlastiDip flow through it.6. Depending on the application but I usually sit around 4-5 coats to be satisfied with the thickness of the material.7. I usually soak the spray nozzle in very hot water and blow any residue through with my mouth. This will help a smoother spray experience on the next use.Anyways, I love PlastipDip and its a great product from Performix.
R**R
New car? Nah, new paint.
Awwww yis. Finally a product to make my car look better and expensive but with a minimal cost. After much research I bought more of these cans than I needed for my product, but I'm happy to always have a backup can.Its almost magic how this product works, and that matte effect is sexy and amazing. It made my old Kia Soul look like the newer models by just putting in a few hours of work. Picture included.Now, I am not the best spray painter (at all, there are some messes being ignored) and I did work extra for not taking into consideration the wind or some of my protective paper layers weren't as tidy as they should've been but I got it done.The product is so good that if I can do it, so can you.I used it on the back of my car and the rims and I am back in love with my car.
K**E
Great for a temporary new look for your car that lasts
Used this to coat the 19" wheels on my '17 Escape. 4 cans was enough and the 6 pack left me with a couple cans to touch up any spots that I missed. This product is easy to use and very versatile. My project was finished in an afternoon and I am very pleased with the result. The results have also lasted for a few weeks and have no signs of wearing off.
J**.
Awesome! Four wheels, two bumpers, side mirrors and rear fenders - three cans
I wrote a movie review and its gone now. Not sure what happened. Anyway, this stuff is great. I used two can for my four wheels and liked it so much I decided to add my front and rear bumpers, rear side fenders and side view mirrors.Three can total with plenty of the third can left over. I bought a six pack because I wasn't sure how much I was going to need and the price was unbeatable.1. Washed wheel with warm water and dish soap to remove grease and dirt.2. Hand dried with towel.3. Used compressed air to get any left over water outta there.4. Used plastic grocery bags for inside wheels to protect brakes, rotors, etc.5. Light coat about 5 inches away from left to right with my right hand. Switched and did the same with left hand. Did all four wheels the same way for first coat. By time I finished first coat on tire #4 I went back to #1 and repeated the process.- Note: each coat takes a good 15-20 mins to dry then apply next coat.I couldn't be happier with the result and ease of use.
K**E
Good looking products, easy to use
So far so good. I haven’t had them on my rims very long, but that’s far they look very cool. A few tips;Wash the rims good with soapy water, dry as best you can getting in every nook and crannyPut garbage bags around brakes/rotors.Soak the cans in warm water about 10 minutes prior to useShake shake shake shake shakeBefore you start spraying each time/ each coat spray some on cardboard first, it can spit globs50% coverage tacky coat to start.No need to scuffThin layers gradually getting thickerI did seven coats per rim and four coats on the bumper.I waited 25 to 30 minutes in between coats, four hours for complete dry and removal of tapeOne can per rim is plentyThe biggest tip I can give you is that if you do not have Lugnuts on when you coat make sure you release the plasty dip with a utility knife from the threads before you screw it on, as soon as you start screwing a lug nut on the plasty dip will start to wrap around the nut and pull away. Total disaster!!Very easy to use, you can do a coat, then go and do some thing around the house, back-and-forth.
Trustpilot
1 month ago
3 weeks ago