Description
🛠️ Transform your garden into a masterpiece with every cast!
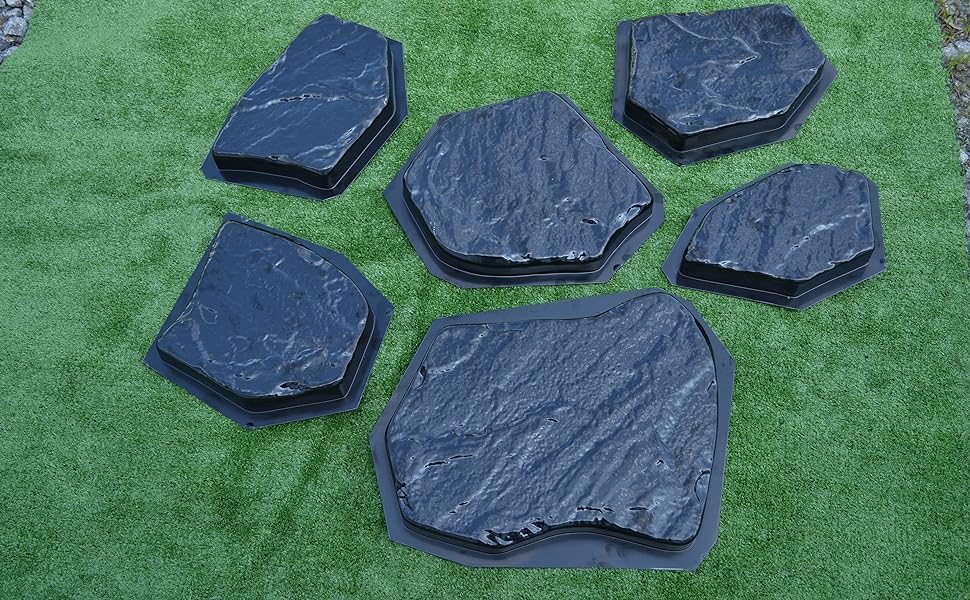
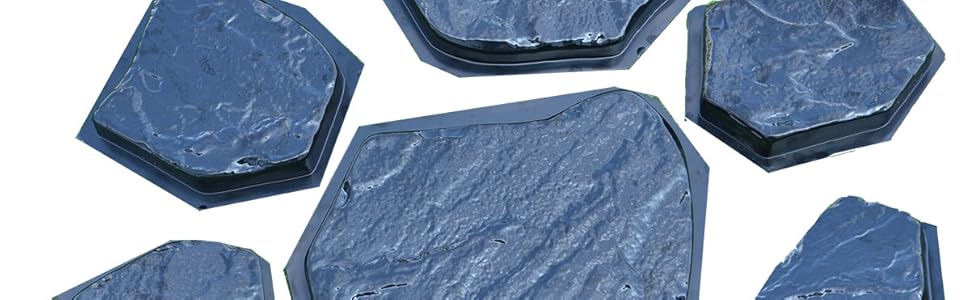
- DURABLE REUSABLE - Made from sturdy ABS plastic, designed for multiple uses without wear
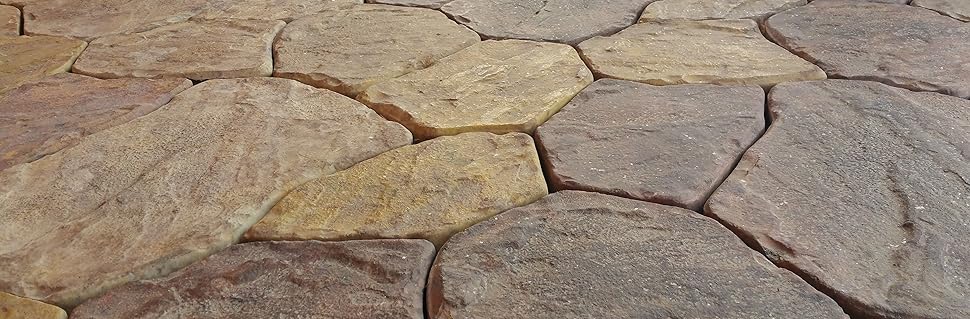
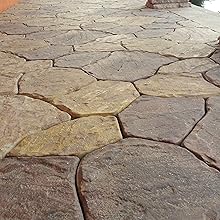
- CUSTOMIZABLE AESTHETIC - Paint your concrete stones any color to match your outdoor style
- GENEROUS CASTING SURFACE - Each mold covers 0.37 square meters for efficient project progress
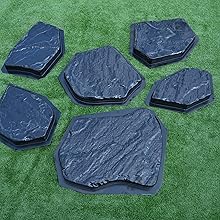
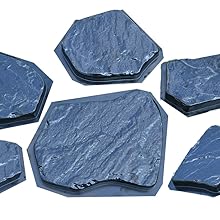
- CRAFT YOUR PERFECT PATHWAY - 6 distinct molds for unique, customizable garden paving
- PROFESSIONAL GRADE THICKNESS - 38 mm mold depth ensures solid, long-lasting pavers
SvitMolds offers a set of 6 high-quality ABS plastic concrete molds designed for DIY flagstone paving. Each mold covers 0.37 square meters with a 38 mm thickness, allowing you to create durable, customizable garden paths and patios. Reusable and versatile, these molds enable professional-grade results with personalized color finishes.