
Desert Online General Trading LLC
Warehouse # 7, 4th Street, Umm Ramool, Dubai, 30183, Dubai
Desert Online General Trading LLC
Warehouse # 7, 4th Street, Umm Ramool, Dubai, 30183, Dubai


🚗 Tow Boldly, Tow Smartly — The Hitch That Means Business
The Draw-Tite 76112 Class 3 Trailer Hitch is a custom-designed, heavy-duty towing solution for 2011-2020 Toyota Sienna models. Built from all-welded alloy steel and finished with a durable black powder coat, it offers a robust 3,500 lbs towing capacity and 525 lbs tongue weight. Tested to exceed industry standards, this hitch ensures reliable performance and corrosion resistance, making it the go-to choice for professionals and adventure seekers alike.


| Brand | Draw-Tite |
| Item Weight | 42.17 Pounds |
| Vehicle Service Type | Sport-Utility-Vehicles, Trailer, Truck, Van |
| Material | Alloy Steel |
| Finish Type | Powder Coated |
| Manufacturer | Draw-Tite |
| UPC | 016118039542 |
| Global Trade Identification Number | 00016118039542 |
| Model | 76112 |
| Item Weight | 42.2 pounds |
| Product Dimensions | 56.13 x 21.88 x 9.75 inches |
| Item model number | 76112 |
| Is Discontinued By Manufacturer | No |
| Manufacturer Part Number | 76112 |
P**
Great Fit
So far so good. I don’t like aftermarket hitches that much. I feel like they always stick way down and don’t have a clean look to them. This one is great tho! It has a very clean look to it. Fits my 2024 kia telluride like a glove. Supper easy to install. Very high quality as well.
J**Y
What a great hitch receiver!
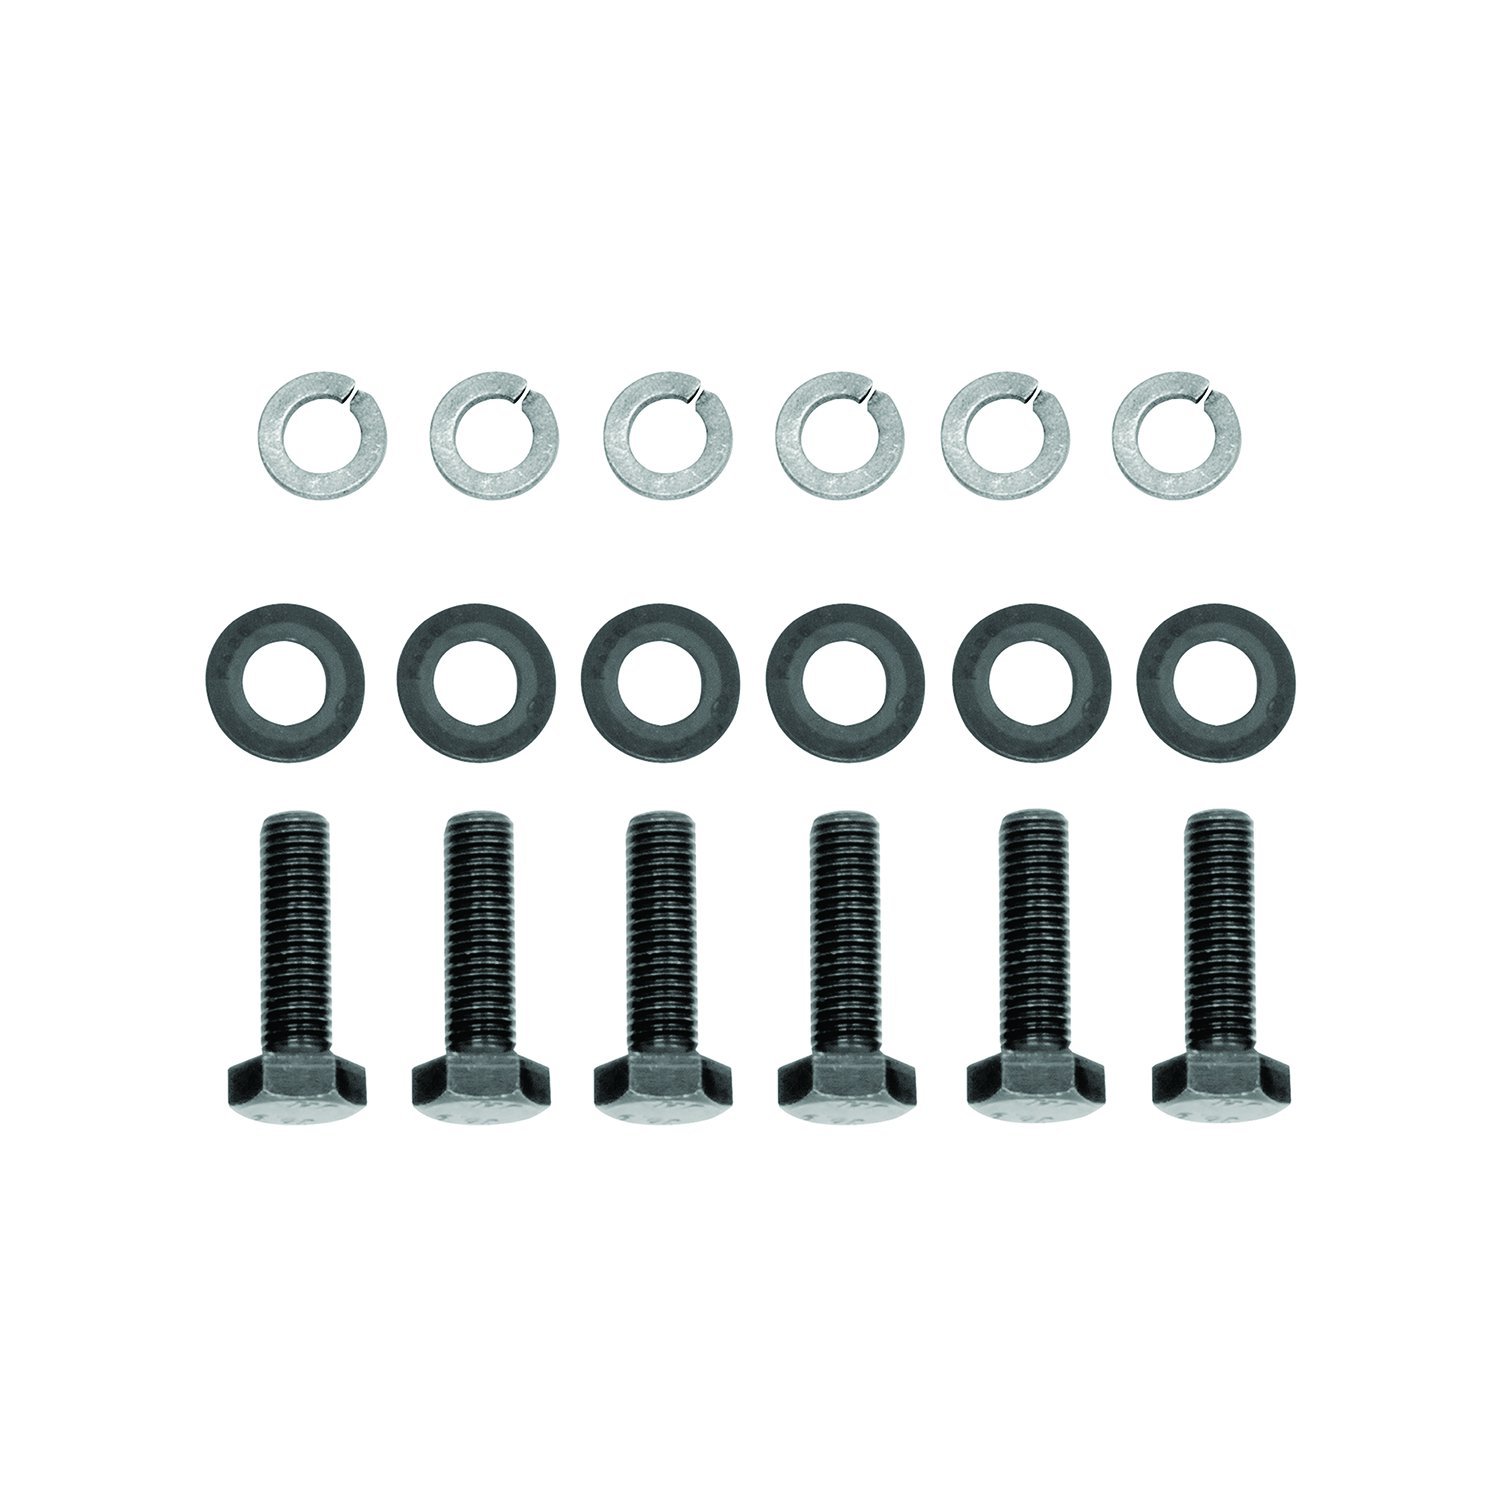
This product is worth every penny, installed it in my driveway, and everything was pretty straight forward, 6 bolts, and a hitch receiver. Before I could do this review I had to take a trip with it, so I did. I hooked up a 90Ib fatboy bike trailer, and two 60Ib fatboy bikes. So 210Ib being hauled for about 5 hours, and it was so sturdy, no noises, it did perfectly!
D**S
Draw-Tite 76634 Class 3 Trailer Hitch Review - Lexus NX350h Premium
The Draw-Tite 76634 Class 3 trailer hitch with the 2-inch square receiver proved to be an excellent addition to my Lexus NX350h Premium. Installation was surprisingly straightforward and quick, taking exactly 35 minutes from start to finish.One minor step involved removing the toe hitch bracket on the passenger side, which was easily accomplished. Impressively, unlike some other installations I've read about, there was no need to lower the exhaust or any other undercarriage brackets. This significantly streamlined the process.The installation technique of pushing the hitch up at an angle with two people and then hand-tightening the initial bolts on each side proved effective for getting it into position. For safety and easier access, elevating the rear of the vehicle with a floor jack and securing it with jack stands was a necessary and recommended step.Overall, I'm extremely satisfied with the Draw-Tite 76634. The product feels robust and well-made, and the price was very competitive. It's a testament to a well-designed product when installation can be this efficient. If you're looking for a Class 3 hitch for your Lexus NX350h Premium, the Draw-Tite 76634 is definitely worth considering.
E**Y
Suggest purchasing
Great fit, aligned with holes on vehicle and quick installation. Also aligned with my bumper so there was no interference. I ordered the one that dropped down to avoid this. Highly suggest. Just need to get electric harness now for the lights. It would be nice to suggest that based on your vehicle specs in tandem with hitch.
F**R
Beware the tongue weight!
APPLICATIONI installed this on a 2007 Jeep Wrangler Sahara with factory tow package and aftermarket Mopar Offroad Steel Bumper (it’s old, and different from the one they now sell under that moniker). I am the original owner of this vehicle, which has about 120,000 miles on it.FIRST IMPRESSIONSThis is a MUCH beefier hitch than the one that came OEM on the vehicle from the factory. I mean, it’s not even close. It looks and feels HUGE in comparison and is obviously high quality. It DOES stick out from the bumper by several inches (the OEM one was flush with the bumper), but not enough to make me sorry I got it. It does NOT include a bracket for holding the 4-pin wiring connector like the OEM hitch does. The factory hitch has a tongue weight rating of 350 lbs, while this one has a rating of 675 lbs. It is the specific reason why I upgraded. I plannws to use it with a Yamaha Exo SwingBase and Top Shelf, which is 100 lbs without any cargo added, so I wanted to beef up my tongue weight rating accordingly.RELATED ITEMSI am using this receiver hitch with the following related items:TOPTOW Hitch Extender: https://a.co/d/ayeWP5UMaxxHaul 50174 Locking Pin Set: https://a.co/d/hILSUMSCurt Harness Mounting Bracket for 4-way flat: https://a.co/d/g5vPpyUCurt Rubber Trailer Hitch Cover: https://a.co/d/e1jV0IGYakima EXO Top Shelf (37 lbs): https://a.co/d/1bVlGhmYakima EXO SwingBase (64 lbs): https://a.co/d/8VxoDC7Valley Industries Hitch cargo basket similar to: https://a.co/d/j7Iz3cuINSTRUCTIONSThe instructions that came with the kit are just wrong. It says the included bolts are 18mm and they’re 19mm. The ones I took off the vehicle were ALSO 19mm. Additionally, it gives instructions for the Mopar Offroad Bumper that do not apply to my Mopar Offroad Bumper because, apparently, the design changed significantly over time.Besides that, the instructions are pretty simple. If you don’t have a hitch installed already, put this one on, put the bolts, washers and nuts on and torque it down. No rocket science here. The instructions DO say to drop the muffler, and that would certainly make it easier to put the bolts in, but with some effort and patience, you can get the bolts on without removing the muffler, which would save you a lot of effort. Getting the washers and nuts on can be difficult – it was very difficult with the bumper I have. See “My Personal Experience” section for details.If you already have a hitch installed, you obviously have to remove that first. The instructions didn’t address this issue. It’s not rocket science either, but it may be difficult due to rust issues.MY PERSONAL INSTALL EXPERIENCEThis was a nightmare install for me, as I have a 2007 Jeep that has been in Pennsylvania for the past 10 years. That means it has lots and lots of rust. I tried to get the nuts on the existing hitch off. I got one of them kinda-sorta loose and gave up. I decided it would be better to just pay someone to do this job. So, I made arrangements – Total Offroad was going to do it for $150. Unfortunately, they gave up too. They said they put two hours into it and couldn’t get the bolts off. SO, they gave me back my Jeep and told me they would not charge me.After thinking about it for a bit, I decided to try a reciprocating saw with 12” heavy duty carbide blades from Diablo. It worked! I got the right-most (passenger side) nut cut off, and got half-way through the next bolt before the blade broke. The next blade finished the job. Amazingly, I got the two driver’s side bolts off intact. Maybe all the vibration from the saw loosened them up? Anyway, I worked the bolts out, without having to remove the muffler. Patience is the key. After that, a couple of hits with a heavy hammer knocked the hitch to the ground. In the course of all of that, I damaged the wiring for my bumper’s reverse lights, so that is extra work that most of you won’t have to do.Hoisting the new hitch into place is easy. Getting the new bolts in, not so much (assuming you didn’t remove the muffler). You have to wiggle-jiggle the bolt and the muffler around quiet a bit, but with lots of frustration and patience, it is possible. I got the left-most bolt in first, then the next one on the left side, then the inner right one, and finally the right-most one.Once you get that far, getting the nut-side washers and nuts on can be difficult – it was very difficult with the bumper I have and I had to use special Irwin extra long double-hinged pliers (like these: https://a.co/d/cypCiGj) to hold the nuts in place while I threaded the bolts into them because I simply couldn’t get my hands/fingers in there. You have to pull the bolt back toward the front of the jeep, so that it only sticks out the hole toward the rear about a half-inch. This gives you as much room as possible to position the washer and the nut. I used the pliers to position and hold the nut and threaded the bolt in with my other hand. It’s tricky – and if you’re like me you’ll need multiple “breaks” to get it all done, but you can get there eventually.Once you have all four bolts loosely threaded into the nuts, finger tight, it’s time for final torque. It’s helpful to have a friend, wife or mistress push up on the hitch so that gives you as much ground clearance as possible. There’s a bit of vertical slop there, so you can either take it in the sloppy downward most position, or have someone push it up until you get the right-most and left-most nuts fully torqued so it will hold itself in position, while you do the other two nuts. Not sure how much difference it actually makes, but that’s what I did.PERFORMANCE REVIEWAfter all that work, I was ready to try it out on my road trip! It was about 285 miles total. I was disappointed. In my initial configuration, I used the TOPTOW Hitch Extender 2” drop in conjunction with Yakima Exo Swing Base and the cargo basket, loaded up how I wanted it. I know it LOOKS like a lot in the picture, but there is no way I exceeded the weight limit. I had MAYBE 300 lbs on it. After 90 miles or so, it was clear that the rack was bending down. I proceeded carefully after that and by the time I got to camp, it was REALLY bending down. So much so that I didn’t feel like I was going to be able to drive back home safely.The next day, what I determined is that there is a lot of “flex” in the configuration. One source of flex is within the Draw-Tite receiver hitch itself. The plate that faces the back side of the frame flexes a bit. The entire rear section of the frame also flexed a bit. The Yakima device also flexes. All of it together was just unacceptable. I decided to remove the TOPTOW Hitch Extender 2” from the configuration. I also re-packed my Jeep for the trip home, to bit as little weight on the cargo rack as possible. In the end, it still flexed, and more than I would like. But it isn’t clear that it is unsafe. I’m really not sure what to make of it. I plan to weigh my cargo boxes and everything I had on the hitch before I decide what to do about it. I’m WONDERING if making an additional steel support plate for rear-facing side of the frame at the hitch would help much.OVERALLI’m not sure this was a real upgrade over the OEM receiver hitch. It seems like it would be, but in terms of practical use, I’m not convinced it is doing much for me. I cannot, however, compare with the OEM hitch at this point, since I removed it. YMMV.
Trustpilot
2 months ago
2 weeks ago